
How to Cook a Butt Portion Ready-to-Cook Ham
A butt portion is the rounded upper part of a ham and may contain a bone, rind and generous covering of fat. This guide explains how to check the label, cook it safely, add an optional glaze and track the portion you eat.
Start by checking what you have
A ready-to-cook ham needs thorough cooking before it is eaten. This is different from a ready-to-eat ham, which has already been fully cooked. Check the wording on the packaging rather than judging by the colour of the meat.
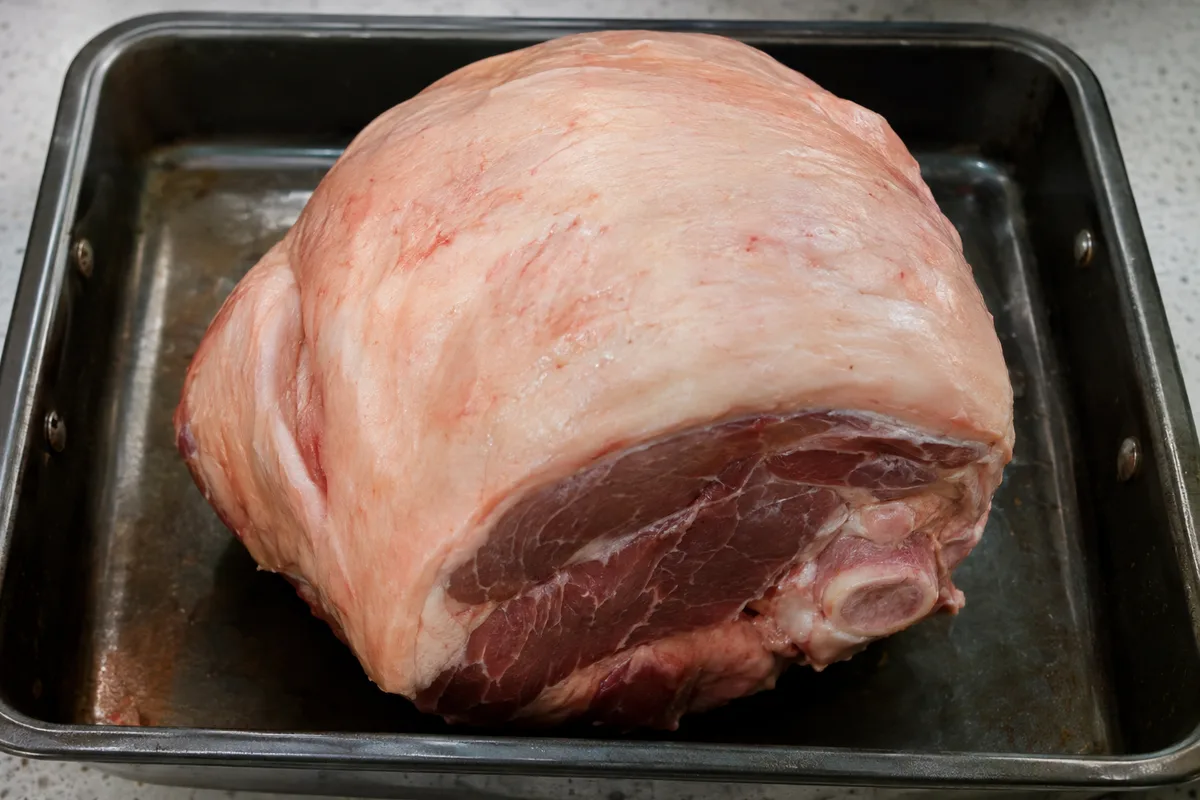
The butt portion comes from the upper, rounded end of the ham. It is usually meatier than the narrower end, but the bone can make carving less straightforward. The exact cooking time depends on its weight, whether it contains a bone and the instructions supplied with it.
Keep the ham chilled until you are ready to prepare it. If it is frozen, defrost it fully in the fridge according to the packaging directions. Do not try to roast a partly frozen ham unless its instructions specifically allow this.
- Look for the words ready to cook or cook before eating
- Note the weight and whether the joint is bone-in
- Read the stated oven setting and cooking time
- Check whether the nutrition information refers to the ham as sold or as cooked
Prepare the ham for the oven
Remove the outer wrapping and any absorbent pad, but do not rinse the ham. Rinsing raw meat can spread droplets around the sink and nearby surfaces. Pat the outside dry with kitchen paper if needed, then discard the paper immediately.
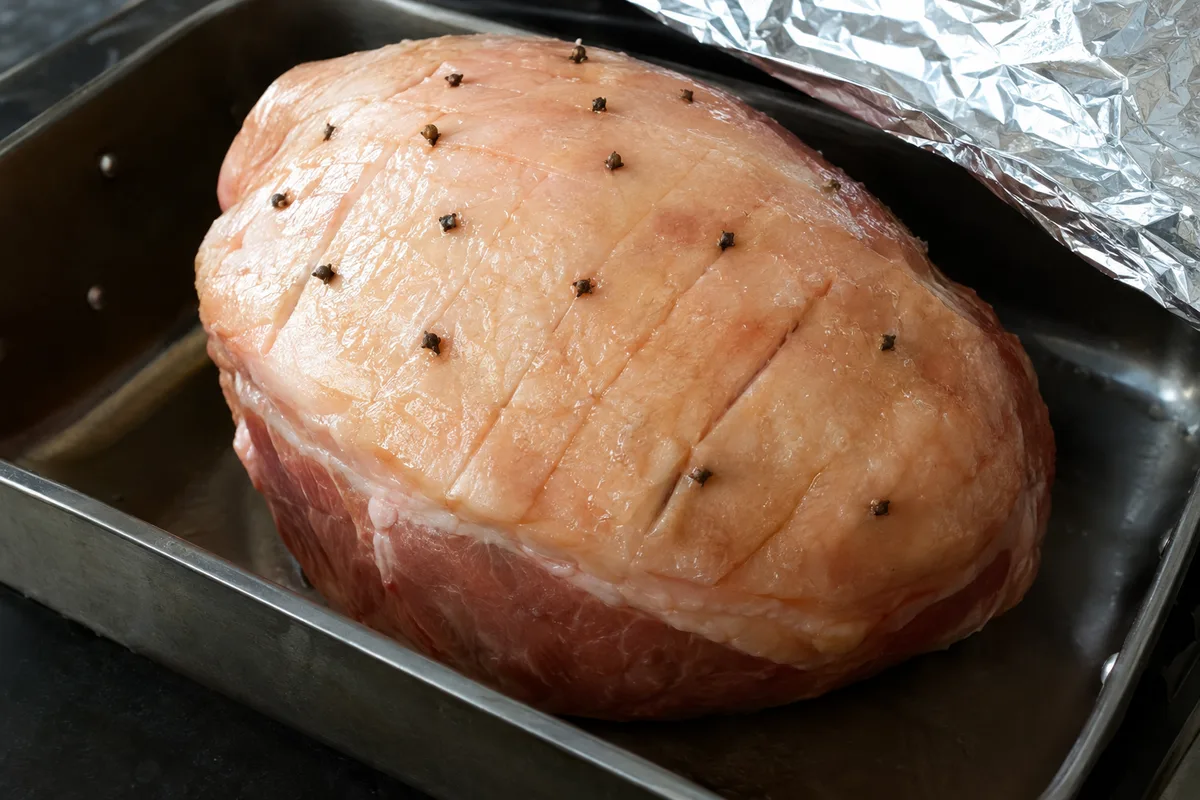
Place the ham cut-side down in a roasting tin with the fat facing upwards. This position helps protect the meat as it cooks. If the packaging tells you to add water or cover the joint, follow those directions.
Some hams have a tough outer rind over the fat. You can leave it in place for the main part of cooking and remove it before glazing. Do not cut deeply into the meat when trimming or scoring the surface.
- Clear a space for the roasting tin
- Remove all packaging
- Set the ham cut-side down
- Wash your hands and clean surfaces after handling the raw meat
Roast until properly cooked
Preheat the oven to the temperature shown on the label. Cover the roasting tin loosely with foil if directed, then place it in the oven. Use the cooking time on the packaging because the correct length depends on the joint’s weight and form.
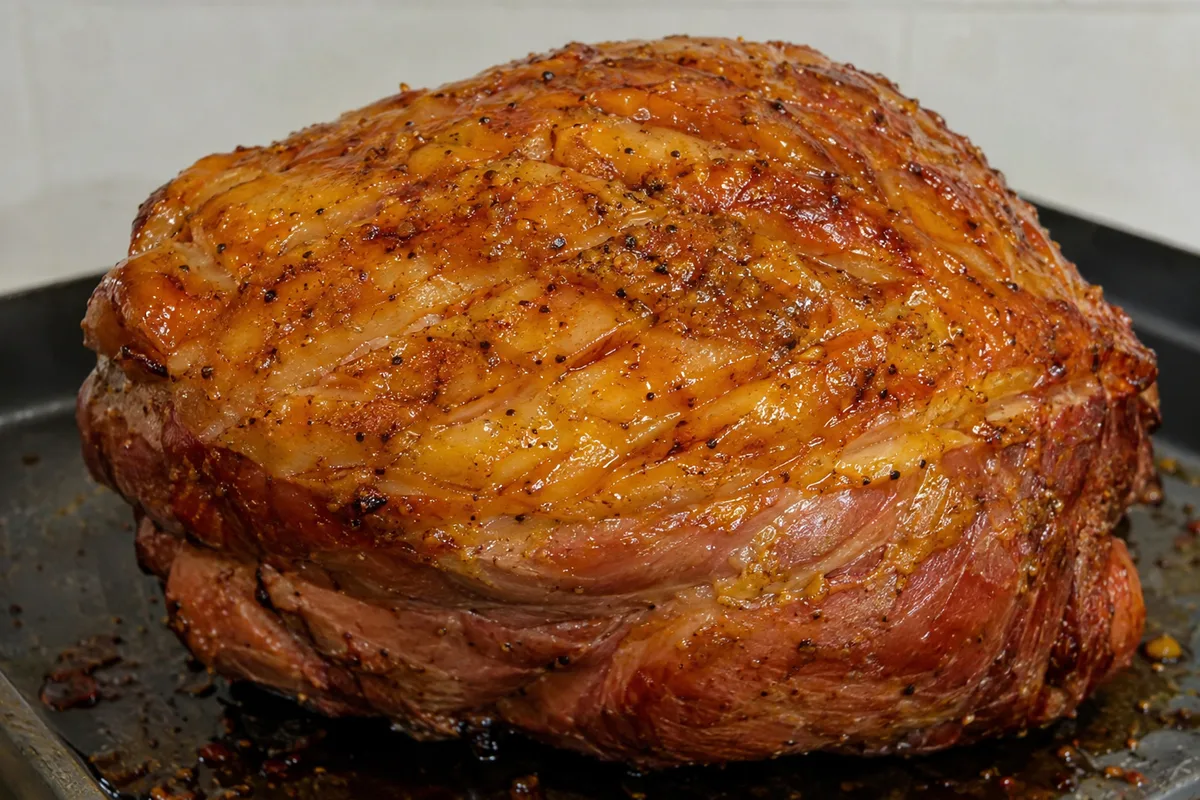
Check the centre of the thickest part with a clean food thermometer, avoiding contact with the bone. The packaging may give a target internal temperature and a resting time, and these directions should take priority. If there are no clear cooking instructions, use current official food-safety guidance for raw cured pork rather than guessing.
Colour alone cannot confirm that a ready-to-cook ham is safe to eat. Cured pork may remain pink after it is thoroughly cooked, while the outside can brown before the centre is ready. Return it to the oven if it has not reached the stated temperature.
- Follow the oven setting printed on the packaging
- Calculate the cooking time from the ham’s stated weight
- Check the thickest part without touching the bone
- Use temperature rather than colour as the final check
Add a glaze if you want one
A glaze is optional and should usually be added near the end of cooking. Adding it too early can cause sugary ingredients to darken before the ham is ready. Remove the foil and rind first, if present, while leaving a thin layer of fat over the meat.
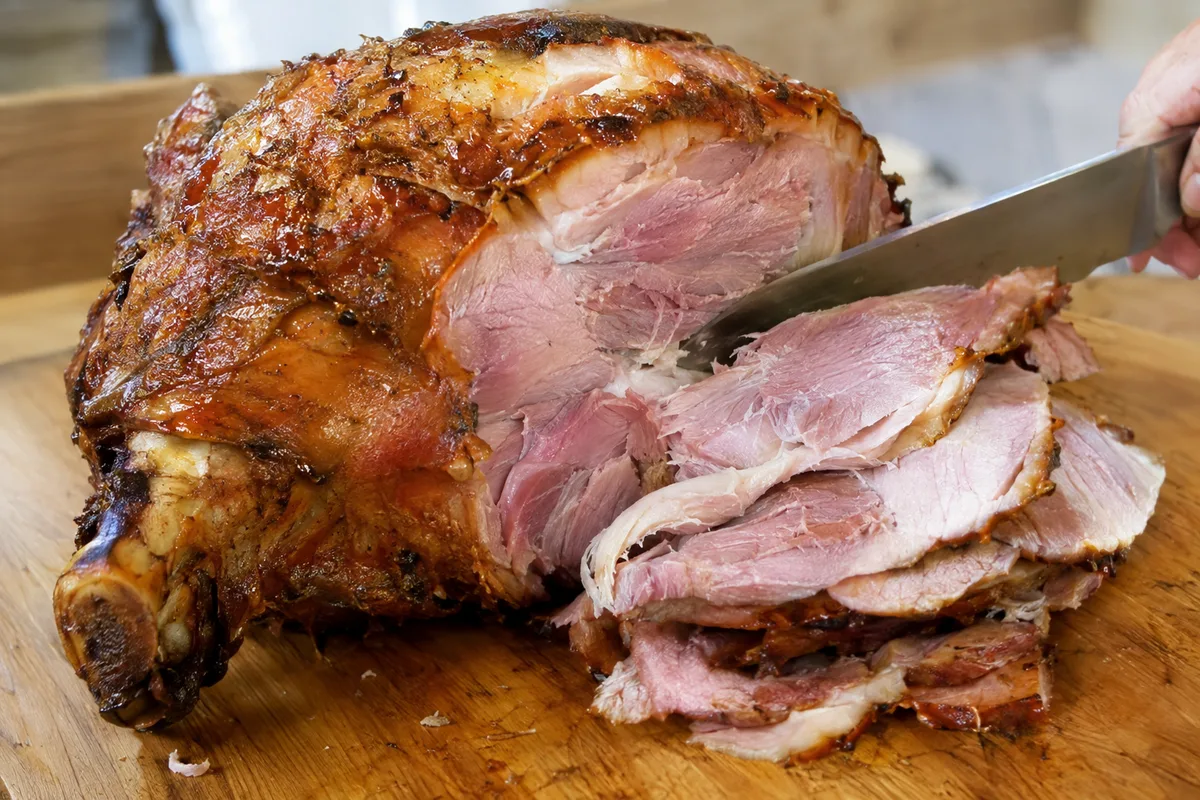
Lightly score the fat in shallow diagonal lines, then brush over the glaze. Return the uncovered ham to the oven for the final part of its labelled cooking time. Watch the surface closely because different glazes brown at different rates.
Glaze ingredients add energy and should be included in your food log. You can record the amount used for the whole ham, then assign a suitable share to your serving. Some glaze will remain in the tin, so this will still be an estimate.
- Mustard mixed with a little honey
- Apple juice reduced with mustard
- Brown sugar mixed with a small amount of water
- Marmalade loosened with warm water
Rest and carve the butt portion
Transfer the cooked ham to a clean carving board and let it rest for the time stated in the instructions. Resting allows the heat to settle and helps the slices hold together. Keep it loosely covered so the surface stays warm without becoming too soft.
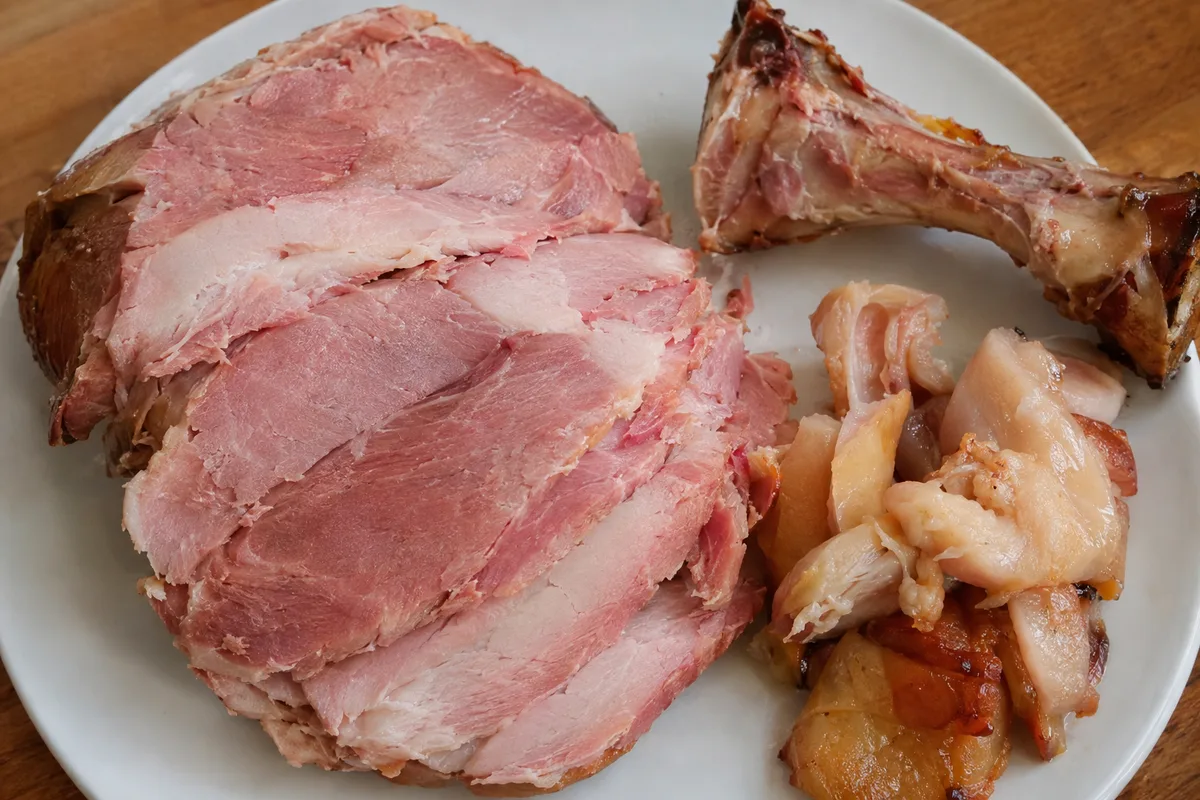
The bone in a butt portion may run at an angle and can make the first slices awkward. Begin at the broad, meaty face and cut across the grain where possible. When the knife reaches the bone, turn the ham and continue carving from another side.
Use a sharp carving knife and steady the joint with a fork. Cut only what you need if the remaining ham is going into the fridge, as a larger piece generally stays moist more easily. Keep the bone and fatty trimmings separate from the edible slices when judging your serving.
- Rest the ham before slicing
- Start at the broadest meaty face
- Cut around the bone rather than through it
- Separate edible meat from rind, bone and discarded fat
Log your serving and store the rest
For a useful food log, record the edible cooked ham you actually serve rather than the starting weight of the whole joint. The bone, rind and cooking juices are not part of the portion on your plate. Cooking also removes moisture, so raw and cooked weights should not be treated as interchangeable.
Use nutrition information that matches the form you are recording. If the label gives values for cooked ham, use your cooked edible portion. If it gives values only for the product as sold, follow the label’s serving guidance and note that your entry is an estimate.
Refrigerate leftovers promptly in a clean, covered container, following the storage period on the packaging or current official guidance. Keep any glaze or cooking juices only if you intend to use and log them. Reheat leftovers until thoroughly hot, and avoid reheating the same portion repeatedly.
- Record only the edible portion served
- Match cooked weight with cooked nutrition information
- Log glaze and sauces separately
- Label stored leftovers with the cooking date