
How to Cook a Chuck Roast in a Roaster Oven
A roaster oven surrounds chuck roast with steady heat, giving the tough cut time to become tender. A little preparation and a meat thermometer make the process easier to manage.
Prepare the roast and roaster
Check your roaster oven’s instructions, as controls and preheating advice vary by model. Preheat it to around 150°C, then place the cooking pan and rack in the correct positions. Pat the chuck roast dry and season it with salt, pepper and any herbs or spices you enjoy.
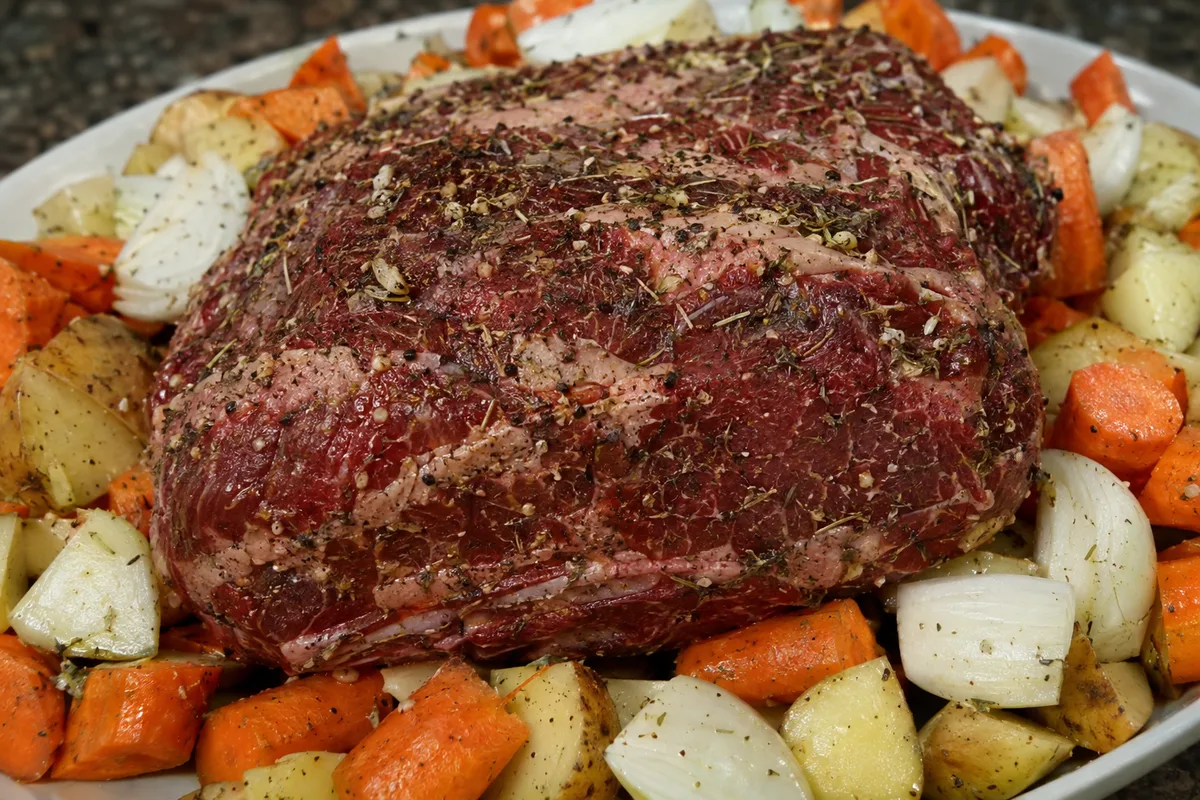
Browning the roast in a frying pan first is optional, but it can add deeper colour and flavour. Place the roast on the rack, with any thicker layer of fat facing upwards. Add a small amount of water or stock beneath it if you want cooking juices, without submerging the meat.
Cook it slowly
Cover the roaster and leave the lid in place as much as possible, because lifting it releases heat. Chuck becomes tender through slow cooking rather than high heat. The exact cooking time depends on the roast’s size, shape, starting temperature and the appliance.
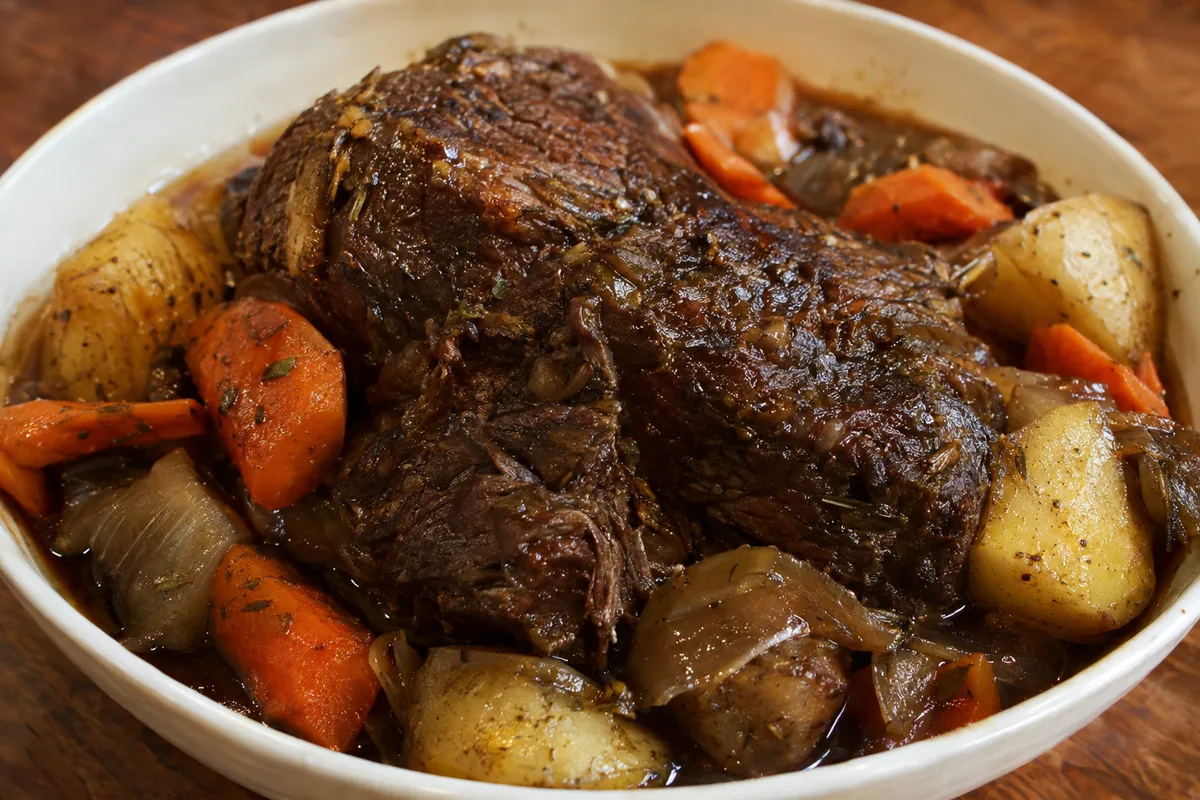
Check the centre with a meat thermometer, avoiding large pockets of fat and any bone. Follow local food safety guidance for cooked beef, then continue until a fork enters easily and the meat pulls apart with little resistance. If it still feels firm, cover it again and allow more time.
Rest and serve
Move the roast to a board or warm dish and let it rest before cutting. Resting allows the heat to settle and helps the meat hold on to more of its juices. Keep it loosely covered so the surface does not cool too quickly.
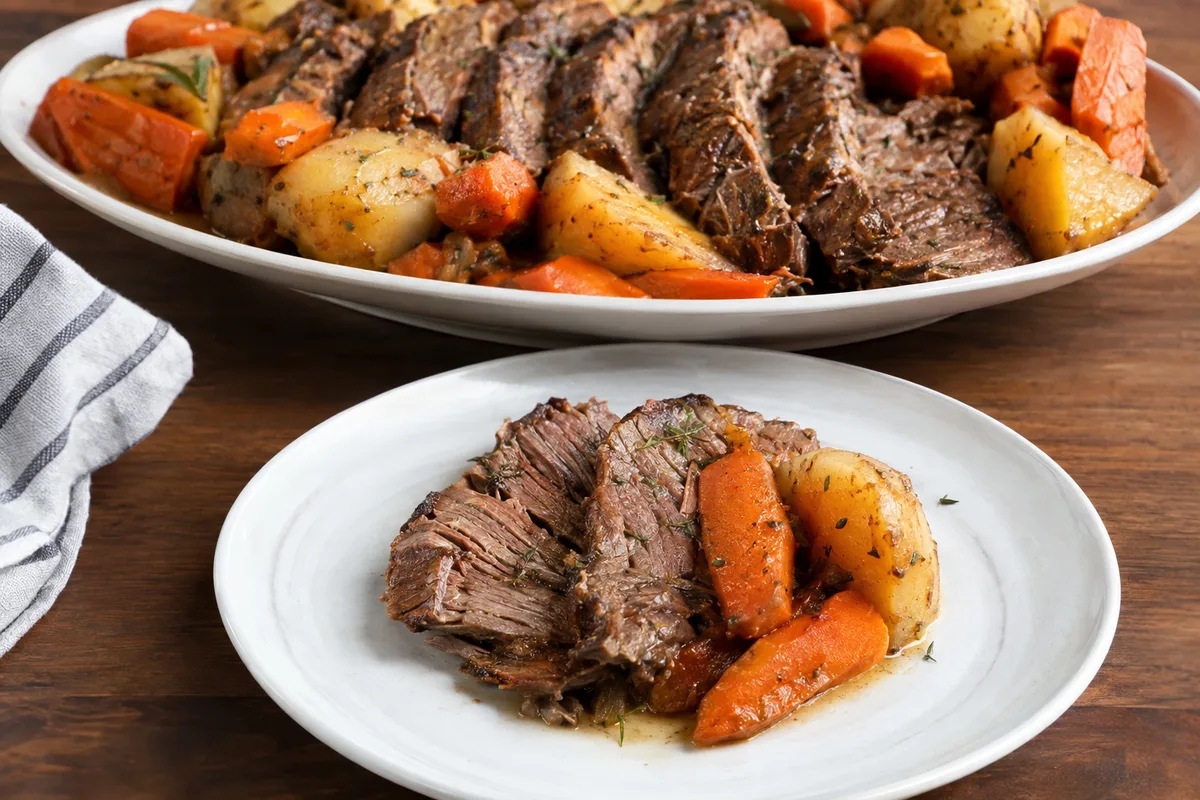
Slice across the grain for neat portions, or pull the meat apart if it is very tender. You can spoon over some of the cooking liquid or chill the liquid first and remove the firm fat. Vegetables may be cooked around the roast, but add them according to how quickly they soften.
Log the portion accurately
For easier tracking, record the raw weight of the roast and note whether your food database entry includes the visible fat. After cooking, weigh the edible meat you plan to serve and divide it into portions. Cooked weight will be lower because moisture and some fat have left the meat.
If you eat the cooking juices or rendered fat, include them in your log rather than treating them as waste. If they remain in the pan, do not automatically assign all of their energy to the meat you ate. The most practical method is to create a recipe from the ingredients used, enter the final edible cooked weight, and log your portion by weight.