
How to Do a Hip Thrust with Strong, Controlled Form
The hip thrust trains the muscles around your hips by asking them to extend against resistance. This guide covers the basic technique, common form issues, benefits and variations for different experience levels.
What a hip thrust is
A hip thrust is a strength exercise in which your upper back is supported while your hips move up and down. Your feet stay planted, and your glutes provide much of the force that raises your hips. The exercise can be performed using body weight or added resistance.
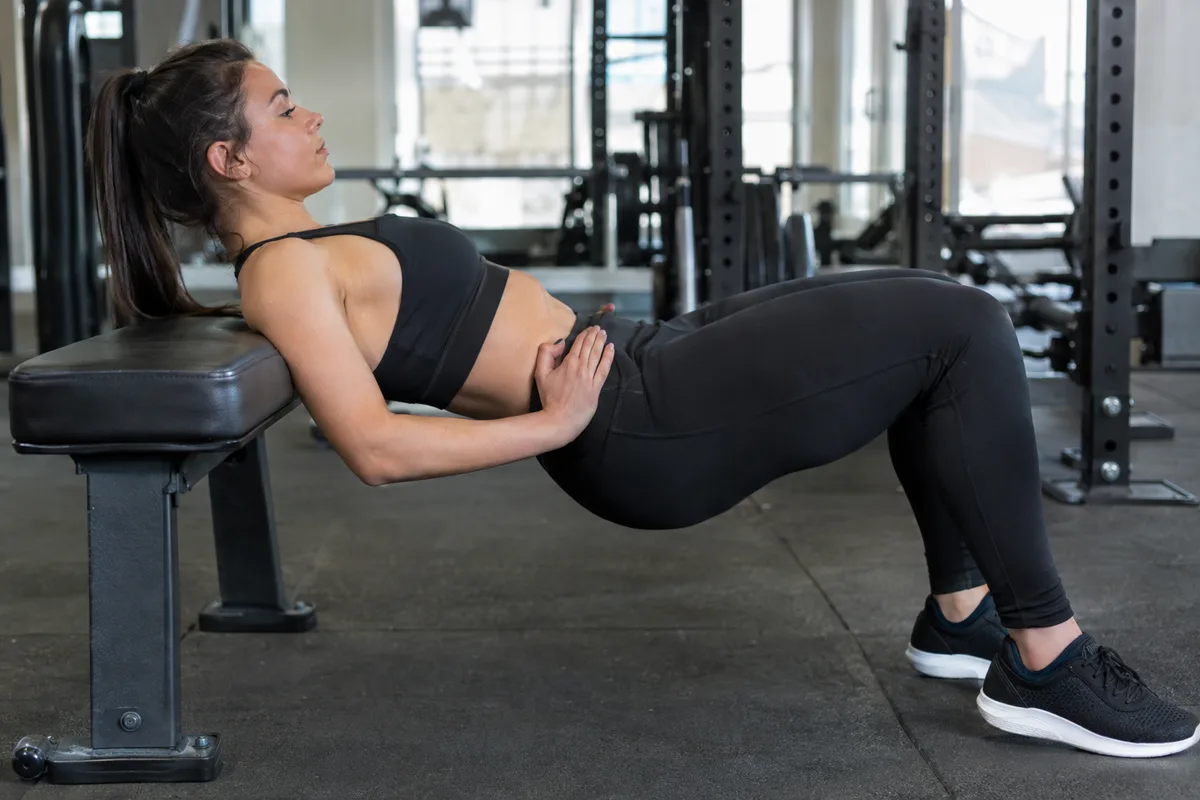
The movement is similar to a glute bridge, but the raised position of your upper back gives your hips a larger range of motion. This can make the exercise useful when you want to focus on hip extension. It also gives you several ways to adjust the difficulty without changing the basic movement.
- Upper back stays supported and steady
- Feet remain flat on the floor
- Hips lower under control and then rise
- Glutes tighten near the top of the movement
How to set up the movement
Sit on the floor with your upper back against a firm, stable support. Position the lower edge of your shoulder blades near the top of the support, then place your feet roughly hip-width apart. Bend your knees and keep your feet flat.
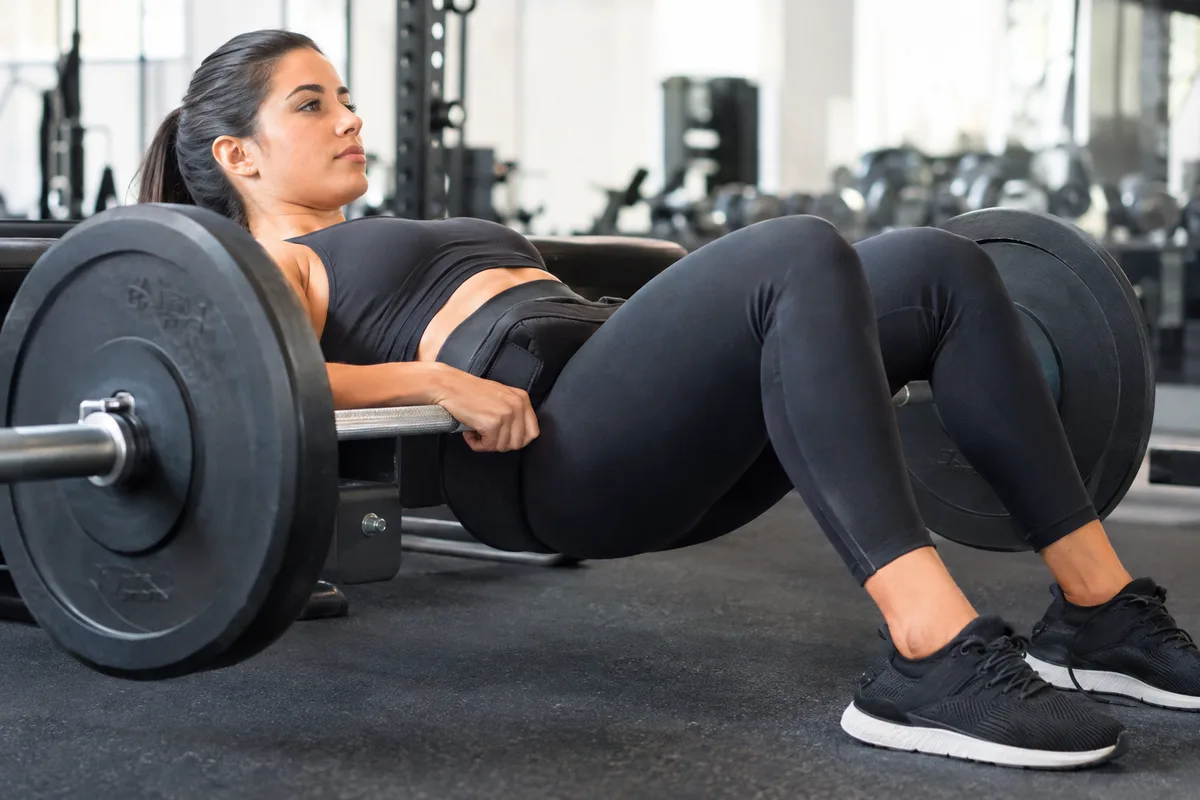
Your exact foot position depends on your proportions, so treat the first repetition as a check. At the top, aim for shins that are close to upright rather than feet tucked far underneath you or placed too far away. Keep your knees pointing in the same general direction as your toes.
If you use added resistance, place it evenly across the crease of your hips and hold it securely. Begin with a load that lets you control the full movement without rushing. The right amount depends on your experience, mobility and current training.
- Use a support that does not slide
- Plant the whole foot rather than lifting the toes or heels
- Leave enough room for your hips to move freely
- Set any resistance centrally across the hips
How to perform a hip thrust
Start with your hips lowered and your torso braced. Press through your feet and raise your hips by squeezing your glutes. Continue until your torso and thighs form a fairly straight line, without forcing your hips higher than you can control.
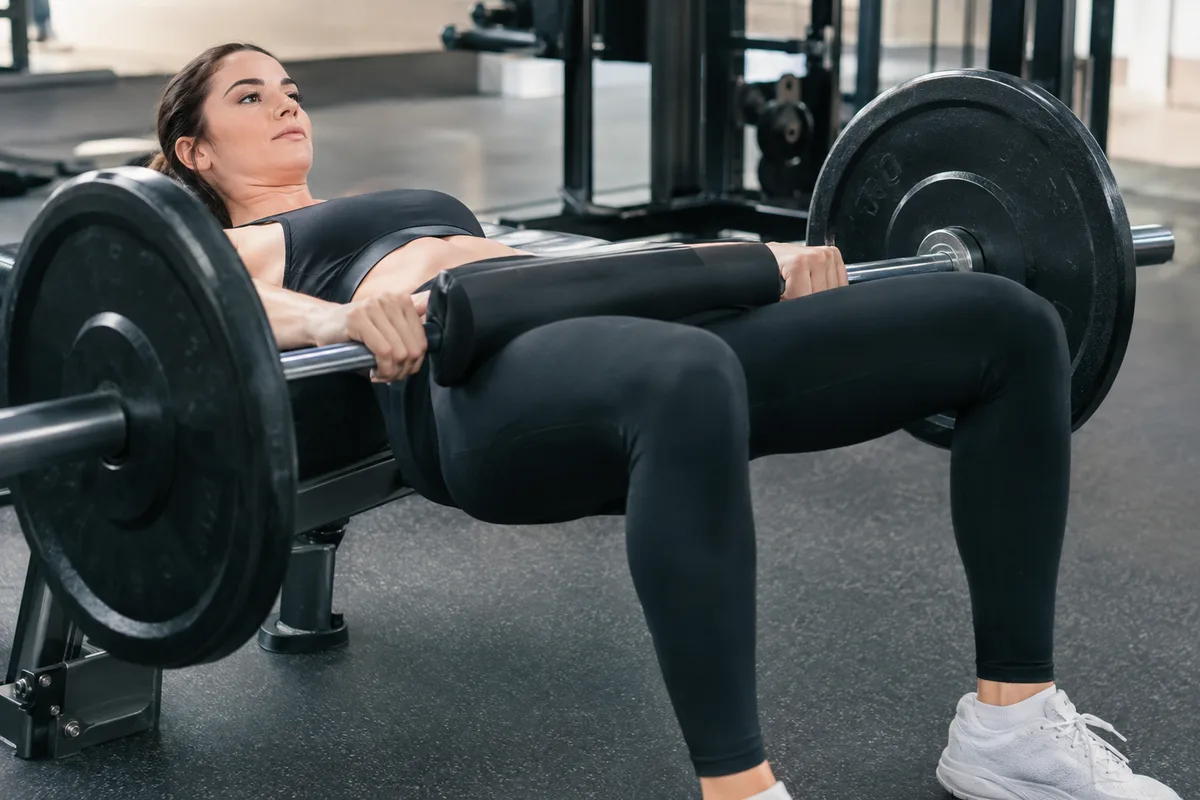
Pause briefly at the top while keeping your ribs settled and your chin gently tucked. Lower your hips slowly until you reach the bottom of your comfortable range. Reset your brace and repeat with the same steady path.
Breathe in before or during the lowering phase, then breathe out as you drive upwards. Avoid using a sudden bounce to start the next repetition. A smooth tempo makes it easier to notice whether your hips and feet remain in position.
- Brace before lifting
- Drive through the whole foot
- Squeeze the glutes to raise the hips
- Pause without overextending the lower back
- Lower with control
Common form issues and simple fixes
If you mainly feel the movement in the front of your thighs, your feet may be too close to your hips. Move them slightly forwards and test another controlled repetition. If the backs of your thighs take over, bringing your feet slightly closer may help.
Raising the chest and flaring the ribs can turn the top position into a large lower-back arch. Keep your ribs over your torso and finish when your hips are fully extended. Think about bringing your belt line towards your ribs rather than throwing your chest backwards.
Knees may drift inwards when the effort increases. Keep them tracking over the middle of your feet without forcing them excessively outwards. Reduce the resistance or shorten the set if you cannot hold that position consistently.
- Move the feet forwards if the knees feel overly compressed
- Move the feet back slightly if the hamstrings dominate
- Stop the lift when the hips reach full extension
- Keep both sides rising at the same speed
- Choose control over a heavier resistance
What hip thrusts can add to training
Hip thrusts give the glutes a clear role in extending the hips. This action also appears in running, climbing stairs, jumping and standing up, although each activity has its own demands. Training the movement can help you practise producing force while keeping your torso controlled.
The exercise is easy to progress because you can change the resistance, repetitions, pauses or variation. It can sit alongside squats, hinges and single-leg exercises rather than replacing every other lower-body movement. A varied programme usually gives the hips and legs more than one type of challenge.
Your food log can help you view training alongside your usual eating pattern, but it cannot show the exact energy used by a set of hip thrusts. That number depends on factors such as body size, resistance, pace, rest and total session length. It is more useful to record the variation, resistance and repetitions when judging progress in this exercise.
- Practises controlled hip extension
- Places a focused demand on the glutes
- Allows gradual changes in difficulty
- Fits into lower-body or full-body sessions
Hip thrust variations to try
Begin with the version that lets you keep a stable upper back, level hips and steady feet. Change only one feature at a time so you can tell how it affects the movement. A more complicated variation is not automatically more useful.
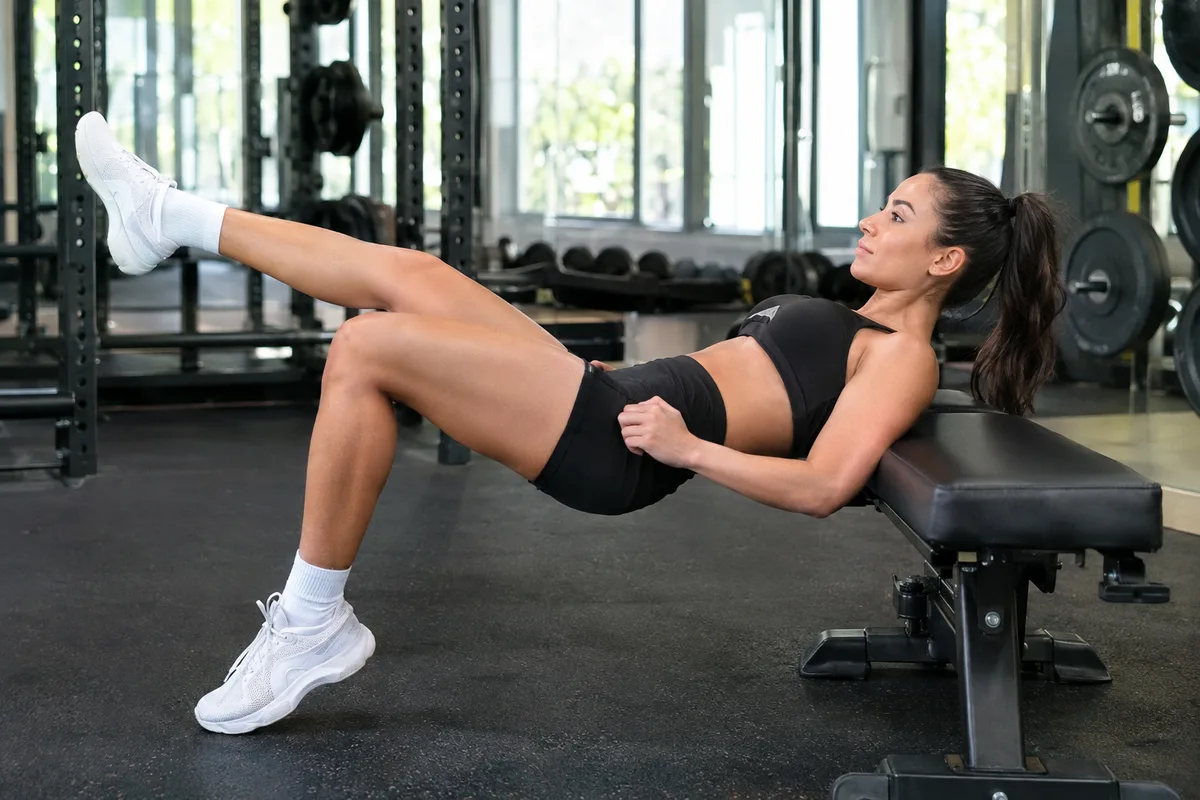
A bodyweight hip thrust is a straightforward place to learn the path. Adding a pause increases the time spent holding the top position, while added resistance makes the lift more demanding. Single-leg versions also increase the balance and control required.
Choose repetitions that remain tidy from the start of the set to the end. Rest long enough to repeat the movement with similar control. The suitable number of sets and repetitions depends on your wider programme, training experience and recovery.
- Bodyweight hip thrust for learning the movement
- Paused hip thrust for extra control at the top
- Resistance-band hip thrust for outward knee tension
- Weighted hip thrust for greater resistance
- Single-leg hip thrust for a side-to-side challenge