
Pancake senza glutine al lievito madre (in giornata o durante la notte)
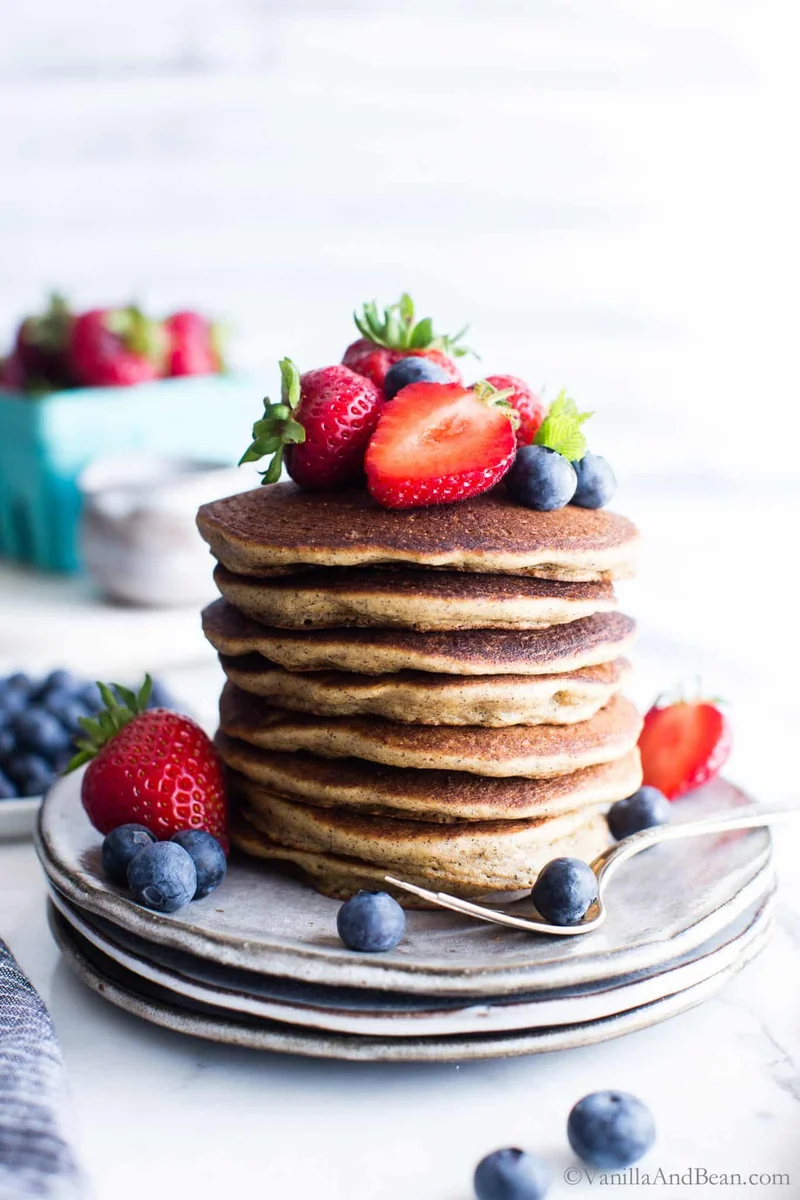
Pancake senza glutine facili, da preparare durante la notte o in giornata, con il favoloso sapore del lievito madre. Usa gli scarti della tua pasta madre per questa ricetta di pancake soffici e ricchi di gusto! Il tempo indicato sopra non comprende il riposo dell’impasto: i pancake preparati durante la notte riposano 8–12 ore; quelli da preparare in giornata riposano 10–20 minuti. AGGIORNAMENTO: alcuni hanno segnalato che i pancake risultavano friabili. Potrebbe dipendere dal tipo di farina di mandorle e di lievito madre senza glutine usati nella ricetta. Assicurati di usare farina di mandorle finissima; io uso Bob’s Red Mill. Ho anche provato questa ricetta con il mio lievito madre senza glutine (collegato qui e nella ricetta). Sostituire gli ingredienti o usare un lievito madre diverso, con farine o idratazione differenti, può dare risultati diversi da quelli della ricetta qui sotto.
Ingredienti
- 1 cup (240 grams) Gluten Free Sourdough Starter (discard, I recommend my recipe linked here for best results)
- 1/2 cup (120 grams) Milk (I use homemade cashew milk)
- 4 tablespoons Maple Syrup ( + more for serving)
- 1 1/2 teaspoons Vanilla Extract
- 2/3 cup + 2 tablespoons (90 grams) Gluten Free Oat Flour (I DIY oat flour)
- 2/3 cup + 2 tablespoons (90 grams) Super Fine Almond Flour (I use Bob's Red Mill)
- 2 tablespoons Unsalted Butter (or Coconut Oil melted (if using coconut oil, warm to the touch))
- 2 Eggs (large)
- 1/4 +1/8 teaspoon Fine Sea Salt
- 4 teaspoons Baking Powder (non aluminum)
- 1 teaspoon Baking Soda
- Stewed Apples
- Rhubarb Jam
- Berries, butter, bananas!
Preparazione
- 1
--- For Overnight Pancakes (see note): ---
- 2
Whisk your sourdough starter discard with milk, maple, vanilla extract, then add the gluten free oat flour, and almond flour. Whisk to incorporate.
- 3
Cover the mixture and let it rest at room temperature overnight for 8 - 12 hours. The mixture will ferment overnight and be fluffy the next morning (it will look dryish).
- 4
The next morning, to the fluffy sourdough mixture whisk in the egg, butter or oil, baking powder and soda, and salt. The mixture will seem dryish at first, but once the ingredients are incorporated, the batter will be thinner. Whisk to incorporate the ingredients. You'll notice right away how fluffy and light the batter becomes.
- 5
Heat a nonstick griddle (affiliate link) or buttered cast iron skillet on medium heat (375-400f / 190-204c). Before scooping the batter, stir it down (you may have to do this several times through the cooking process because the batter is so fluffy!). There's no need to oil or butter the pan if using a nonstick pan. If not using a non stick pan, lightly oil or butter the pan.
- 6
Use a measuring cup to scoop up the batter, add about 3 Tbs to the griddle and spread it gently in a circle pattern (the pancakes will be about 4" in diameter). When bubbles start appearing towards the center of the pancake, gently lift the edge of the pancake to see if it's golden-brown. Bake a little longer if needed. Flip the pancake when the color is to your liking or bubbles appear around the edges with a few on top. Cook the pancake until the underside is golden-brown and the pancake is cooked through.
- 7
--- For Same Day Pancakes: ---
- 8
Whisk your sourdough starter discard with milk, maple, vanilla extract, butter or oil and eggs. Whisk in the dry ingredients: gluten free oat flour, almond flour, baking powder and soda, and salt. You'll notice right away how fluffy and light the batter becomes. Set aside and allow the batter to rest for 10-20 minutes.
- 9
Heat a nonstick griddle (affiliate link) or buttered cast iron skillet on medium heat (375-400f / 190-204c). Before scooping the batter, stir it down (you may have to do this several times through the cooking process because the batter is so fluffy!). There's no need to oil or butter the pan if using nonstick. If not using non stick pan, lightly oil or butter the pan.
- 10
Use a measuring cup to scoop up the batter, add about 3 Tbs to the griddle and spread it gently in a circle pattern (the pancakes will be about 4" in diameter). When bubbles start appearing towards the center of the pancake, gently lift the edge of the pancake to see if it's golden-brown. Flip the pancake when the color is to your liking or bubbles appear around the edges with a few on top. Cook the pancake until the underside is golden-brown and the pancake is cooked through.
- 11
--- To Serve: ---
- 12
Share right away or place on a plate and keep warm in a 200F (93c) oven until ready to share. Share with real maple syrup and top with sweet cherry compote, blueberry compote, easy stewed pears or stewed apples.
Cucinala con la ricetta originale
Questa ricetta è di vanillaandbean.com. Sul loro sito trovi le foto, le note e i consigli dell’autore: il posto migliore per cucinarla.
Apri la ricetta su vanillaandbean.com