
Mummie di Snickers per Halloween
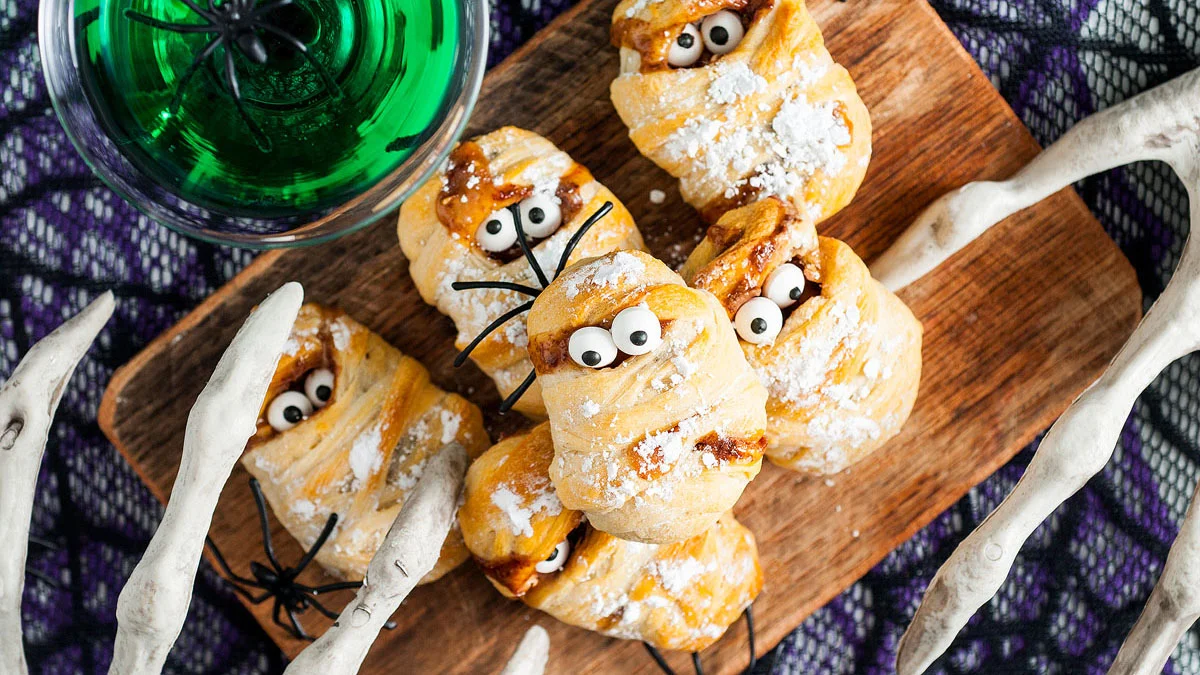
Questi dolcetti di Halloween avvolgono mini Snickers nella pasta per croissant, per un tocco divertente e spettrale. Con gli occhietti di zucchero e una spolverata di zucchero a velo, sembrano mummie commestibili. Sono veloci e facili da preparare e spariranno in un attimo.
Ingredienti
- 8 fun-size Snickers bars (unwrapped)
- 1 Can crescent rolls
- 16 candy eyes
- 2 Tablespoons powdered sugar
Preparazione
- 1
Preheat the oven to 400°F.
- 2
line: Prepare a baking sheet by lining it with parchment paper, and set aside.
- 3
Unroll the crescent roll dough and lay out the triangles of dough, gently stretching each one out in all directions.
- 4
add: Place a Snickers on each of the triangles of dough vertically, about an inch down from the short, flat side of the dough.
- 5
Cut the long pointy tips of the dough triangles off, about an inch below the bottom of the Snickers. Save those pieces of dough for later.
- 6
Cut horizontal strips in the dough along the left and right sides of the Snickers.
- 7
wrap: Fold the top piece of dough up and wrap the long strips around the outer edges of the Snickers, gently pressing to seal shut, do the same with the bottom piece of dough. Use the remaining strips to crisscross over the body of the Snickers mummy and tuck any excess dough under the mummies. Leave a small space towards the top open so that you can place eyes after it bakes.
- 8
cut: Take the extra pointy pieces that you cut off at the beginning, and cut into thin strips. Use these strips to add more bandages to each mummy.
- 9
arrange: Place the mummies a couple inches apart on your prepared baking sheet.
- 10
Bake for about 10 minutes or until lightly golden on top.
- 11
cool: Remove from the oven and let cool for a couple minutes.
- 12
Sprinkle with powdered sugar, and place the candy eyeballs
- 13
serve: Best served warm, but also delicious served room temperature.
Cucinala con la ricetta originale
Questa ricetta è di xoxobella.com. Sul loro sito trovi le foto, le note e i consigli dell’autore: il posto migliore per cucinarla.
Apri la ricetta su xoxobella.com