
Biscotti senza glutine al toffee e gocce di cioccolato
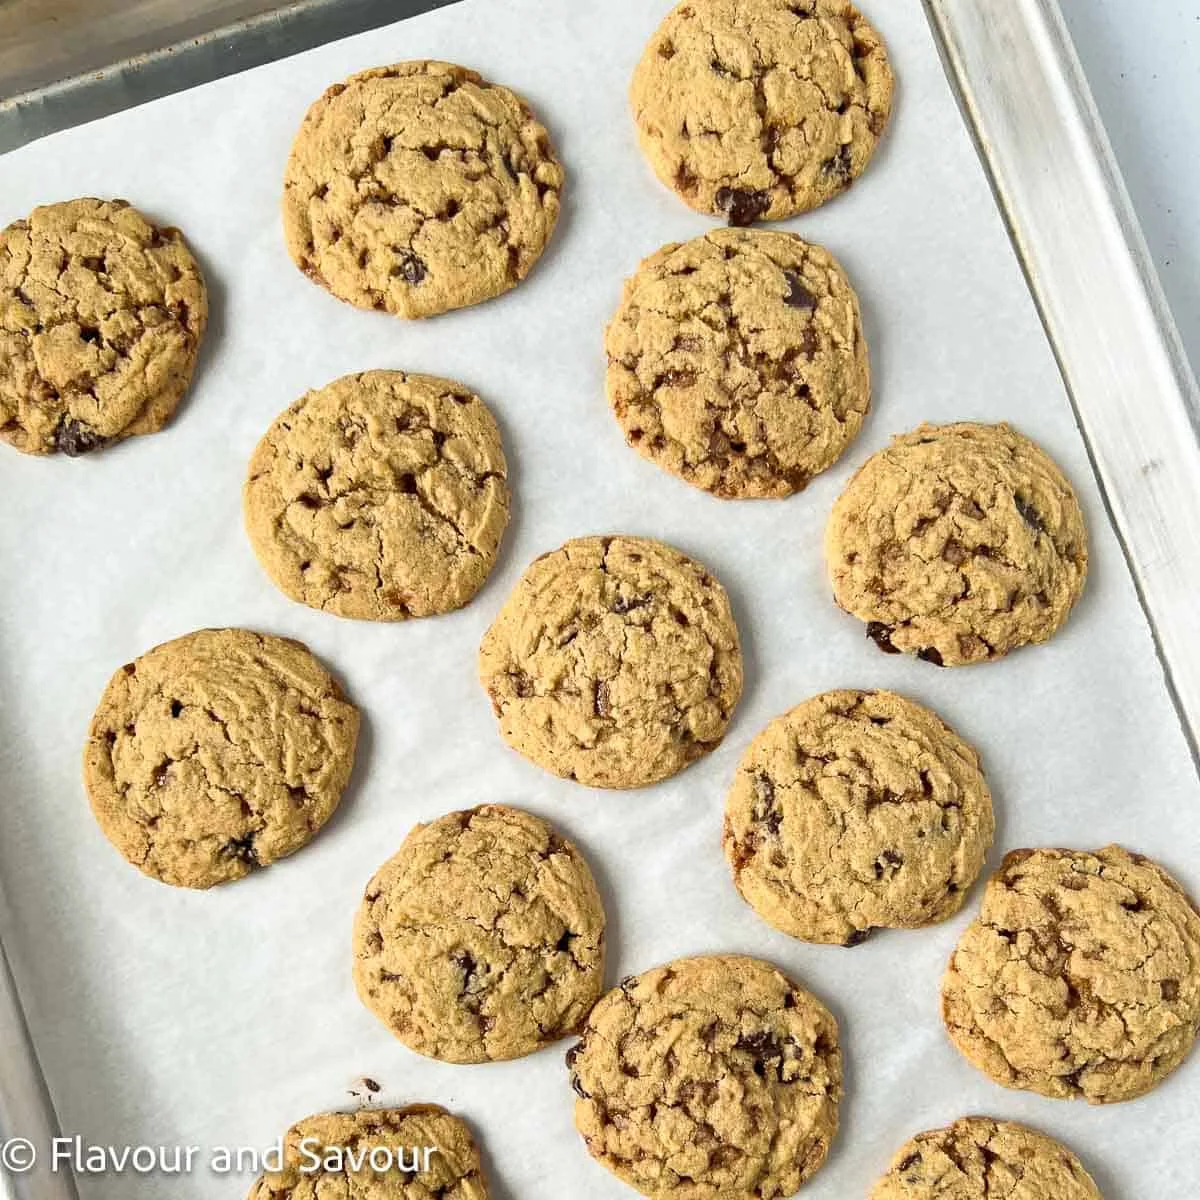
Questi biscotti senza glutine al toffee e gocce di cioccolato sono morbidi all’interno e croccanti ai bordi! Abbinano alla perfezione i sapori del cioccolato e del toffee, con gocce di cioccolato e pezzetti di toffee in ogni morso!
Ingredienti
- 1/2 cup butter, (softened to room temperature)
- 1/2 cup brown sugar
- 1/4 cup granulated sugar
- 1 large egg, (at room temperature)
- 2 tablespoons pure maple syrup
- 1 3/4 cups gluten-free flour blend (* see note)
- 3/4 teaspoon sea salt or Kosher salt
- 1/2 teaspoon baking soda
- 3/4 cup toffee bits
- 1/2 cup chocolate chips
Preparazione
- 1
Preheat the oven to 350°F. Line two baking sheets with parchment paper or silicone liners.
- 2
In a stand mixer or large mixing bowl with an electric mixer, cream the butter, brown sugar, and granulated sugar on high speed for 2 minutes or until light and fluffy, scraping the sides of the bowl with a spatula as needed.
- 3
Add the egg and maple syrup and beat on medium speed until combined.
- 4
In a separate bowl, combine the flour, baking soda, and sea salt. Add these dry ingredients to the creamed mixture and beat on low until combined.
- 5
Gently stir in the chocolate chips and toffee bits until evenly distributed.
- 6
Use a small cookie scoop or tablespoon to mound the cookie batter on the baking sheets about 2 inches apart.
- 7
Bake for 9 minutes. Remove the baking sheet from the oven, bang it firmly on the counter 5 to 7 times to help flatten the cookies, then return the sheet to the oven to continue baking for 3 minutes. Remove, and bang it again a few times to help flatten the cookies. Pan-banging results in cookies with slightly chewy centers and crispy edges.
- 8
Allow the cookies to cool for 10 minutes on the baking sheet, then remove to a wire rack to cool completely.
- 9
Store in an airtight container at room temperature, or freeze in an airtight container for 3 months.
Cucinala con la ricetta originale
Questa ricetta è di flavourandsavour.com. Sul loro sito trovi le foto, le note e i consigli dell’autore: il posto migliore per cucinarla.
Apri la ricetta su flavourandsavour.com