
Albero di Natale di pasta sfoglia
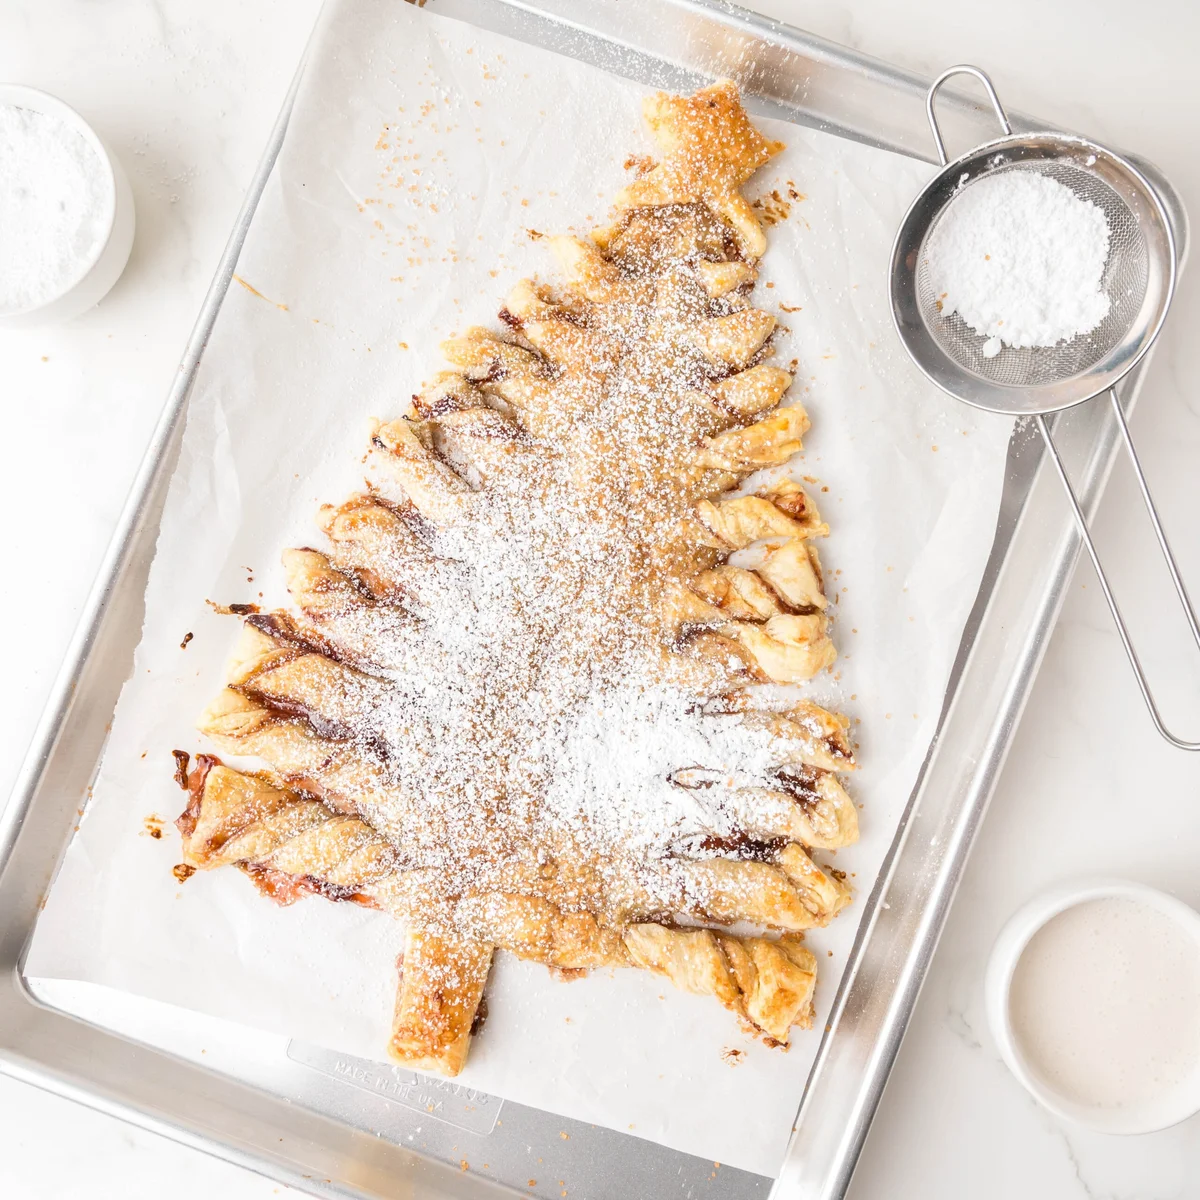
Questo albero di Natale di pasta sfoglia è un’aggiunta davvero carina e divertente alla tavola delle feste. Puoi personalizzarlo in mille modi per prepararlo proprio come piace alla tua famiglia!
Ingredienti
- 1 17.3 oz package frozen Puff Pastry (thawed)
- 1/3 cup strawberry jam
- 1 large egg
- 1 Tablespoon water
- 2 Tablespoons raw sugar
- 2 Tablespoons Powdered sugar
- 1 cup powdered sugar
- 1 Tablespoon milk
- splash vanilla extract
Preparazione
- 1
Preheat oven to 400º F. Line a large baking sheet with parchment paper.
- 2
Let the puff pastry sheets thaw completely, and then unfold and gently roll into a 10x13 inch rectangle. Place the two sheets on top of each other, on your lined baking sheet.
- 3
Using a sharp knife, or even a pizza cutter, cut into a large triangle. Using the scraps, cut out a rectangle for the tree trunk and a star for the top of the tree.
- 4
Next you will need to cut your branches. About every 1 inch going up the tree you will want to cut slits in the dough, making sure to leave about 2 inches in the center fully intact.
- 5
Carefully remove the top layer of puff pastry and then spread on your jam evenly over the entire surface.
- 6
Place the top layer over the jam and then twist the branches. Taking the top and bottom with the jam in between and gently twist 1-3 times.
- 7
Beat together the egg and water and then brush over the top of the tree. Sprinkle with the raw sugar.
- 8
Place in the oven and bake for 15-17 minutes, until it has puffed up and is golden brown. Remove from the oven and let cool slightly before serving.
- 9
If using the glaze mix together the ingredients, stirring until smooth and dippable. Use more or less milk to get your desired consistency.
Cucinala con la ricetta originale
Questa ricetta è di dinnersdishesanddesserts.com. Sul loro sito trovi le foto, le note e i consigli dell’autore: il posto migliore per cucinarla.
Apri la ricetta su dinnersdishesanddesserts.com