
Girelle al cioccolato e cannella con lievito madre senza uova
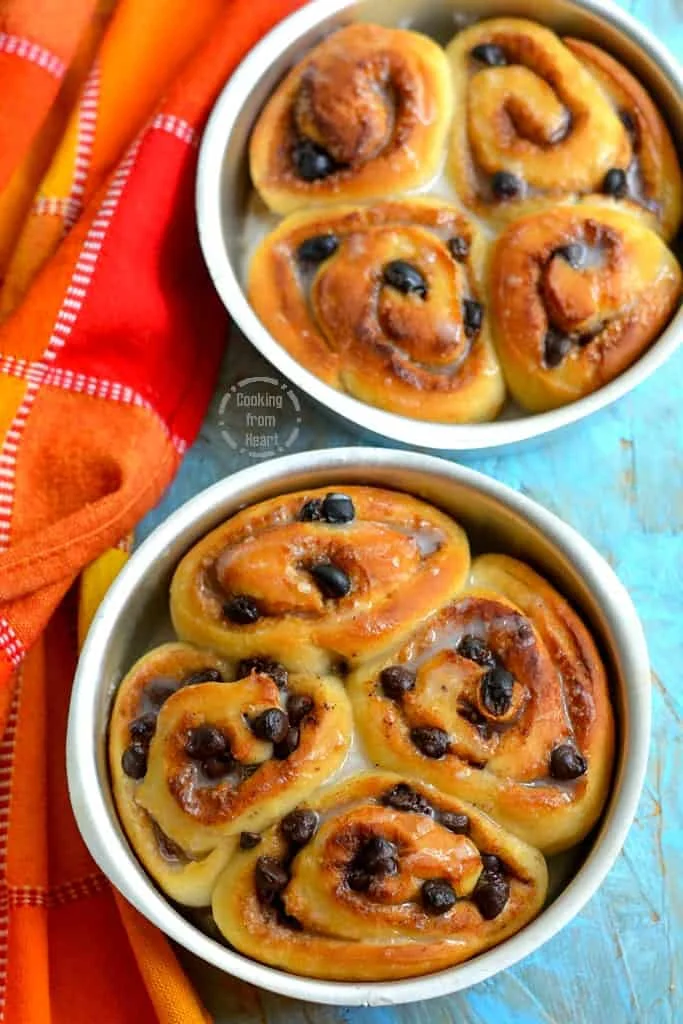
Ricetta delle girelle al cioccolato e cannella con lievito madre, senza uova, morbide come burro, soffici e dorate, con foto dettagliate passo passo. Servite queste deliziose girelle con una tazza di caffè o tè!
Ingredienti
- 56 grams Sourdough Starter (Ripe & Mature)
- 56 grams Whole Wheat Flour (or base flour used in your starter)
- 56 grams Room Temperature Water
- 168 grams Sourdough Starter (from above ingredients) (3/4 cup)
- 288 grams All Purpose Flour (2 cups)
- 127 grams Warm Milk (1/2 cup)
- 30 grams Butter (room temperature) (2 tbsp)
- 30 grams Sugar (2 tbsp)
- 3/4 tsp Salt
- 3 tbsp Sugar
- 2 tsp Cinnamon Powder
- 2 tbsp Semi Sweet Chocolate Chips
- 2 tbsp Raisins (optional)
- 3 tbsp Icing Sugar
- 1-2 tsp Milk
Preparazione
- 1
12.30pm: begin making the Sourdough Starter from your mother starter. To make 168 grams of Ripe Sourdough Starter, I mix equal amounts – 56grams of starter, flour and water and let it double in 3 hours.
- 2
3.30pm: measure all the ingredients and keep them ready. In a mixing bowl add all purpose flour, sourdough starter, butter and sugar.
- 3
I used my kitchenaid stand mixer to knead the dough on lowest speed for 3 mins until it is crumbly. You can mix it with hands too.
- 4
Now add milk and continue kneading the dough on lowest speed for another two minutes. The dough sticks to the hook and the bottom of the bowl. If kneading by hand, knead for 4 mins gently.
- 5
Make it into a ball and add salt on top. Leave it covered for 20-30 mins. This is called autolyze.
- 6
4pm: knead the salt into the dough. It is slightly difficult doing it by hand, but it still works.
- 7
For the next one hour, keep it covered with a clean shower cap and let it raise at room temperature. It increases in size.
- 8
5pm: Now pick the dough from below and pull it over to the top, called as envelop fold. We will do exactly 4 folds.
- 9
5.45pm, 6.30pm, 7.15pm: Tuck the dough, smoothen and let it rest for 45mins. Again, we will do 4 folds. Repeat this over next 1.5 hours with two more folds. In total, we will do 16 envelop folds on the dough. The dough should look very smooth and shiny at the end of this. Leave it to rest for 30-45mins.
- 10
7.45 to 8pm: Carefully remove the dough from bowl and onto a lined/lightly floured kitchen counter.
- 11
Roll the dough into a large circle of 1cm in thickness.
- 12
Meanwhile, prepare cinnamon sugar by mixing sugar and cinnamon powder.
- 13
Sprinkle the cinnamon sugar all over the rolled dough, leaving 1 cm all over the edges.
- 14
Now sprinkle chocolate chips and raisins (each on one side)
- 15
Tightly roll the dough into a log.
- 16
Cut the log of dough into even sized roundels using a sharp knife.
- 17
Place the cut cinnamon rolls into a lined greased baking tin. I used 2 6” pans. You can use a large 10” round or square pan.
- 18
Leave them to proof at room temperature for 45 mins to 1 hour until the rolls have doubled up in size. You can also directly place the pans in fridge and proof them overnight, bake next morning.
- 19
During the last 15 mins of proofing, preheat the oven at 200°C.
- 20
9pm: Bake the buns at 180°C for 25-30 mins until there are golden. Remove from oven.
- 21
Let them cool down completely.
- 22
Prepare the glazing by mixing icing sugar with milk. Drizzle all over the cinnamon buns.
- 23
Serve with a hot cup of coffee/tea. To store them, place in airtight container in fridge. Reheat in microwave for 20 secs before serving.
Cucinala con la ricetta originale
Questa ricetta è di cookingfromheart.com. Sul loro sito trovi le foto, le note e i consigli dell’autore: il posto migliore per cucinarla.
Apri la ricetta su cookingfromheart.com