
Pane al latte giapponese
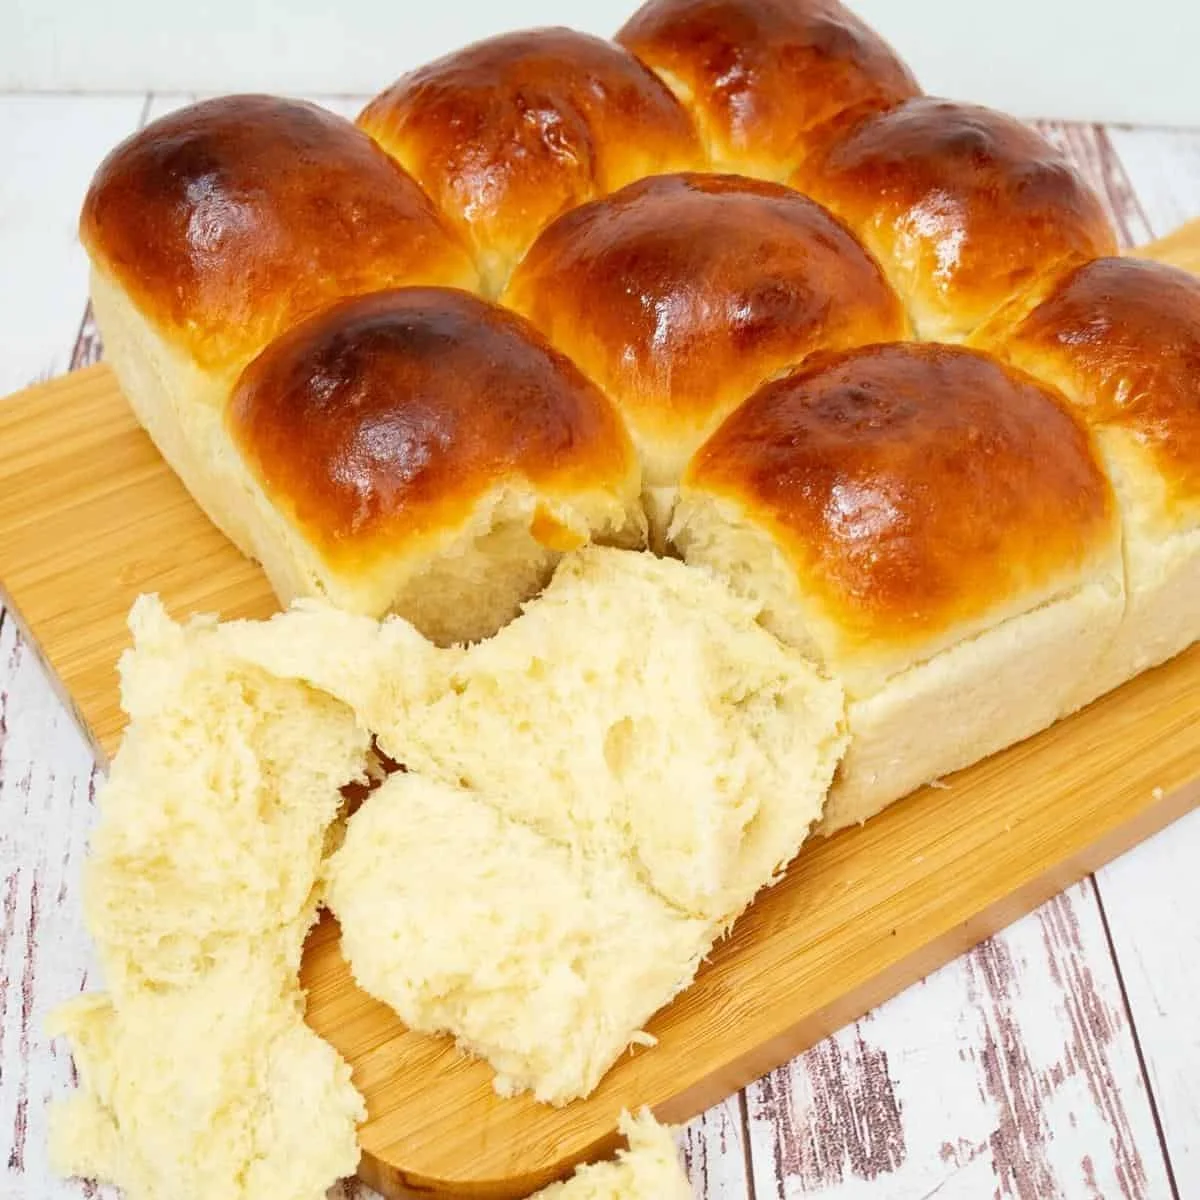
Questo pane al latte giapponese dà vita ai panini più soffici che tu abbia mai preparato. Leggero e arioso come una nuvola, l’impasto si basa sul metodo asiatico del roux all’acqua chiamato tangzhong. È delizioso da solo, ma perfetto anche a colazione, pranzo o cena.
Ingredienti
- 30 ml Milk
- 90 ml Water
- 15 g Bread flour
- 120 ml Warm milk
- 7 g Instant dry yeast (or 21 grams Fresh Bakers Yeast)
- 25 g Sugar
- 15 g Milk powder
- 50 g Egg (large)
- 60 g Butter (unsalted, room temperature)
- 315 g Bread flour
- 5 g Kosher salt
- 1/2 Egg - beaten with 1 tbsp water (for egg wash)
- 2 tbsp Sesame seeds (or poppy seeds (optional))
Preparazione
- 1
--- Tangzhong ---
- 2
Combine: In a saucepan, combine water and flour with a whisk until no lumps. Add the milk and combine well again. Place the saucepan over medium heat and cook this mixture for 2 to 3 minutes. Keep stirring constantly to prevent lumps.
- 3
Transfer: Take it off the heat and transfer it to a bowl or plate. Cover and let cool to almost room temperature. Make sure the plastic touches the surface of the tangzhong to prevent skin.
- 4
--- Dough ---
- 5
Milk: Yeast mixture - In a stand mixer bowl, add the warm milk (110°F) and the yeast. Combine well with a whisk. Then, add the sugar, milk powder, egg, and cooled tangzhong.
- 6
Flour: Combine - Add the flour and salt. Turn the mixer on medium-high speed for 2 to 3 minutes until all the flour is well incorporated.
- 7
Knead - Continue to knead on medium speed for 5 to 6 minutes. Then, add the butter and continue to knead for 3 to 4 minutes more until you have a soft, smooth, and elastic dough.
- 8
Consistency: Bowl - When the dough is soft and shiny, but still slightly sticky, shape it into a ball. Place the dough in an oiled bowl, seam side down. Coat the surface with oil to prevent drying. Cover with a clean kitchen cloth or plastic wrap.
- 9
Rise - Leave in a warm place. Let rise for 60 to 90 minutes until it doubles in volume.
- 10
--- Shape the rolls ---
- 11
Double: Punch - When the dough is doubled in volume, transfer it to a well-dusted floured surface. Punch down and reshape into a ball. Then, roll it into a small log.
- 12
Roll: Divide - Using a dough scraper, divide this log into three portions, and then each of those portions into three again. This should give you nine dinner rolls.
- 13
--- How to shape dinner rolls ---
- 14
Shape - Hold each piece of dough in your hand and gather all the seams together. Pinch the seams at the bottom. Then, place the ball on a non-flour surface while still holding it in your hand.
- 15
Loosen the grip on the dough and roll it back and forth into a tight circle against the work surface. You will feel the dough become tight and smooth.
- 16
--- Proof and bake ---
- 17
Baking Tray: Tray - Grease or spray a 9 x 9 square baking pan. Place the rolls in the pan. Alternatively, you can also place the rolls on a baking tray and bake them as individual rolls.
- 18
Proof - Cover with a clean kitchen towel or plastic wrap and leave in a warm place for about 45 minutes until almost doubled in size.
- 19
Preheat: Oven - When the rolls are almost double in volume, at about 30 minutes, preheat the oven to 375°F / 190°C / Gas Mark 5.
- 20
Egg wash: Eggwash - Brush the rolls with egg wash, milk, or cream.
- 21
Bake for about 22 to 25 minutes until lightly golden on top. When baked, brush with melted butter.
- 22
Tent: Cool - Take them out of the pan and cover them with a clean kitchen cloth for at least 5 minutes to keep them soft.
- 23
Enjoy!
Cucinala con la ricetta originale
Questa ricetta è di veenaazmanov.com. Sul loro sito trovi le foto, le note e i consigli dell’autore: il posto migliore per cucinarla.
Apri la ricetta su veenaazmanov.com