
Pollo in una sola pentola
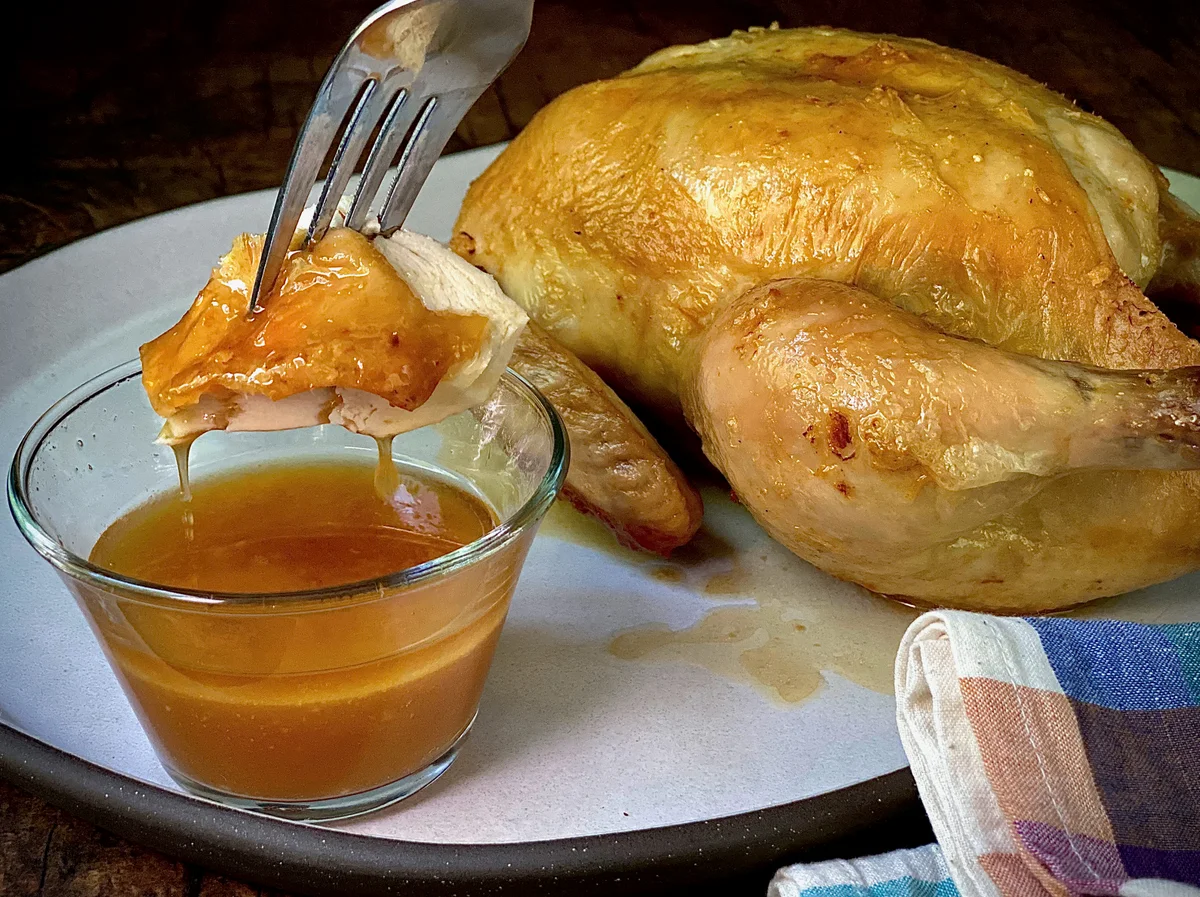
Confessione sincera: quando si tratta di pollo arrosto o allo spiedo, della pelle croccante non mi importa proprio niente. Certo, voglio che sia saporita, e una bella doratura fa sempre piacere, ma quello che cerco è una carne eccellente. Strano? Non direi. Ecco la mia ricetta per il pollo arrosto. Non l’ho mai preparato in televisione perché raramente la pelle risulta «perfetta per la telecamera», ma ascoltatemi… è il pollo migliore che abbia mai fatto. E potrebbe anche essere il più facile. Lo so… mi sono dichiarato molte volte contrario a bagnare la carne durante la cottura, ma allora si parlava di tacchino, e il tacchino non è pollo. In questo caso vogliamo favorire la doratura, e versare sopra un po’ del grasso colato aiuterà… proprio in questo caso. Questa ricetta è apparsa per la prima volta in EveryDayCook. Foto di Lynne Calamia
Ingredienti
- 1 (4-pound) roaster chicken
- 2 quarts water
- 1/3 cup kosher salt
- 2 teaspoons peanut or canola oil
- 1 teaspoon kosher salt
Preparazione
- 1
Dissolve the first dose of salt in the water in a containerI typically use a straight-sided container to ensure the bird will submerge. large enough to hold the chicken. Make sure the bird's cavity is empty and place in brine, breast-side down. Cover and refrigerate 8 to 12 hours. (I usually do this in the morning after I make coffee so that I can cook it that night.)
- 2
To cook, place an empty 4-quart cast-iron Dutch oven in the middle of your oven and crank it to 550°F.
- 3
Give the oven at least 30 minutes to get hot. Meanwhile, drain and thoroughly dry the bird with paper towels, allowing it to come to room temperature while you wait on the oven.
- 4
When the oven is good and hot, rub the bird down with the oil and sprinkle on the remaining teaspoon of salt. Then, open the oven door, slide out the rack holding the Dutch oven, and drop the bird straight down into it, breast-side up. Quickly cover with the hot lid, slide the rack back in, and close the door as quickly as possible.
- 5
Leave the chicken alone for 15 minutes. Then, remove the lid and baste the top of the bird with some of the juices that have accumulated at the bottom of the pot. Cook 12 minutes.
- 6
Remove the Dutch oven to a safe spot (the cooktop would be fine) and don't touch for 10 minutes. Then, remove the lid and allow the bird to rest for 5 minutes. At this point, use your instant-read thermometer to take a reading right in the middle of the breast. I usually see 150°F at this point, and that's ok. Carryover heat will take care of the rest.
- 7
Slide a pair of tongs or a wooden spoon into the cavity and gently lift the bird out to a platter or carving board, tilting it first so that any hot juices drain into the pot.
- 8
I serve this in a rather unorthodox, but insanely satisfactory manner: Pour the juices (a lovely co-mingling of schmaltz and jus) into a few bowls and position around the platter which should be central to the table. Give everyone a knife (not too long or sharp) and allow them to carve off hunks of bird, which should be dipped (by hand) into the juices and consumed forthwith. Plates? We don't need no stinkin' plates! But you will need several napkins. You're welcome.
Cucinala con la ricetta originale
Questa ricetta è di altonbrown.com. Sul loro sito trovi le foto, le note e i consigli dell’autore: il posto migliore per cucinarla.
Apri la ricetta su altonbrown.com