
Basque burnt cheesecake
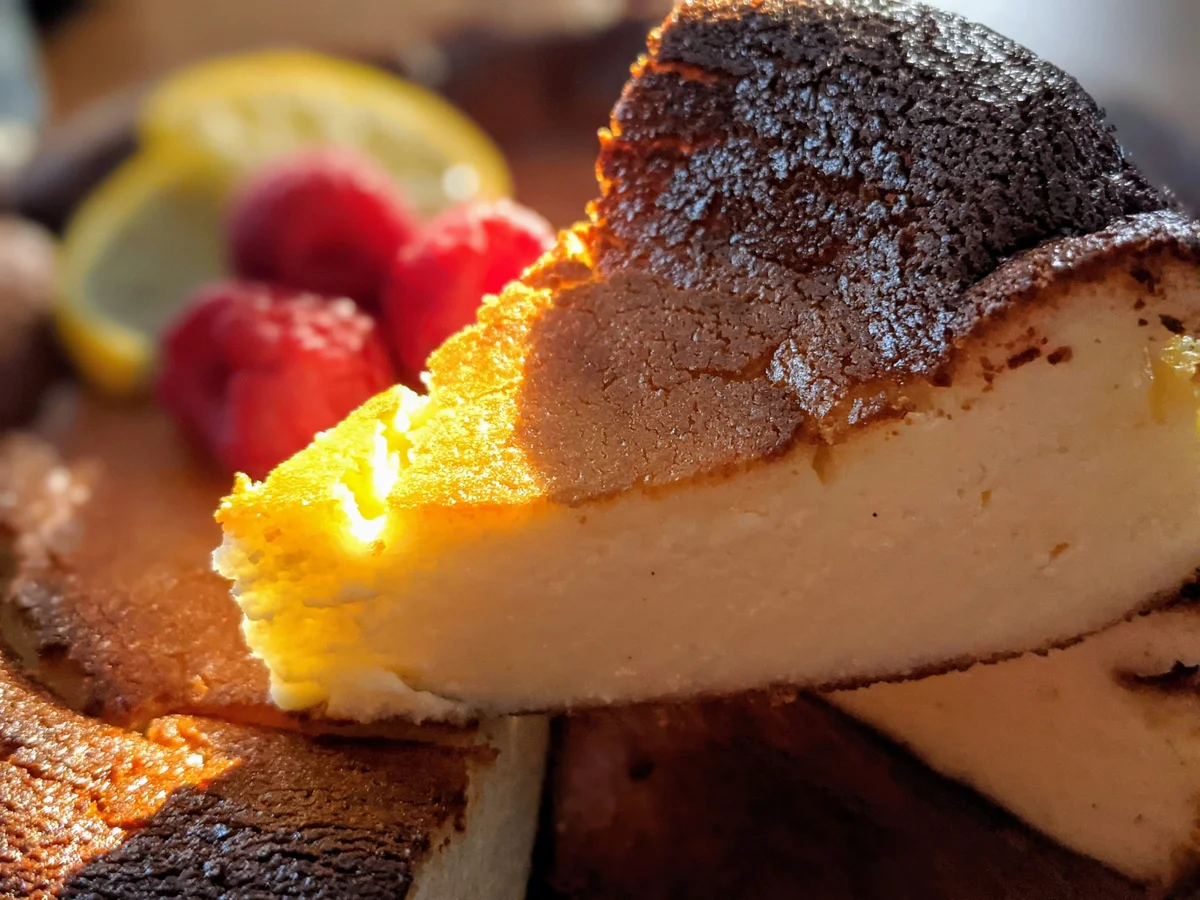
Basque burnt cheesecake is a crustless cheesecake baked until its top is deeply browned while the centre stays soft and creamy. This San Sebastián-inspired version is straightforward to mix and needs no water bath or carefully levelled surface.
Ingredients
- 450 gcream cheese
- 170 gsugar
- 3eggs
- 200 gpouring cream
- 1 pinchsalt
- 1 tablespoonvanilla essence
- 40 gplain flour
- 1 drizzleneutral oil (or butter, to help the baking paper stick to the tin)
Instructions
- 1
Beat the cheese
Using an electric whisk, beat the cream cheese and sugar until smooth and airy. Keep whisking as you add the eggs one at a time, letting each one become fully incorporated before adding the next.
- 2
Add the cream
Pour in the cream and continue whisking.
- 3
Fold in flour
Add the flour, salt and vanilla last. Fold them in gently with a spatula, using a lifting motion to avoid knocking out the air.
- 4
Line the tin
Grease the tin with a little oil so the baking paper will stick. Line it with the paper, keeping it as taut as possible and avoiding too many creases.
- 5
Pour the batter
Pour the very liquid batter into the tin, leaving at least 1.5 cm of space at the top so the cheesecake can rise without spilling over.
- 6
Bake until browned
Bake in a preheated conventional oven at 200°C for 50 minutes. Take it out when the top is well coloured; the cheesecake will still feel a little soft when you move the tin.
- 7
Cool the cake
As it cools, the cheesecake will sink slightly and set, becoming soft and very creamy.
What is Basque burnt cheesecake?
This crustless cheesecake is associated with San Sebastián in Spain’s Basque Country. Its signature is a dark, well-browned top and a tender centre rather than a smooth, pale finish.
This version uses a whisked cream-cheese mixture and a hot bake. The cake is meant to look rustic and to settle as it cools.
Nutrition and macros by portion
The nutrition label shows one serving as written: 3260 calories, 55g protein, 230g carbs, 230g fat.
| Portion | Adjustment | kcal | Protein | Carbs | Fat |
|---|---|---|---|---|---|
| Lighter | Smaller slice, fresh fruit | 2282 kcal | 39g | 161g | 161g |
| This serving | As written | 3260 kcal | 55g | 230g | 230g |
| Hungry | Larger slice | 4890 kcal | 83g | 345g | 345g |
The cream cheese, cream and eggs provide most of the fat and protein, while the sugar and flour contribute most of the carbohydrates. The supplied serving count is 1, so the estimate treats the whole cake as one serving; for a more balanced plate, serve a smaller slice with fresh fruit.
The key ingredients
Cream cheese: use it softened enough to beat smoothly, which helps avoid lumps in the batter.
Cream and eggs: these make the mixture rich and give it structure as it bakes. Add the eggs one at a time so each is incorporated evenly.
Flour: the small amount helps the set, while gentle folding keeps the mixture from losing too much of its air.
Fold gently at the end
Beat the cream cheese and sugar first, then whisk in the eggs and cream as directed. Add the flour, salt and vanilla only at the end.
Use a spatula to fold the final ingredients through with a lifting motion. Stop once no obvious streaks of flour remain; vigorous mixing can deflate the batter.
Line the tin well
A little oil or butter helps the baking paper cling to the tin while you line it. Keep the paper relatively taut so the batter has fewer deep creases to settle into.
Leave at least 1.5 cm of room above the batter. The recipe notes that the mixture is very liquid and needs space to rise during baking.
Look for colour and movement
Bake in a static, preheated oven at 200°C for 50 minutes, until the surface is well coloured. The centre should still move slightly when you shift the tin.
The cheesecake will sink a little as it cools and become more compact. That soft, creamy finish is intentional, so do not wait for it to feel firm in the oven.
Serving and timing
The stated baking time is 50 minutes, within a total recipe time of 65 minutes. Allow for the cake to cool before serving, since it settles and firms up as it does.
Serve it on its own or alongside fresh fruit. Keep any accompaniment simple so the rich, browned cheesecake remains the focus.
Recipe notes & tips
- Let the cream cheese soften before mixing so it beats into a smoother base.
- Add each egg only after the previous one has been fully absorbed.
- Fold the flour in gently with a spatula rather than continuing to whisk.
- Keep at least 1.5 cm of headroom above the batter in the tin.
- Use the browned surface and a slightly soft wobble as the doneness cues.
Variations
- Citrus note: add finely grated lemon zest to the batter for a fresh aroma.
- Coffee flavour: dissolve a little instant coffee in the cream before mixing it in.
- Berry topping: serve slices with fresh berries for a tart contrast.
- Chocolate finish: add a light dusting of cocoa to each slice just before serving.
Common mistakes to avoid
- Adding eggs together: the batter may mix unevenly; incorporate them one at a time.
- Overmixing the flour: this can knock out air; fold it in gently at the end.
- Loose baking paper: it can shift as you pour; grease the tin first to help it stick.
- Filling the tin too high: the batter may overflow; leave at least 1.5 cm at the top.
- Baking until firm: the centre is meant to remain a little soft; remove the cake when the top is well coloured.
How to store
Once cooled, cover the cheesecake and refrigerate it for up to 3 days. Bring a slice to room temperature before serving, or warm it very briefly if you prefer it less chilled.
Frequently asked questions
Why is the centre still soft when it comes out?
That is expected for this recipe. The cheesecake is removed when its surface is well coloured, even though it still feels a little soft when the tin is moved.
Will the cheesecake sink as it cools?
Yes. The recipe describes a slight collapse as it cools, followed by a creamier, more compact texture.
Can I use butter instead of oil for the tin?
Yes. The ingredient list gives butter as an alternative to oil for helping the baking paper adhere to the tin.
How much space should I leave in the tin?
Leave at least 1.5 cm between the batter and the top of the tin to allow room for rising.
Can I make it ahead?
Yes. Bake it ahead and let it cool, then cover and refrigerate it. Allow time for it to lose some of its chill before serving.
Cook it from the original
This recipe comes from funandfood.it. Their page has the author’s own photos, notes and tips — the best place to cook it from.
Open the recipe on funandfood.it