
Pan-fry Sticky Rice With Mango
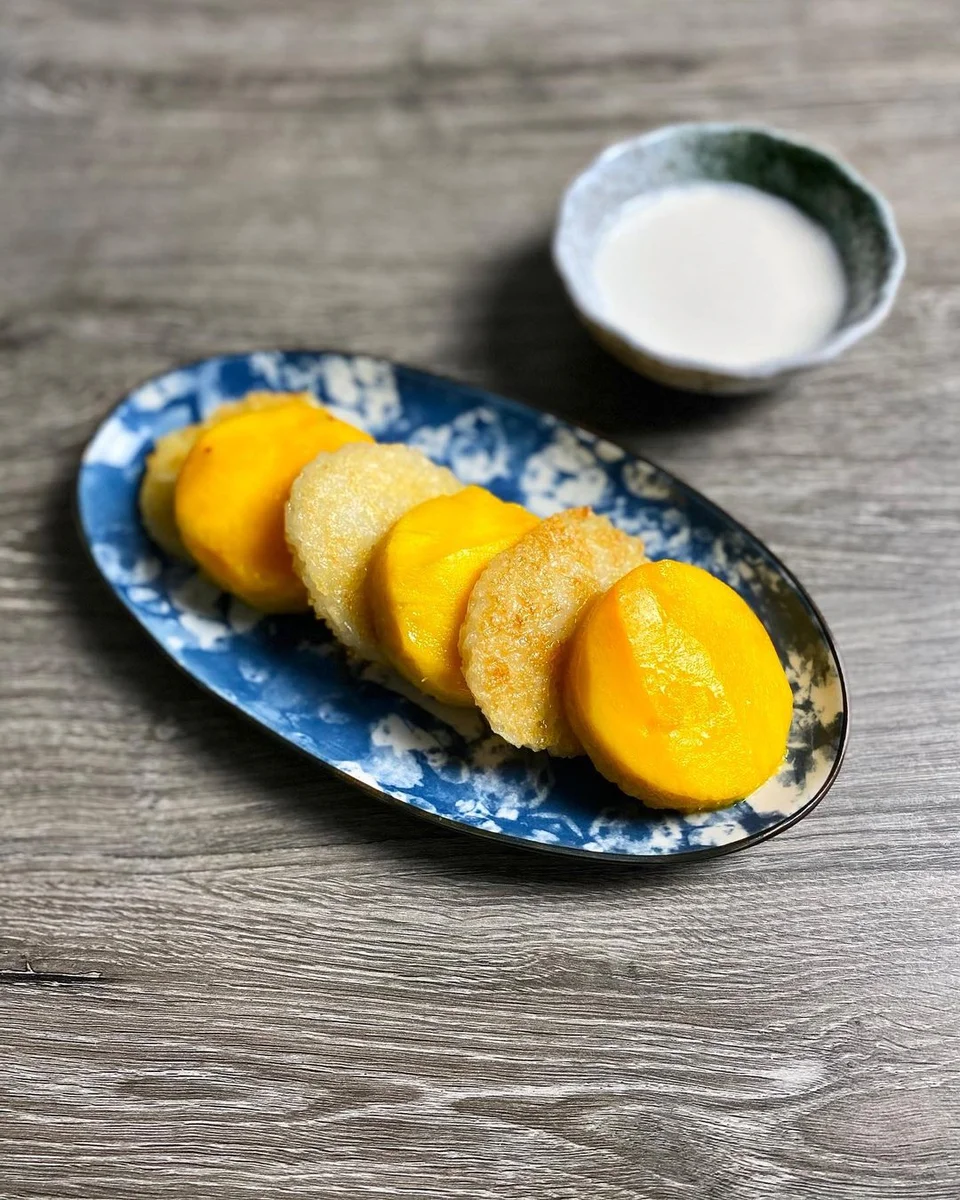
This is a crisp-edged take on mango sticky rice, pairing pan-fried sticky rice with ripe mango and a sweet, salty coconut sauce. It makes a simple dessert or snack when you want the contrast of warm, golden rice and fresh fruit.
Ingredients
- 2mangoes
- 100 graw sticky rice
- 1 teaspoonsalt
- 2 tablespoonssugar, adjustable to taste
- 80 mlcoconut milk
Instructions
- 1
Soak the rice
Rinse the sticky rice and leave it to soak in water for at least 10 hours. Cook it using your usual method, with 80% of the amount of water you would normally use.
- 2
Warm the coconut
Put the coconut milk, sugar and salt in a pan. Heat over a low flame until the sugar has melted.
- 3
Mix and shape
Pour half of the coconut mixture over the cooked sticky rice and mix thoroughly. Divide the rice into portions and shape them.
- 4
Fry the rice
Fry the shaped rice over a medium-low heat until it is lightly golden.
- 5
Serve with mango
Cut the mangoes into pieces and serve them with the fried sticky rice and the remaining coconut mixture.
What is pan-fried mango sticky rice?
Mango sticky rice is a well-known Thai dessert made with glutinous rice, coconut and ripe mango. This version changes the texture by frying the rice after mixing it with some of the coconut sauce.
The result is tender rice with a lightly crisp, golden exterior, served alongside juicy fruit and extra sauce.
Nutrition and macros by portion
The nutrition label shows one serving as written: 200 calories, 2g protein, 31g carbs, 6g fat.
| Portion | Adjustment | kcal | Protein | Carbs | Fat |
|---|---|---|---|---|---|
| Lighter | Use less coconut sauce | 140 kcal | 1g | 22g | 4g |
| This serving | As written | 200 kcal | 2g | 31g | 6g |
| Hungry | Serve a larger portion | 300 kcal | 3g | 47g | 9g |
The sticky rice and sugar provide most of the carbohydrates, while coconut milk contributes much of the fat. Mango adds fruit sugars and some fibre; the dish contains relatively little protein. For a more balanced plate, serve a modest portion after a meal that includes a protein-rich savoury dish.
Choosing the rice
Sticky rice: use raw glutinous rice, not ordinary long-grain rice, so the cooked grains hold together when shaped and fried.
Soaking: allow at least 10 hours in water, as directed. This gives the rice time to absorb water before cooking.
Getting the coconut mixture right
Low heat: warm the coconut milk, sugar and salt gently, just until the sugar dissolves. There is no need to boil it vigorously.
Split the sauce: mix half into the cooked rice and keep the rest for serving. Adjust the sugar to your taste, while keeping the salt in the mixture for balance.
Shaping and frying
Shape the rice after mixing in the coconut sauce, making portions that hold together without being tightly packed.
Fry over medium-low heat and turn or reposition the portions as needed so they colour gradually. They are ready when lightly golden on the outside.
Serving the mango
Mango: cut it shortly before serving so the pieces stay fresh and juicy. Serve it alongside the warm rice rather than frying it.
Coconut sauce: spoon the reserved mixture over the rice or serve it at the table for dipping. This keeps the crisp surface from becoming soggy too soon.
Planning the timing
The rice needs at least 10 hours of soaking, so start it well ahead of serving. Cooking and frying time will depend on your usual rice-cooking method and the size of the portions.
For the best contrast in texture, fry the rice close to serving time and cut the mango while it cooks.
Recipe notes & tips
- Measure the cooking water at 80% of the amount you normally use for this rice.
- Stir the coconut mixture gently over low heat until the sugar has dissolved.
- Let excess moisture drain from the cooked rice before shaping it.
- Make the portions a similar size so they fry at roughly the same rate.
- Use a non-stick pan if the rice tends to cling during frying.
- Choose ripe mangoes that yield slightly when pressed for a soft, sweet accompaniment.
Variations
- Less sweet: reduce the sugar in the coconut mixture to suit your taste.
- Extra coconut: drizzle a little more coconut milk over the rice when serving.
- Lime finish: add a squeeze of lime over the mango for a sharper contrast.
- Toasted sesame: sprinkle sesame seeds over the finished portions for a nutty accent.
- Smaller bites: shape the rice into smaller portions for easier sharing.
Common mistakes to avoid
- Short soaking: the rice may cook unevenly; soak it for at least 10 hours.
- Too much cooking water: the rice can become difficult to shape; use 80% of your usual amount.
- High frying heat: the outside may brown before the rice heats through; keep the pan at medium-low.
- Overcooking the sauce: vigorous boiling can reduce it too far; warm it gently until the sugar melts.
- Saucing too early: the fried surface can soften; add the reserved mixture just before serving.
How to store
Store leftover rice and mango separately in covered containers in the fridge and use within 2 days. Reheat the rice in a pan over a low heat until warmed through; it may not regain all of its original crispness. Cut fresh mango for serving if possible.
Frequently asked questions
Can I soak the sticky rice for less than 10 hours?
The recipe specifies at least 10 hours of soaking. A shorter soak may leave the rice less evenly hydrated, so allow the full time if you can.
Can I use ordinary rice instead?
Ordinary rice will not have the same sticky texture and may not hold together when shaped. Glutinous or sticky rice is the better choice for this method.
How do I know when the rice is fried?
Look for a lightly golden surface. Keep the heat at medium-low so the portions colour gradually.
Can I make the coconut sauce sweeter?
Yes. The sugar is adjustable to taste; dissolve it in the coconut milk with the salt, then taste the mixture before combining it with the rice.
Can I prepare this ahead?
You can soak and cook the rice ahead, then refrigerate it. Shape and fry it closer to serving, and cut the mango shortly before eating.
Cook it from the original
This recipe comes from fooooods.com. Their page has the author’s own photos, notes and tips — the best place to cook it from.
Open the recipe on fooooods.com