
Gluten-Free No-Bake Cheesecake
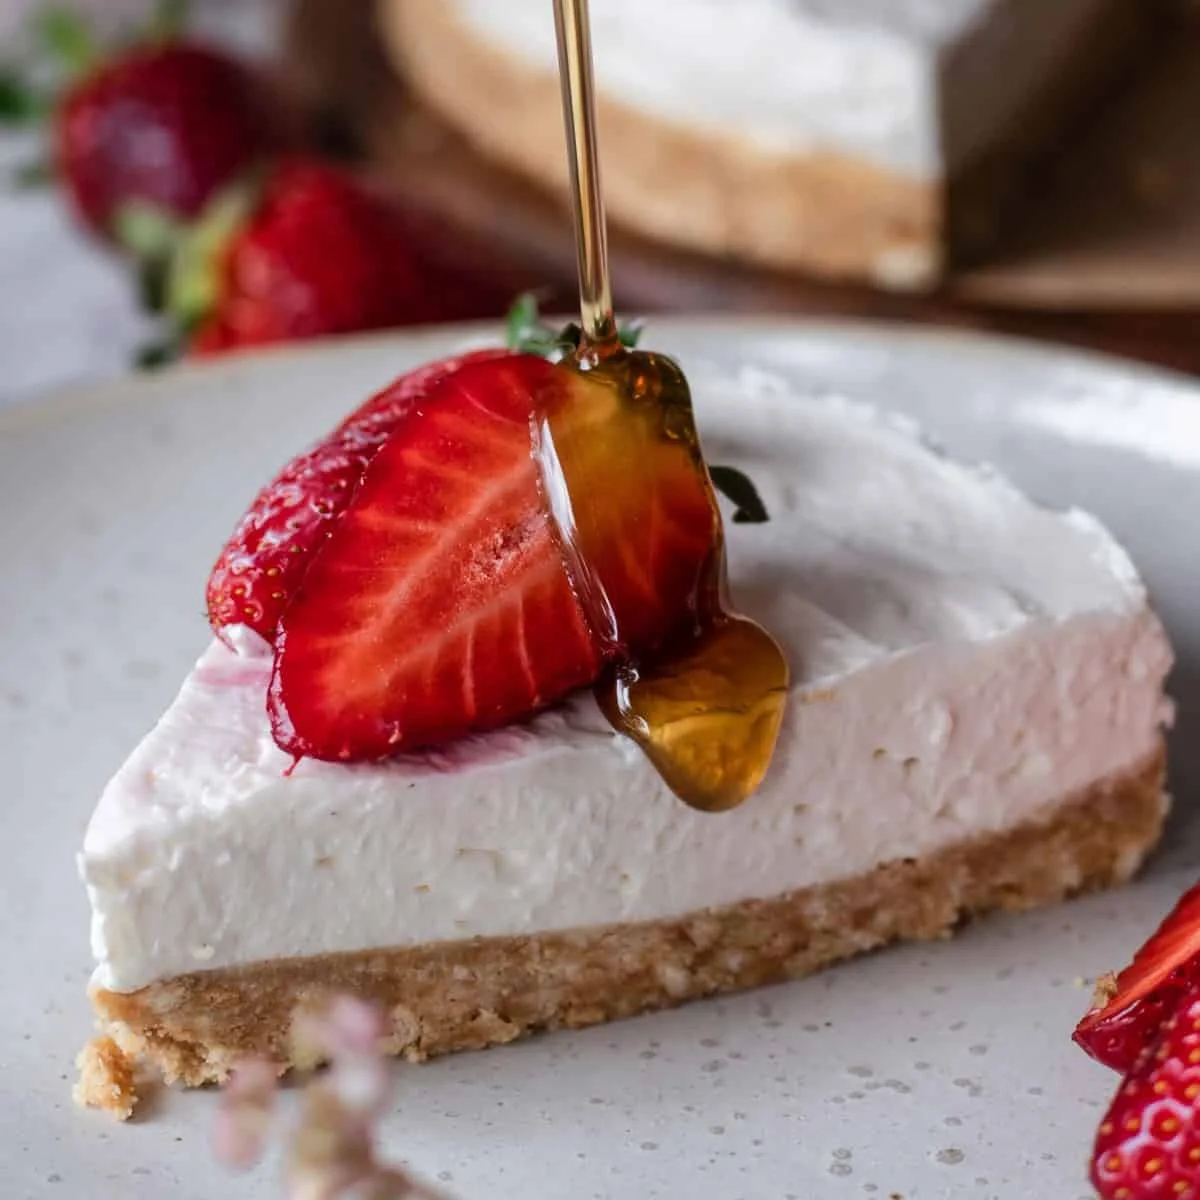
This no-bake cheesecake pairs a buttery gluten-free biscuit crust with a creamy, tangy filling set with gelatine. It is an easy make-ahead dessert, finished with fresh berries and maple syrup.
Ingredients
- 198 g (7 oz)gluten-free graham crackers
- 99 g (3.5 oz; ¼ cup + 3 tbsp)unsalted butter
- 50 g (¼ cup)sugar
- 60 ml (¼ cup)lukewarm water
- 2 tsp (6 g)unflavoured powdered gelatine
- 450 g (2 cups)cream cheese
- 240 ml (1 cup)sour cream
- 7.5 ml (1½ tsp)pure vanilla extract
- 180 g (1½ cups)confectioners’ sugar
- Zest of 1lemon
- To tastefresh berries
- To tastemaple syrup
Instructions
- 1
Crush the biscuits
Crush the gluten-free graham crackers in a food processor or with a rolling pin.
- 2
Make the crust
Stir the crumbs and melted butter together in a medium bowl. Press the mixture over the base and up the sides of a greased 23 cm (9-inch) springform pan, then set it aside.
- 3
Bloom the gelatine
Put the lukewarm water in a small heat-safe bowl and sprinkle the gelatine evenly over it. Stir to combine and leave for a few minutes, until the gelatine swells.
- 4
Liquefy the gelatine
Warm the mixture over low heat until it has just liquefied, without letting it get hot. Set it aside briefly.
- 5
Beat the dairy
Beat the cream cheese and sour cream together in a large bowl for about 2 minutes, until light and fluffy.
- 6
Mix the filling
Keep mixing while slowly pouring in the gelatine mixture, and beat until smooth. Mix in the vanilla and lemon zest just until combined, then add the confectioners’ sugar and beat until smooth. Pour the filling into the prepared crust.
- 7
Chill until set
Refrigerate the cheesecake for at least 5 hours, or until set.
- 8
Loosen the sides
Take the pan from the refrigerator and carefully run a butter knife all around the edge to release the filling from the sides.
- 9
Finish and serve
Remove the sides of the pan, slice the cheesecake and serve with fresh berries and a drizzle of maple syrup.
What is no-bake cheesecake?
Cheesecake is a dessert built around a rich cheese-based filling, often paired with a crumb crust. This no-bake style skips the oven and relies on chilling to set the filling.
Here, sour cream adds a tangy note to the cream cheese, while lemon zest brightens the flavour. Gelatine helps the filling hold its shape when sliced.
Nutrition and macros by portion
The nutrition label shows one serving as written: 586 calories, 6g protein, 51g carbs, 41g fat.
| Portion | Adjustment | kcal | Protein | Carbs | Fat |
|---|---|---|---|---|---|
| Lighter | Smaller slice, more berries | 410 kcal | 4g | 36g | 29g |
| This serving | As written | 586 kcal | 6g | 51g | 41g |
| Hungry | Larger slice | 879 kcal | 9g | 77g | 62g |
The biscuit crust and confectioners’ sugar provide much of the carbohydrate, while the butter and full-fat dairy account for much of the fat; the cream cheese and sour cream also contribute protein. Serve a slice with fresh berries, and balance the plate with a lighter meal or a fruit-based side.
Building a sturdy crust
Crumbs: Crush the biscuits finely so they press together into an even base. A food processor is quick, while a rolling pin and a sealed bag work well by hand.
Butter: Mix the melted butter through the crumbs before pressing them into the greased pan. Press firmly across the base and up the sides to make a crust that is less likely to crumble when served.
Getting the gelatine right
Blooming: Sprinkle the gelatine evenly over the lukewarm water and give it a few minutes to swell. This helps it dissolve smoothly rather than forming dry clumps.
Warming: Heat it gently only until liquefied; the recipe specifies that it should not be hot. Pour it into the filling slowly while mixing so it disperses evenly.
Mixing a smooth filling
Cream cheese and sour cream: Beat these together for about 2 minutes, until light and fluffy. Starting with a smooth base helps the remaining ingredients blend in evenly.
Sugar and flavourings: Add the vanilla and lemon zest before the confectioners’ sugar, following the recipe’s order. Beat the sugar in until the filling looks smooth, then pour it into the crust.
Allow time to set
The cheesecake needs at least 5 hours in the refrigerator, even though the stated total time is 200 minutes. Make it ahead and use the set, rather than the clock alone, as your cue before unmoulding.
A well-chilled filling should hold together when sliced. If it still seems soft in the centre, leave it to chill longer.
Unmoulding and serving
Release: Carefully run a butter knife around the edge before opening the springform pan. This helps separate the filling from the sides without dragging it.
To serve: Add fresh berries and a drizzle of maple syrup just before serving. The fruit brings a fresh contrast to the creamy, sweet filling.
Recipe notes & tips
- Grease the springform pan before pressing in the crumb mixture.
- Use finely crushed biscuits for a more even crust.
- Let the gelatine swell fully before warming it.
- Keep the gelatine warm enough to stay liquid but not hot.
- Pour the gelatine into the filling gradually while the mixer is running.
- Chill for at least 5 hours and longer if the centre has not set.
Variations
- Berry topping: Use a mix of fresh berries instead of serving with strawberries alone.
- Citrus swap: Replace the lemon zest with orange zest for a softer citrus note.
- Biscuit choice: Use another gluten-free graham-style biscuit for the crust.
- Vanilla note: Adjust the vanilla slightly to suit your taste.
- Maple finish: Add the maple syrup at the table so each slice can be dressed to taste.
Common mistakes to avoid
- Uneven crumbs: Crush the biscuits finely so the crust presses together consistently.
- Loose crust: Press the crumb mixture firmly over the base and up the sides of the pan.
- Lumpy gelatine: Sprinkle it evenly over the water and let it swell before heating.
- Hot gelatine: Warm it only until liquefied, then set it aside briefly before adding.
- Rushed chilling: Give the cheesecake at least 5 hours in the refrigerator, or wait until fully set.
- Sticking sides: Run a butter knife carefully around the edge before removing the pan sides.
How to store
Cover and refrigerate leftover cheesecake and eat within 3 days. Keep the berries and maple syrup separate until serving, and serve chilled; freezing may change the creamy texture.
Frequently asked questions
How long does this cheesecake need to chill?
It needs at least 5 hours in the refrigerator, or until set. The stated 200-minute total time is shorter than that minimum chilling time.
Can I make it the day before?
Yes. Prepare it ahead and keep it covered in the refrigerator; add the berries and maple syrup when serving.
How can I tell when the gelatine is ready?
After sitting in the water for a few minutes, it should look swollen. Warm it gently until just liquefied, without allowing it to become hot.
Can I use a different gluten-free biscuit?
A gluten-free biscuit with a similar crumb should work. Crush it finely and mix it with the melted butter as directed.
Why is my cheesecake still soft?
It may need more time to chill. Keep it refrigerated until the filling is set before removing the pan sides.
Can I leave off the maple syrup?
Yes. The syrup is a serving suggestion, so you can serve the cheesecake with berries alone.
Cook it from the original
This recipe comes from glutenfreestories.com. Their page has the author’s own photos, notes and tips — the best place to cook it from.
Open the recipe on glutenfreestories.com