
Vegan Banana Ice Cream Recipe
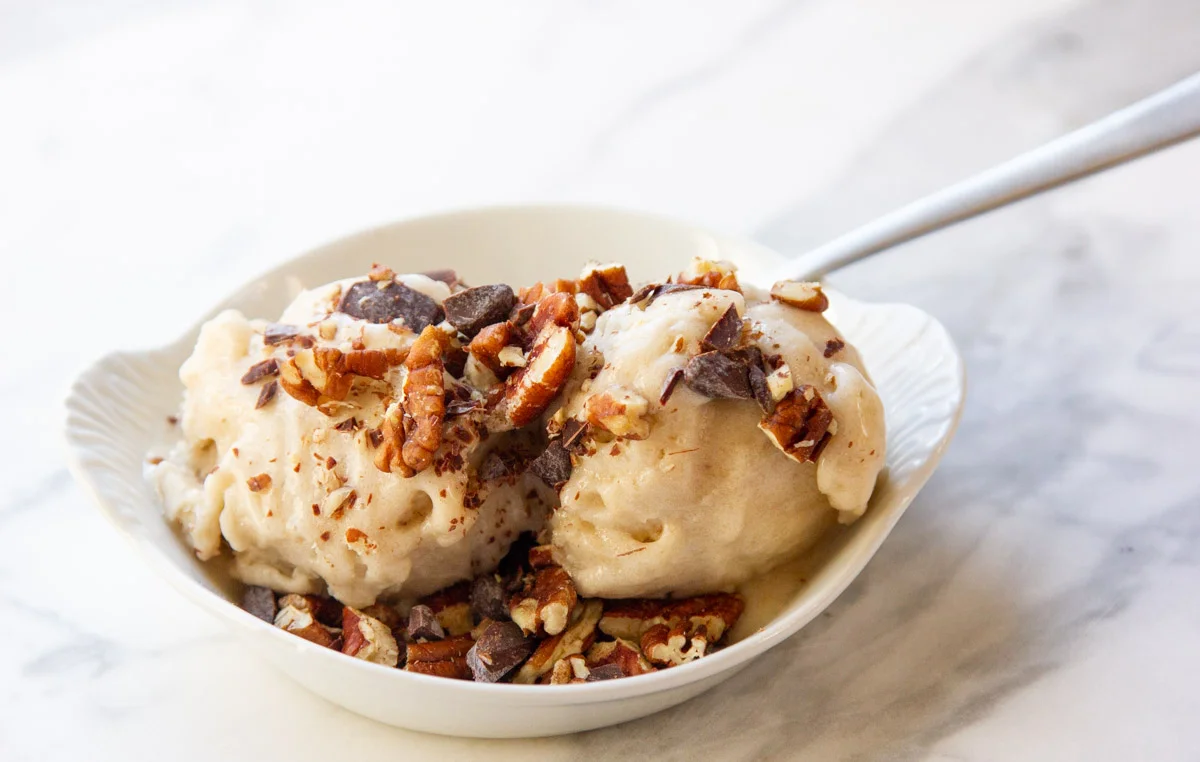
This quick vegan banana ice cream blends frozen bananas with plant-based milk into a smooth, creamy dessert. It takes about five minutes and needs no churning, making it an easy way to use ripe bananas.
Ingredients
- 2bananas, frozen
- 120 ml (½ cup)plant-based milk (almond, rice or another kind)
Instructions
- 1
Blend the bananas
Take the bananas out of the freezer and roughly chop them. Put them in a blender with the almond or rice milk and pulse until smooth. Scrape the mixture out with a spatula.
- 2
Serve or freeze
Enjoy the ice cream straight away, or transfer it to a freezer-safe container. It will become firm if left in the freezer overnight; let it soften on the counter for about 20 minutes, or until scoopable, or defrost it in the microwave.
- 3
Add extras
See the notes for optional add-ins or toppings, then enjoy.
What is vegan banana ice cream?
Often called banana nice cream, this is a simple frozen-fruit dessert made by blending frozen bananas until creamy. It has become a popular modern American-style home treat because it needs neither dairy nor an ice-cream maker.
This version keeps the ingredient list short: banana provides the sweetness and body, while a little plant-based milk helps the blender move the fruit.
Nutrition and macros by portion
The nutrition label shows one serving as written: 125 calories, 2g protein, 29g carbs, 2g fat.
| Portion | Adjustment | kcal | Protein | Carbs | Fat |
|---|---|---|---|---|---|
| Lighter | Smaller scoop, fewer toppings | 88 kcal | 1g | 20g | 1g |
| This serving | As written | 125 kcal | 2g | 29g | 2g |
| Hungry | Larger scoop | 188 kcal | 3g | 44g | 3g |
Most of the carbohydrates and sugars come from the bananas; they also contribute fibre. The plant-based milk adds a little fat and protein, though the amounts vary by type and brand. For a more balanced plate, pair a portion with a handful of nuts or another protein-rich food.
Choosing the bananas
Ripe bananas: use bananas that were ripe before freezing, as they bring more sweetness and flavour to the finished dessert.
Frozen pieces: if freezing the bananas yourself, peel and cut them into chunks first so they are easier to blend.
Getting a smooth blend
Pulse first: short bursts help move the frozen fruit towards the blades without immediately turning it into a thin liquid.
Add milk gradually: the recipe uses 120 ml, but you can begin with less and add just enough to help the mixture blend. Too much liquid makes the result softer.
Serving texture
Freshly blended: serve as soon as it is smooth for a soft, spoonable texture.
After freezing: the mixture firms up in the freezer. Give it time to soften before scooping, especially after an overnight freeze.
Timing and equipment
Ready in minutes: the stated preparation time is five minutes, provided the bananas are already frozen.
Blender: use a spatula to scrape the finished mixture from the jug. If the blender struggles, pause and let the fruit soften slightly before continuing.
What to serve it with
Simple toppings: serve it on its own or add a topping of your choice for extra texture. Add toppings just before serving so they stay distinct.
A fuller snack: pair a small serving with a source of protein, such as a handful of nuts, if you want a more substantial plate.
Recipe notes & tips
- Freeze peeled banana chunks so they are ready to blend.
- Use a spatula to scrape down the blender if pieces stick to the sides.
- Start with a little milk and add more only if the blender needs help.
- Eat it straight after blending for the softest texture.
- Let frozen leftovers soften until scoopable before serving.
Variations
- Add cocoa: blend in a little cocoa powder for a chocolate flavour.
- Use oat milk: swap it for the listed plant-based milk for a different taste and texture.
- Add nut butter: blend in a spoonful for a richer, nutty version.
- Top with berries: scatter fresh or thawed berries over each serving.
- Add cinnamon: blend in a pinch for a warm, gently spiced note.
Common mistakes to avoid
- Adding too much milk: the mixture can turn runny; start with less and add only what the blender needs.
- Blending continuously: the fruit may warm up; use short pulses and pause as needed.
- Using unripe bananas: the flavour can be less sweet; choose ripe bananas before freezing.
- Freezing without softening: the dessert can be difficult to scoop; let it stand until scoopable.
- Leaving large frozen pieces: they can strain the blender; chop the bananas roughly before blending.
How to store
Store leftovers in a freezer-safe container. They keep for about a month for best quality; after an overnight freeze, let the ice cream soften on the counter for about 20 minutes or defrost it briefly in the microwave before scooping.
Frequently asked questions
Can I make this without a high-powered blender?
Yes, though you may need to pause and scrape down the sides. Let the banana pieces soften slightly if the blender is struggling.
Can I use a different plant-based milk?
Yes. The recipe allows almond, rice or another plant-based milk; the flavour and creaminess will vary with your choice.
Why is my banana ice cream runny?
It may have warmed during blending or have too much milk. Use less milk and serve promptly for a thicker result.
Can I make it ahead?
Yes. Freeze it in a freezer-safe container, then let it soften until scoopable before serving.
Can I add toppings or other ingredients?
Yes. Add-ins can be blended with the bananas, while toppings can be added just before serving. Extra ingredients will change the flavour and nutrition.
Cook it from the original
This recipe comes from goodgutayurveda.com. Their page has the author’s own photos, notes and tips — the best place to cook it from.
Open the recipe on goodgutayurveda.com