
Grilled BBQ Chicken Thighs
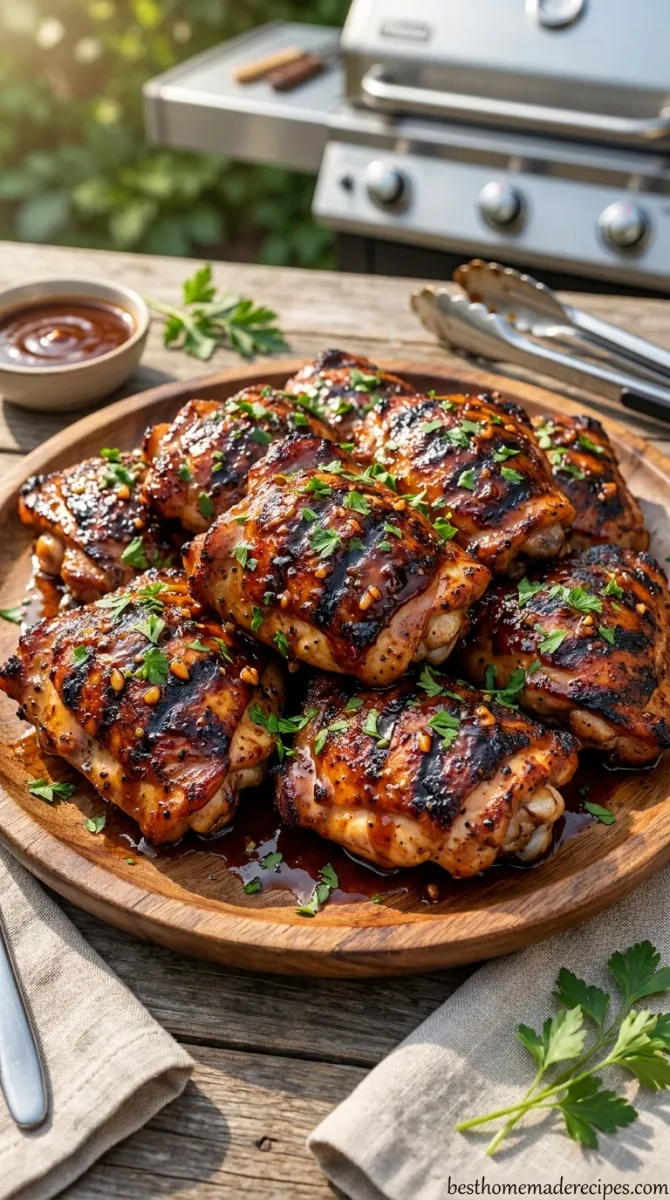
Charred edges, sticky-sweet lacquer, and impossibly juicy meat—these grilled BBQ chicken thighs are summer perfection. This recipe uses a simple, punchy marinade and a two-zone fire to achieve a perfect char without burning, resulting in a glossy, candy-like glaze. Get ready to become the grill hero of every backyard gathering.
Ingredients
- 2 lbs boneless, skinless chicken thighs (or bone-in, skin-on)
- 1/2 cup your favorite BBQ sauce (plus more for basting)
- 2 tbsp olive oil
- 1 tbsp smoked paprika
- 1 tsp garlic powder
- 1 tsp onion powder
- 1/2 tsp cayenne pepper (optional)
- Salt and black pepper to taste
Instructions
- 1
Pat the chicken thighs dry with paper towels. In a large bowl, whisk together the olive oil, smoked paprika, garlic powder, onion powder, cayenne (if using), and a generous pinch of salt and pepper. Add the chicken thighs and toss to coat evenly. Let them sit at room temperature for 15-30 minutes.
- 2
Preheat the grill for two-zone cooking: for a gas grill, turn one side to high heat and the other side to medium-low; for a charcoal grill, bank the hot coals to one side. Aim for a surface temperature of about 400-450°F on the hot side.
- 3
Place the chicken thighs skin-side down (if using skin-on) or presentation-side down on the hot side of the grill. Cook for 4-5 minutes without moving them, until deep golden-brown grill marks appear. Flip and sear the other side for another 3-4 minutes.
- 4
Move the thighs to the cooler side of the grill. Brush the tops generously with your BBQ sauce. Close the lid and cook for 10-12 minutes. Flip the thighs, baste the other side, and cook for another 10-12 minutes. The internal temperature should reach 165°F for boneless or 175°F for bone-in.
- 5
In the last 2-3 minutes of cooking, move the thighs back to the hot side of the grill. Brush on a final, thick layer of BBQ sauce. Let it bubble and caramelize for 1-2 minutes per side, being careful not to let it burn. Remove the chicken to a clean plate and let it rest for 5 minutes before serving.
Cook it from the original
This recipe comes from besthomemaderecipes.com. Their page has the author’s own photos, notes and tips — the best place to cook it from.
Open the recipe on besthomemaderecipes.com