
Honey Garlic Chicken Skewers for Quick Dinners
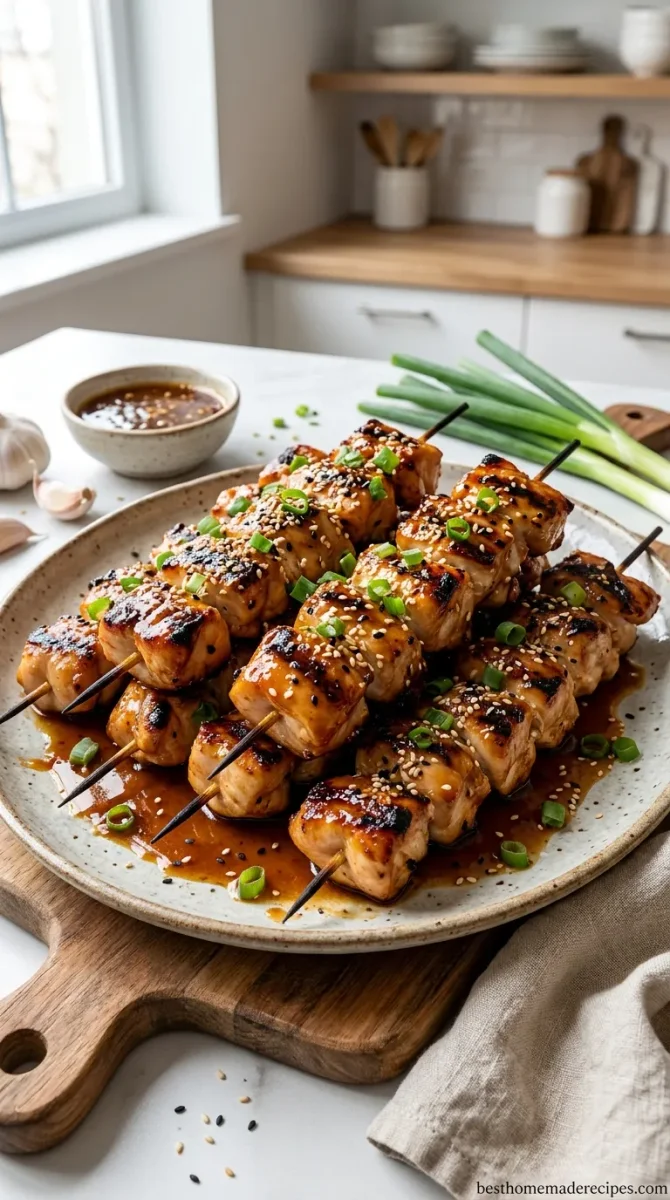
These Honey Garlic Chicken Skewers are the ultimate quick dinner, delivering juicy, tender chicken with a perfectly balanced sweet-savory glaze in under 30 minutes. A clever baking soda marinade ensures the meat stays succulent, while a two-step basting technique creates a beautiful caramelized finish without burning. Perfect for a weeknight meal or a summer BBQ, these skewers are incredibly fast and packed with flavor.
Ingredients
- 1.5 lbs boneless, skinless chicken thighs, cut into 1.5-inch cubes
- 1 teaspoon baking soda
- 1 tablespoon water
- 1/3 cup honey
- 4 cloves garlic, minced
- 1/4 cup low-sodium soy sauce
- 2 tablespoons rice vinegar
- 1 tablespoon ketchup
- 2 tablespoons vegetable oil
- Toasted sesame seeds, for garnish
- Sliced green onions, for garnish
Instructions
- 1
In a medium bowl, toss the cubed chicken with the baking soda and 1 tablespoon of water. Let it sit for 15 minutes at room temperature.
- 2
Rinse the chicken thoroughly under cold water and pat it completely dry with paper towels.
- 3
While the chicken rests, whisk together the honey, minced garlic, soy sauce, rice vinegar, and ketchup in a small bowl. Set aside half of this mixture in a separate bowl for the finishing glaze; the remaining half is for basting during cooking.
- 4
Thread the chicken cubes onto skewers, leaving a small gap between each piece for even cooking.
- 5
Heat a grill pan, outdoor grill, or cast-iron skillet over medium-high heat. Brush the grates with vegetable oil.
- 6
Place the skewers on the hot surface and cook for 4-5 minutes per side, undisturbed, until deep golden-brown char forms.
- 7
During the last 2 minutes of cooking on the second side, brush the skewers generously with the basting glaze. Flip once more and brush again. Cook until the internal temperature reaches 165°F (74°C).
- 8
Remove the skewers from the heat and immediately brush with the reserved finishing glaze.
- 9
Transfer to a serving platter, sprinkle with toasted sesame seeds and sliced green onions, and serve right away.
Cook it from the original
This recipe comes from besthomemaderecipes.com. Their page has the author’s own photos, notes and tips — the best place to cook it from.
Open the recipe on besthomemaderecipes.com