
Lemon Tart
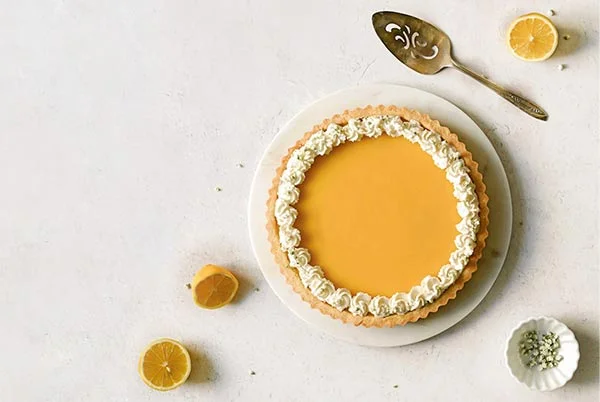
Ingredients
- 1 (9-inch) gluten-free tart or pie crust, parbaked and warm ((store-bought or see recipe))
- 4 large eggs
- 2 large egg yolks
- 1 cup sugar
- Zest 2 large lemons
- 1/8 teaspoon kosher or fine sea salt
- 3/4 cup lemon juice (, freshly squeezed (about 6 lemons))
- 1/3 cup cold butter (, chopped)
Instructions
- 1
Prepare and par-bake the crust as directed.
- 2
In a medium saucepan, whisk together the whole eggs, egg yolks, sugar, lemon zest, and salt until light and creamy. Slowly whisk in the lemon juice.
- 3
Turn the burner to medium-low heat, and whisk the lemon filling until it reaches 165°F. This will take between 5-8 minutes. Once the curd starts to bubble and thicken, coating the back of a spoon, remove from the heat.
- 4
Place a stainless-steel fine mesh sieve over a large bowl with the cold butter and carefully pour the lemon filling into the sieve to strain any cooked eggs and zest. Use a spatula to press the filling through the sieve, tapping the sieve occasionally to push through any excess filling. Occasionally rinse out the bottom of the sieve, discarding any zest that clogs the mesh, and continue the process until all the filling is strained. You should have about 2 cups of filling.
- 5
Whisk together the lemon custard and butter until smooth, then pour the filling into the par-baked crust. Depending on the type of crust you use, it may be beneficial to add a pie shield or piece of aluminum foil around the edges of the crust to prevent burning.
- 6
Place the tart on a baking sheet and bake at 350°F for 12-15 minutes. The tart should be slightly wobbly but not puffy or cracked.
- 7
Remove from the oven and let sit at room temperature for 1 hour. Refrigerate the tart for at least 4 hours to chill. For best results, chill overnight.
- 8
Keep the tart refrigerated until ready to serve. Prior to serving, remove the shell from the tart pan and top with freshly made whipped cream, fresh berries, or lightly dust with powdered sugar.
Cook it from the original
This recipe comes from glutenfreeandmore.com. Their page has the author’s own photos, notes and tips — the best place to cook it from.
Open the recipe on glutenfreeandmore.com