
Chinese-style fried rice
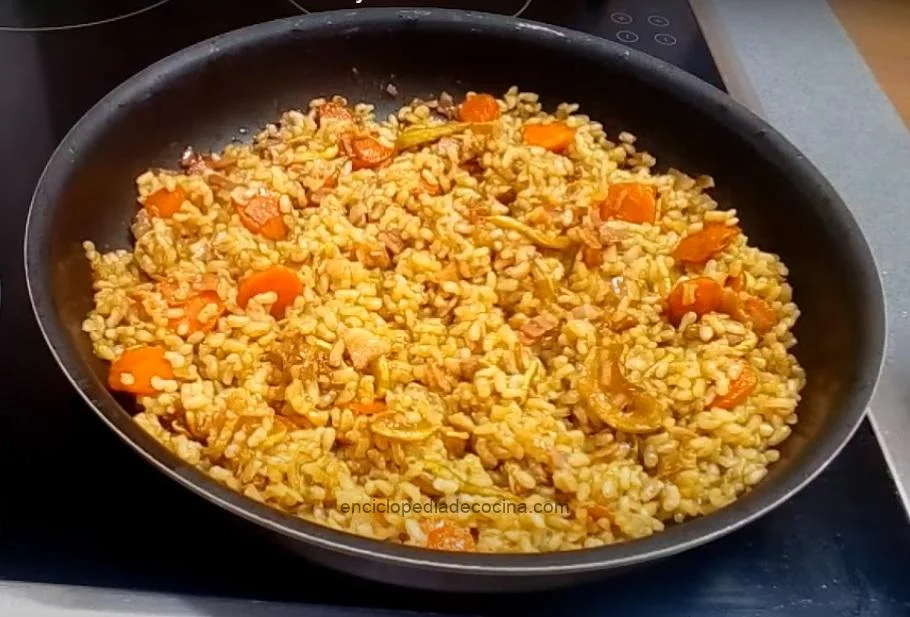
This simple Chinese-style fried rice is cooked in a hot pan with peanut oil and soy sauce until lightly toasted and piping hot. Serve it straight away as a side, for example alongside chicken baked in wine.
Ingredients
- 10–15 ml (2 or 3 teaspoons)peanut oil
- about 65 g (⅓ cup)rice
- 10 ml (2 teaspoons), plus more to tastesoy sauce
Instructions
- 1
Heat the oil
Heat the peanut oil in a heavy iron frying pan over fairly high heat. Add the cold, cooked rice and turn the heat up to maximum. Stir so the grains are thoroughly coated in oil, then add 5 ml (1 teaspoon) of the soy sauce.
- 2
Toast the rice
Fry the rice, stirring constantly, until it is lightly toasted. Taste it and add more soy sauce if needed.
- 3
Finish cooking
Once the rice tastes good, reduce the heat to medium and cook gently, turning it until it is done, hot and steaming. If it seems dry, cover the pan, reduce the heat to low and cook for 2–3 minutes.
- 4
Serve immediately
Serve the rice as soon as it is ready; if left to stand, it can form a hard crust.
What is Chinese-style fried rice?
Fried rice is a familiar Chinese dish built around cooked rice that is reheated in a hot pan with seasonings. This pared-back version uses peanut oil and soy sauce, making it a straightforward accompaniment rather than a meal with extra vegetables or protein.
Cold cooked rice is specified because it can be stirred and fried without becoming as soft as freshly cooked rice. The brief, hot frying gives the grains a lightly toasted finish.
Nutrition and macros by portion
The nutrition label shows one serving as written: 46 calories, 1g protein, 7g carbs, 2g fat.
| Portion | Adjustment | kcal | Protein | Carbs | Fat |
|---|---|---|---|---|---|
| Lighter | Use less peanut oil | 32 kcal | 0g | 5g | 1g |
| This serving | As written | 46 kcal | 1g | 7g | 2g |
| Hungry | Serve a larger portion | 69 kcal | 1g | 10g | 3g |
The rice supplies most of the carbohydrate, while peanut oil provides most of the fat; the small amount of soy sauce contributes some protein and much of the sodium. For a more balanced plate, serve it with a protein-rich main and vegetables.
The rice matters
Cold rice: use rice that has already been cooked and cooled, as the method directs. Separate any clumps before adding it to the pan so the grains can be coated evenly.
Use a hot, heavy pan
Pan: a heavy iron frying pan holds heat well, helping the rice fry rather than simply warm through. Heat the peanut oil over fairly high heat before adding the rice.
Stirring: keep the rice moving as it cooks. This helps distribute the oil and soy sauce and reduces the chance of scorching in the very hot pan.
Season in stages
First addition: stir in 5 ml (1 teaspoon) of soy sauce after the rice has been coated in oil. This seasons the grains while they fry.
Taste: check the rice after it has become lightly toasted, then add more soy sauce only if needed. Soy sauce varies in saltiness, so tasting helps avoid over-seasoning.
Look for the right finish
Toasted grains: the rice should be lightly toasted, not deeply browned. Keep stirring and use the colour and aroma as cues rather than leaving it unattended.
Steaming hot: once seasoned, lower the heat to medium and turn the rice until it is hot and steaming. If it looks dry, cover the pan and cook on low for 2–3 minutes.
Serve it promptly
Timing: this rice is best served straight from the pan because it can develop a hard crust if left to stand. Have the rest of the meal ready before you begin frying.
Pairing: serve it as a side with a saucy main such as chicken baked in wine. Its simple seasoning also suits other dishes that need a plain, savoury accompaniment.
Recipe notes & tips
- Cook and chill the rice ahead so it is cold when it goes into the pan.
- Break up clumps of cold rice before frying.
- Have the soy sauce measured and ready before heating the pan.
- Keep stirring once the rice is added, especially over maximum heat.
- Taste before adding the remaining soy sauce.
- Serve as soon as the rice is hot and steaming.
Variations
- Add spring onions: stir in finely sliced spring onions near the end of frying.
- Add peas: briefly cook peas with the rice until they are hot.
- Add egg: scramble an egg in the pan before adding the rice, then stir it through.
- Add garlic: fry a little finely chopped garlic in the oil before adding the rice.
- Add sesame: finish with a small sprinkle of sesame seeds for extra texture.
Common mistakes to avoid
- Using warm rice: it can turn soft and clump together; use cold, cooked rice as directed.
- Adding rice before the pan is hot: the grains may absorb oil without toasting; heat the oil first.
- Leaving the rice unstirred: it can scorch in the hot pan; keep it moving.
- Adding all the soy sauce at once: the rice may become too salty; season in stages and taste.
- Cooking it too long uncovered: the rice can dry out; cover on low for 2–3 minutes if needed.
- Letting it stand: the rice can form a hard crust; serve immediately.
How to store
This recipe is best served immediately, as the rice can form a hard crust if left to stand. If storing leftovers, refrigerate them promptly in a covered container and reheat thoroughly until steaming hot; follow local food-safety guidance for cooked rice.
Frequently asked questions
Does the rice need to be cooked before frying?
Yes. The method calls for cold, cooked rice, so cook it ahead and chill it before making the dish.
Can I use a different frying pan?
A heavy pan is recommended because it holds heat well. Use the heaviest frying pan you have and keep the rice moving.
When should I add the soy sauce?
Add 5 ml (1 teaspoon) after coating the rice in oil. Taste after toasting and add more to taste.
What should I do if the rice seems dry?
Cover the pan, reduce the heat to low and cook for 2–3 minutes, as the method directs.
Can I make this ahead?
The rice is best cooked just before serving because it can form a hard crust if left to stand.
Cook it from the original
This recipe comes from enciclopediadecocina.com. Their page has the author’s own photos, notes and tips — the best place to cook it from.
Open the recipe on enciclopediadecocina.com