
Meringue Kisses
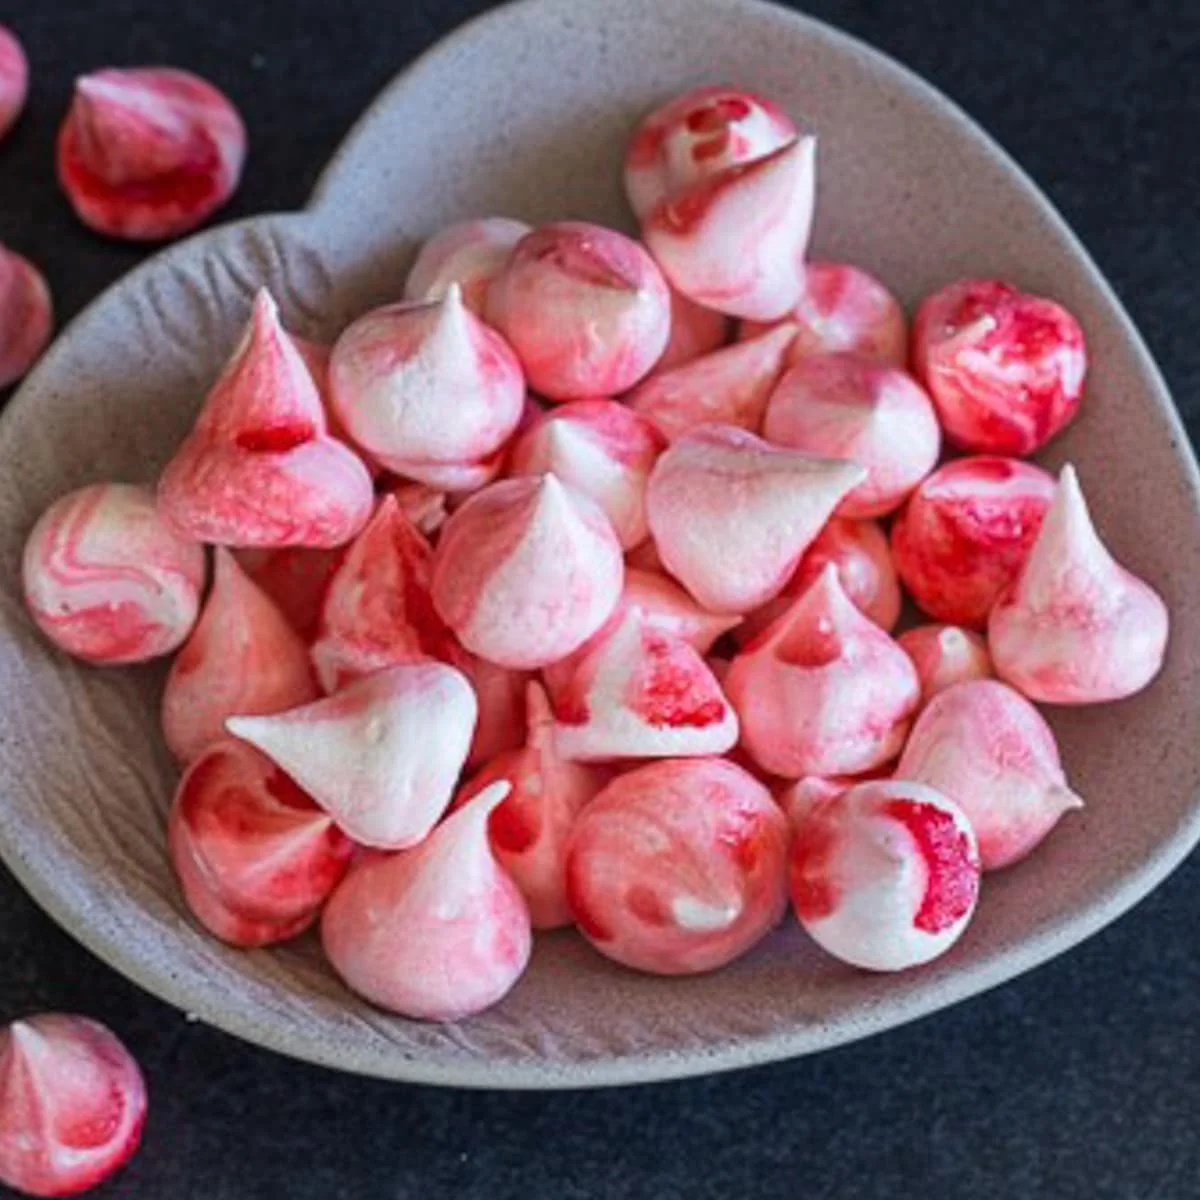
Meringue kisses are crisp, light little drops made by baking whipped egg whites and sugar slowly. They make an elegant party treat, and you can colour them to suit the occasion.
Ingredients
- 2egg whites
- 100 g (½ cup)fine sugar
Instructions
- 1
Prepare the oven
Preheat the oven to 100°C (200°F) and line one or two baking trays with baking parchment.
- 2
Whisk the whites
In a medium bowl, beat the egg whites, starting at low speed and gradually increasing to high, until stiff peaks form. Add the sugar very slowly, one teaspoon at a time, continuing to beat and ensuring the mixture is stiff after each addition.
- 3
Make it glossy
When all the sugar has been added, keep whisking on high until the meringue is smooth, stiff and glossy. Whisk for at least 5–10 minutes after incorporating the sugar.
- 4
Pipe the kisses
Transfer the mixture to a piping bag fitted with your chosen nozzle and pipe small kisses onto the prepared trays. To add colour, put strips of gel food colouring inside the piping bag before filling it.
- 5
Bake and cool
Bake for approximately 35–45 minutes, until the kisses lift cleanly from the parchment without sticking. Turn off the oven, wedge the door slightly open with the handle of a wooden spoon, and leave the meringues inside until the oven is completely cool; this can take 1–2 hours. Serve or store in an airtight container for up to two weeks.
What are meringue kisses?
Meringue is a French-style preparation of whipped egg whites and sugar, baked gently until dry and crisp. These small piped drops turn that simple mixture into dainty sweets for parties or gifts.
The recipe works by building a firm foam before adding the sugar gradually. A low oven and a slow cool-down help the kisses dry without browning.
Nutrition and macros by portion
The nutrition label shows one serving as written: 8 calories, 1g protein, 2g carbs, 0g fat.
| Portion | Adjustment | kcal | Protein | Carbs | Fat |
|---|---|---|---|---|---|
| Lighter | Serve fewer kisses | 6 kcal | 1g | 1g | 0g |
| This serving | As written | 8 kcal | 1g | 2g | 0g |
| Hungry | Serve a larger handful | 12 kcal | 2g | 3g | 0g |
The egg whites provide most of the protein, while the sugar supplies the carbohydrates; the recipe contains virtually no added fat. Enjoy a few alongside fruit or serve them after a meal rather than treating them as the whole plate.
The two ingredients
Egg whites: Use a clean, dry bowl and take care not to let any yolk get into the whites, as fat can make them harder to whip to stiff peaks.
Fine sugar: Its small crystals incorporate more readily than coarse sugar. Add it a teaspoon at a time so the foam can stay firm as it sweetens.
Whipping to the right texture
Stiff peaks: Begin at low speed, then increase to high and beat until the whites hold their shape. Add each small spoonful of sugar only once the mixture is stiff again.
Glossy finish: After the last of the sugar goes in, keep whisking for at least 5–10 minutes. The finished meringue should look smooth and glossy, not grainy or slack.
Piping neat shapes
Nozzle choice: A star or round tip will both work; the tip determines the shape, while steady pressure helps keep the kisses a similar size.
Colour: Add gel colouring as strips inside the piping bag before filling it for coloured streaks through the drops. Keep the colouring to gel so the mixture is not made wetter.
Drying and doneness
Low heat: Bake at 100°C for approximately 35–45 minutes. The useful cue is that a kiss should come away from the parchment cleanly rather than sticking.
Gradual cooling: Turn off the oven and leave its door slightly open with a wooden spoon handle. Allow the meringues to remain inside until the oven is completely cool, which may take 1–2 hours.
Serving ideas
Serve the kisses on their own with tea or coffee, or arrange them on a dessert platter alongside fresh fruit. Their small size also makes them easy to offer as a party sweet.
Choose food colouring to match the occasion; red makes a fitting choice for Valentine's Day. Keep them away from moist desserts until serving so they retain their crisp texture.
Recipe notes & tips
- Use a thoroughly clean, dry bowl for whipping the egg whites.
- Separate the eggs carefully so no yolk enters the whites.
- Add the sugar a teaspoon at a time and let the mixture become stiff again between additions.
- Pipe kisses of similar size so they dry at a similar rate.
- Check that the kisses lift cleanly from the parchment before switching off the oven.
- Let the oven cool fully with the door slightly ajar before removing the meringues.
Variations
- Red streaks: Add strips of red gel colouring inside the piping bag before filling it.
- Different colours: Use gel colouring to tint the kisses for a party theme.
- Change the shape: Swap the piping nozzle to make a different finish.
- Small drops: Pipe smaller kisses and check that they lift cleanly before the stated baking time ends.
- Dessert topping: Crumble a few kisses over a plated dessert just before serving.
Common mistakes to avoid
- Greasy bowl: Fat can hinder whipping; wash and dry the bowl and beaters thoroughly first.
- Yolk in the whites: Even a little can affect the foam; separate each egg into a small dish before adding the white to the bowl.
- Sugar added too fast: The foam may lose stiffness; add it one teaspoon at a time and check the texture as you go.
- Under-whisking: A dull or slack mixture may not pipe neatly; continue until it is smooth, stiff and glossy.
- Removing them too soon: Kisses that stick to the parchment need more drying; leave them in the oven until they come away cleanly.
- Storing while warm: Trapped moisture can soften them; wait until the oven has cooled completely before packing them away.
How to store
Once completely cool, store the kisses in an airtight container at room temperature for up to two weeks. They are best kept dry and are not suited to reheating.
Frequently asked questions
How can I tell when the meringue mixture is ready?
It should be smooth, glossy and stiff enough to hold its shape. The method also calls for whisking for at least 5–10 minutes after the sugar has been incorporated.
Can I make these without a piping bag?
A piping bag gives the kisses their neat shape, but you can use a spoon to place small mounds on the lined trays. They may look less uniform.
How do I know the kisses are baked?
They are ready when they lift cleanly from the parchment without sticking. Let them cool in the switched-off oven as directed.
Why do the meringues need to cool in the oven?
The recipe uses the cooling oven as part of the drying process. Leave the door slightly open with a wooden spoon handle until the oven is completely cool; this can take 1–2 hours.
Can I colour the meringue?
Yes. Put strips of gel food colouring inside the piping bag before adding the mixture to create coloured streaks.
How long do meringue kisses keep?
Stored in an airtight container once fully cool, they keep for up to two weeks. Protect them from moisture to help preserve their crispness.
Cook it from the original
This recipe comes from anitalianinmykitchen.com. Their page has the author’s own photos, notes and tips — the best place to cook it from.
Open the recipe on anitalianinmykitchen.com