
Brazilian Cheese Bread/Puffs (Pão de Queijo)
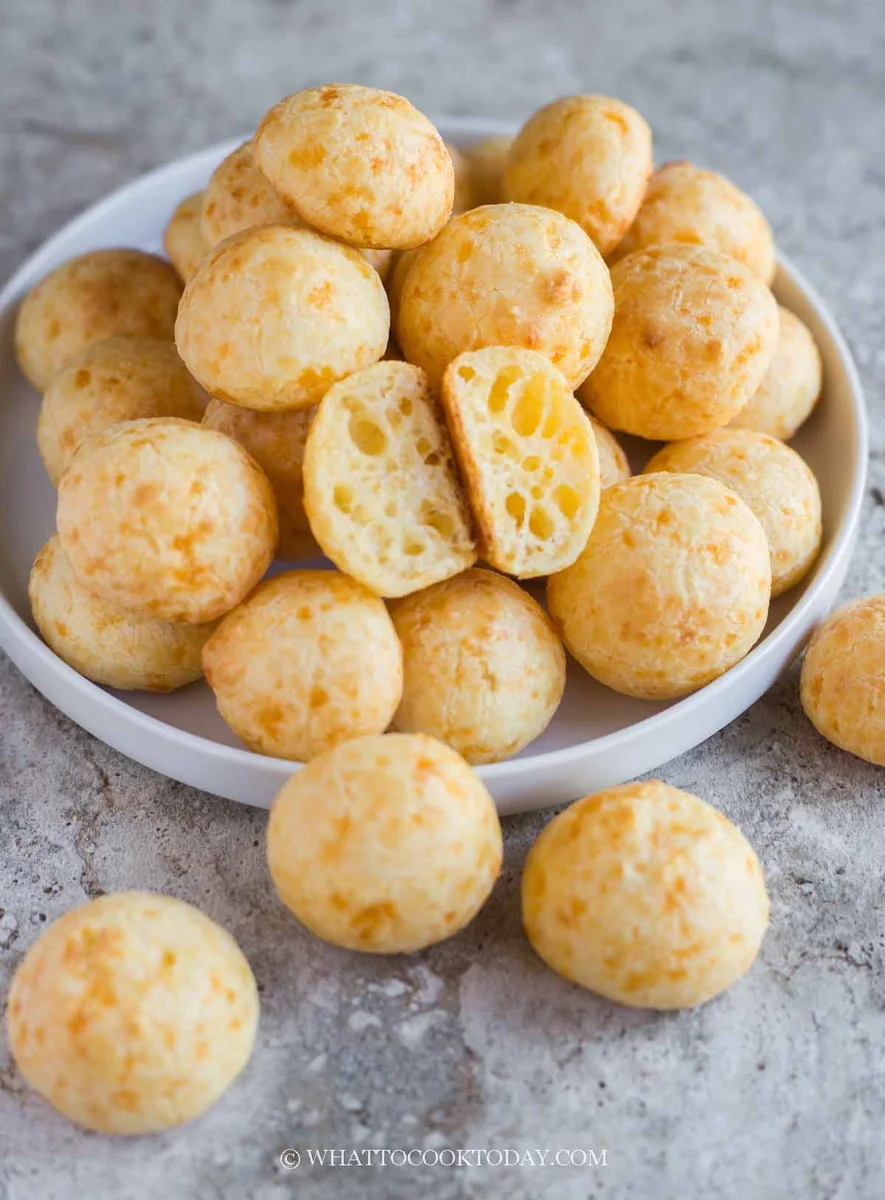
Crispy on the outside, chewy on the inside, these Brazilian cheese breads are easy, gluten-free, freezer-friendly, and completely irresistible. All-the step-by-step instructions to make sure you can replicate this at home successfully.
Ingredients
- 226 g tapioca flour (plus more as needed)
- 3/4 tsp salt
- 240 g whole milk
- 120 g oil (any neutral-tasting oil)
- 100 g eggs (beaten)
- 113 g Parmesan cheese (finely grated, see notes)
- 113 g extra-sharp cheddar (finely shredded, see notes)
Instructions
- 1
Just know that I use the terms tapioca flour and tapioca starch interchangeably. In the U.S. it is known as tapioca flour. In Asia, it is known as tapioca starch. It is the starch extracted from cassava root and it is gluten-free. They are the same thing. You can read more of the details in my post above
- 2
You can use any brand you like. I've used Bob's red Mills before and I've also used Asian brand before and they both work as long as it is made of pure tapioca starch
- 3
Preheat the oven to 425 F ( 220 C) for conventional oven. For a convection oven, lower the temperature by 20 F / 15 C. Position the oven racks on upper third and lower third
- 4
Line 2 large pans with parchment paper. If you are using mini muffin tin, make sure to brush with some oil.
- 5
--- Prepare the dough: ---
- 6
Combine tapioca flour and salt in a mixing bowl fitted with a paddle attachment. I highly recommend using a stand mixer with a paddle attachment. If you don't have one, you can do this manually too, but it requires more elbow grease
- 7
Place milk and oil in a saucepan and once it starts to boil, reduce the heat slightly and let it boil for another 10-15 seconds. You want it to be hot enough to "scald" the starch.
- 8
Start the mixer on the lowest. Remove the milk and oil mixture from the heat and carefully and gradually pour this into the mixing bowl while the paddle is moving at the lowest speed to avoid splattering. Let it run on the lowest speed for 2-3 minutes. The starch and the oil seems kinda separate at first but just let it continue to beat. Stop the machine and scrape the side of the bowl using a bench scraper after that
- 9
Then increase the speed up one notch and beat until it forms a sticky batter, about 5 minutes more. Scrape the side of the bowl again halfway through mixing. It may seems greasy and oily but the starch will gradually absorb the oil as the beating continues.
- 10
You want to beat until it's no longer hot, but just warm to the touch. Slowly drizzle in 1/3 of the beaten egg and wait for about 10 seconds before you add the next one. The batter will separate at first but as you add and beat it, it will come together into a semi-thick batter.
- 11
Add all of the cheese and beat until combined.
- 12
You will get a very thick and stiff batter
- 13
--- Test the dough consistency: ---
- 14
You should get a very thick batter that when you scoop it and turn it upside down, it won't even drop and hold its shape. If your dough doesn't hold its shape or runny, you may need to add a bit more tapioca flour, 1 Tbsp at a time and beat the batter again to combine and test again. Different brand of tapioca flour may absorb liquid slightly differently
- 15
--- Shaping: (using piping bag) ---
- 16
I personally find it easier to transfer into a large piping bag or a large sturdy plastic bag and cut about 1/2-inch opening. It gives a uniform size and it does make my life a bit easier.
- 17
Steadily pipe the batter to about 1 Tbsp-size ball. Leave about 1 inch in between the dough. Wet your finger tips and flatten any pointy tops
- 18
I got about 60 mini balls
- 19
--- Shaping using small cookie dough scoop or spoon ---
- 20
You can also use two spoons to help you scoop and scrape into the pan. Scoop about 1 Tbsp-sized balls onto the prepared baking pan. It won't be "neat" but it evens out during baking. If you have a small cookie scoop, this works very well too
- 21
Continue until you finish with all the batter
- 22
--- Shaping using mini muffin tins: ---
- 23
This recipe can make about 48 pieces or more using standard mini muffin tins. Simply scoop about 2 Tbsp-size balls into a greased mini muffin tins.
- 24
--- Baking: ---
- 25
Place the pans in the positioned racks. Close the oven door and reduce the temperature to 375 F (190 C) for conventional oven and 350 F (180 C) for a convection oven. Bake for 18-20 minutes for mini and mini muffin size. They will puff up and have golden tinge here and there because of the cheese. For larger bread, you may need 23-25 minutes
- 26
--- Serve immediately: ---
- 27
Remove the pans from the oven and let them cool down for about 2-3 minutes and then serve when they are still warm. This is the best texture as they are crisp on the outside, but chewy and soft on the inside
- 28
--- How to store leftovers: ---
- 29
Let them cool down completely. They can be kept at room temperature for 1-2 day, but they will need to be reheated before serving. They also freeze very well. I transfer the baked bread into freezer bag, push all the air out and seal the bag. They can be kept frozen for up to one month.
- 30
Simply reheat in the oven or air fryer at 320 F for 5 minutes or so or until heated through. They will crisp back up like new again and serve immediately
Cook it from the original
This recipe comes from whattocooktoday.com. Their page has the author’s own photos, notes and tips — the best place to cook it from.
Open the recipe on whattocooktoday.com