
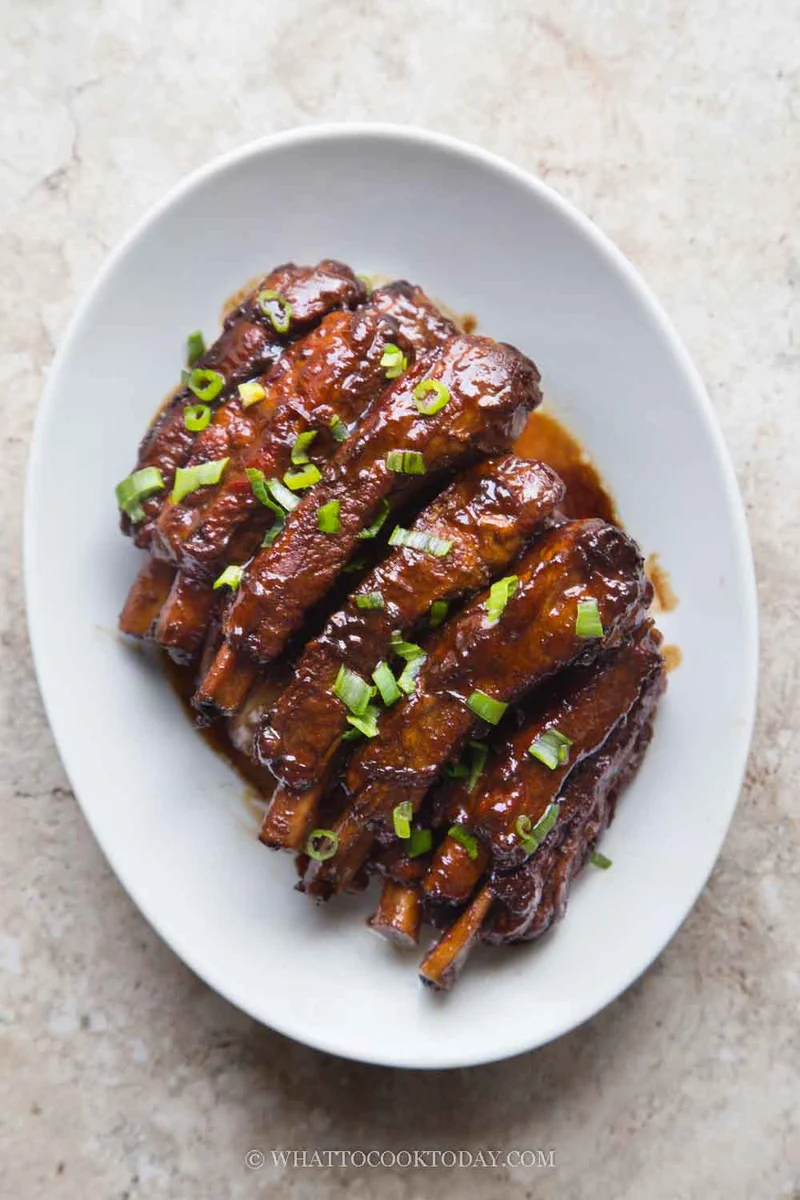
Instant Pot Chinese Sweet and Sour Pork Ribs (Tang Cu Pai Gu)
Nutrition per Serving
849
Calories
40g
Protein
18g
Carbs
66g
Fat
Tang cu pai gu is a perfect blend of sweet, sour and savory flavors that tantalize the taste buds and leave you wanting more.
📝 Ingredients
- 1 kg pork spare ribs (you can use baby back ribs too)
- 2 Tbsp cooking oil (separated)
- 10 g ginger (sliced)
- 4 stalks green onion (separate greens and whites)
- Water
- 1 star anise
- 1 large cinnamon
- 1/4 cup Shaoxing wine
- 40 g rock sugar
- 2 Tbsp soy sauce (or more as needed)
- 1 Tbsp dark soy sauce
- 3 Tbsp Chinese black vinegar (or more as needed)
- Brown sugar (as needed)
👨🍳 Instructions
- 1--- Prepare the pork ribs: ---
- 2I use spare ribs and I bought whole spare-rib and I trimmed it into what they call St.Louis-style spare ribs. Refer to my post above for detail. If you use baby back ribs, you don't need to do any extra trimming other than trimming any excess fat if you want
- 3Flip the ribs to the bone side and use a sharp knife to loosen a corner of the membrane from one end of the rack. Once you have a grip on the membrane, you can use a paper towel to grip the membrane and pull it off in one piece. Membrane is a connective tissue and can't be chewy when cooked. It also can prevent seasoning and marinades from penetrating the meat, which can result in a less flavorful and less tender rib.
- 4Then separate each rib by cutting it into individual pieces. Usually, the Chinese would cut each rib into 2 or 3 smaller pieces. You can ask the butcher to do this or like me, you can leave it whole in one piece
- 5--- Brown the ribs: ---
- 6Press saute on Instant Pot, when it says "hot". Add 1 Tbsp of oil. Place half of the ribs, meat-side down on the pot and let them cook until brown and then remove and put the rest of the ribs inside the pot to brown. Remove from the pot
- 7--- Saute spices: ---
- 8Add another 1 tbsp of oil. Add the ginger, white part of green onion, garlic, star anise, and cinnamon. Stir fry for about 3-4 minutes until fragrant. Deglaze the pot by pouring 1/4 cup of Shaoxing wine. Use the spatula to scrape the bottom of the pot
- 9--- Pressure cooking the ribs: ---
- 10Place the ribs inside the pot, meat side down, followed by the seasonings. Pour water, just enough to cover the ribs
- 11Close the lid. Turn the pressure release valve to "sealing". Press "pressure cooker" and make sure it's on "high pressure". Set the timer to 35 minutes for large pieces of ribs (uncut). If you use smaller pieces of ribs, you may only need 12-15 minutes to pressure cook on high. Allow natural release after that
- 12--- Reduce the liquid: ---
- 13Remove the ribs from the pot. Turn on saute mode. Let the cooking liquid comes to a simmer and let it cook until the sauce is reduced by more than half and it can thinly coat the back of your spoon. Have a taste of the sauce and adjust it to your liking. It should be sweet, tangy, and savory.
- 14The sauce thickens further once it cools down. I don't want to reduce too much because my kids love the sauce to go with the rice too.
- 15--- If cooking on the stove: ---
- 16Follow the recipe’s instructions for browning the ribs and sautéing the aromatics (ginger, green onion, etc.) in a heavy-bottomed pot or Dutch oven.
- 17After adding the liquid and seasonings, bring the pot to a boil, then immediately turn the heat down to low. Cover with a tight-fitting lid.
- 18Simmer for 1.5 to 2 hours. Check for tenderness at the 90-minute mark; the meat should be very tender but not falling off the bone yet.
- 19Add the cooked ribs back into the sauce and gently combine to let the sauce coats the ribs evenly
- 20Once tender, remove the ribs and turn the heat to medium-high to reduce the sauce until thick, glossy, coating the back of the spoon.
- 21--- To serve: ---
- 22Garnish with some chopped green onion for visual contrast. Serve warm or at room temperature
About the Chef & Original Recipe
This recipe was published by whattocooktoday.com. Visit the original source for step-by-step photos, chef notes and additional details.
Source: whattocooktoday.com