
Fruit Scones
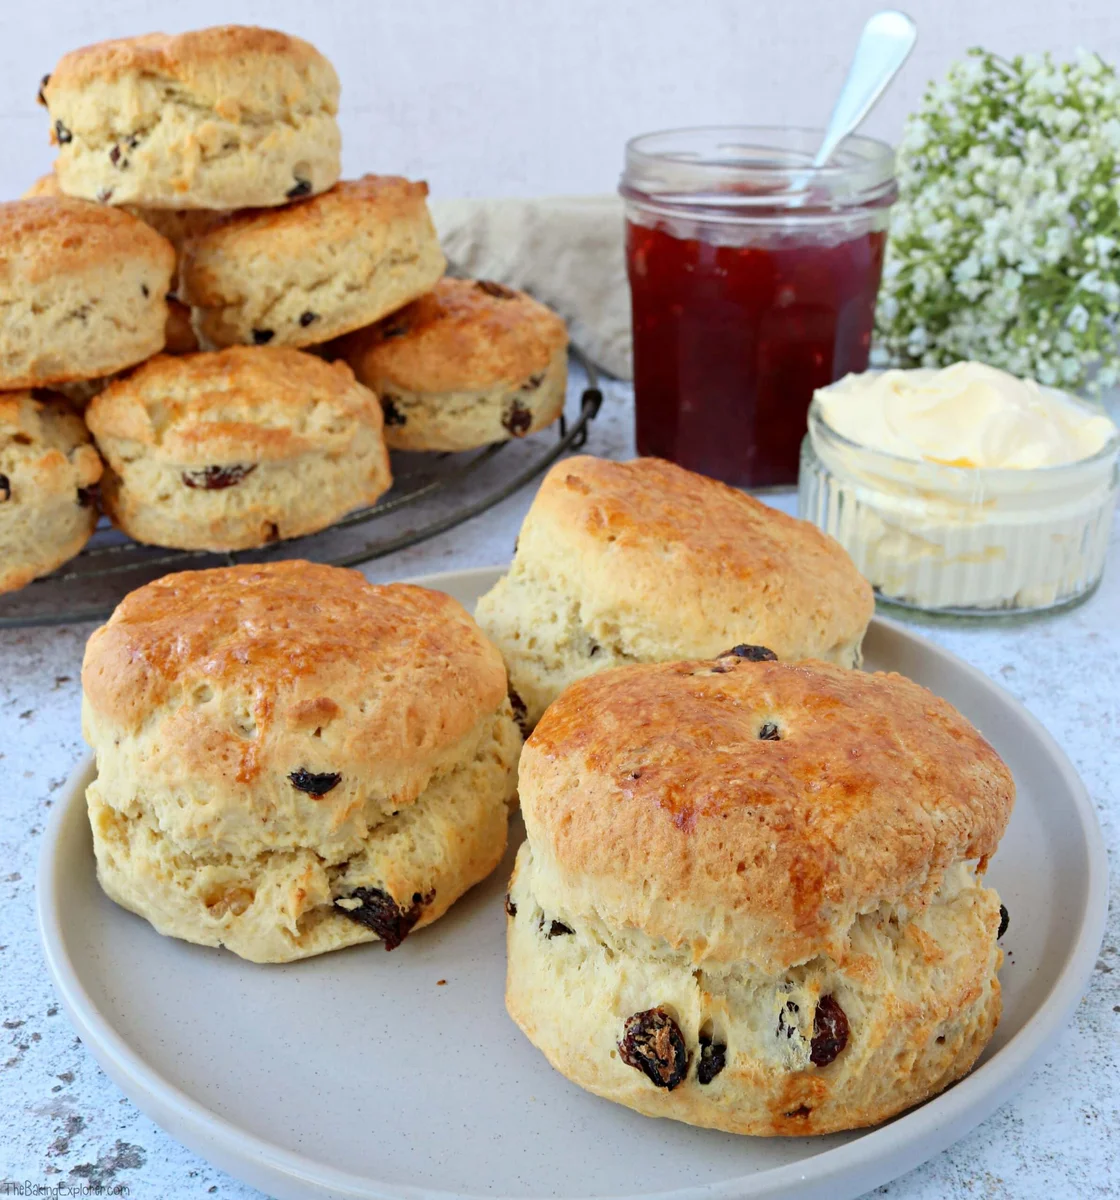
Delicious scones with mixed fruit, perfect with jam and clotted cream for afternoon tea!
Ingredients
- 400 g Self raising flour
- 1 1/2 tsp Baking powder
- 45 g Caster sugar
- 90 g Butter (unsalted, cold)
- 100 g Mixed dried fruit (or sultanas)
- 145 ml Milk (Whole or semi-skimmed)
- 1 tsp Vanilla extract
- 1 tbsp Lemon juice
- 1 Egg (large)
- 1 Egg (beaten, for glazing)
- Raspberry or strawberry jam
- Clotted cream
Instructions
- 1
Before starting, you can soak the fruit in 100ml water for 20 minutes to stop it from burning. After the 20 minutes, drain the water away and set the fruit aside until you're ready to add it to the recipe
- 2
Pre-heat your oven to 200C Fan/220C/425F/Gas Mark 7
- 3
Put the self raising flour, baking powder and caster sugar in a large bowl and stir together
- 4
Add the butter in cubes (or you can grate it in) and rub the mixture together with your fingertips, or pulse in a food processor, until it resembles breadcrumbs
- 5
Stir in the mixed dried fruit
- 6
In a jug, whisk the egg with the milk, lemon juice and vanilla extract
- 7
Pour the milk mixture into the flour, then mix it in to form a dough
- 8
Tip the dough out onto a floured surface and pat it together as briefly as possible by hand to about 2cm thick. Cut out rounds using a 2.5 inch cutter, push the cutter down and do not twist it. You can make the scones bigger or smaller if you like by using different size cutters. Re-shape the dough when needed until it runs out, but try and handle it as little as possible
- 9
Put the dough rounds onto a lined baking tray and glaze the top with the beaten egg. Bake for 12-15 minutes until the scones are risen, golden brown and sound hollow when tapped on the bottom
- 10
Cool on a rack and then slice in half and serve with jam and clotted cream for a truely indulgent afternoon tea experience!
- 11
Best served on the day they are made, but can be eaten within 2-3 days. Can also be frozen
Cook it from the original
This recipe comes from thebakingexplorer.com. Their page has the author’s own photos, notes and tips — the best place to cook it from.
Open the recipe on thebakingexplorer.com