
Apple Cobbler
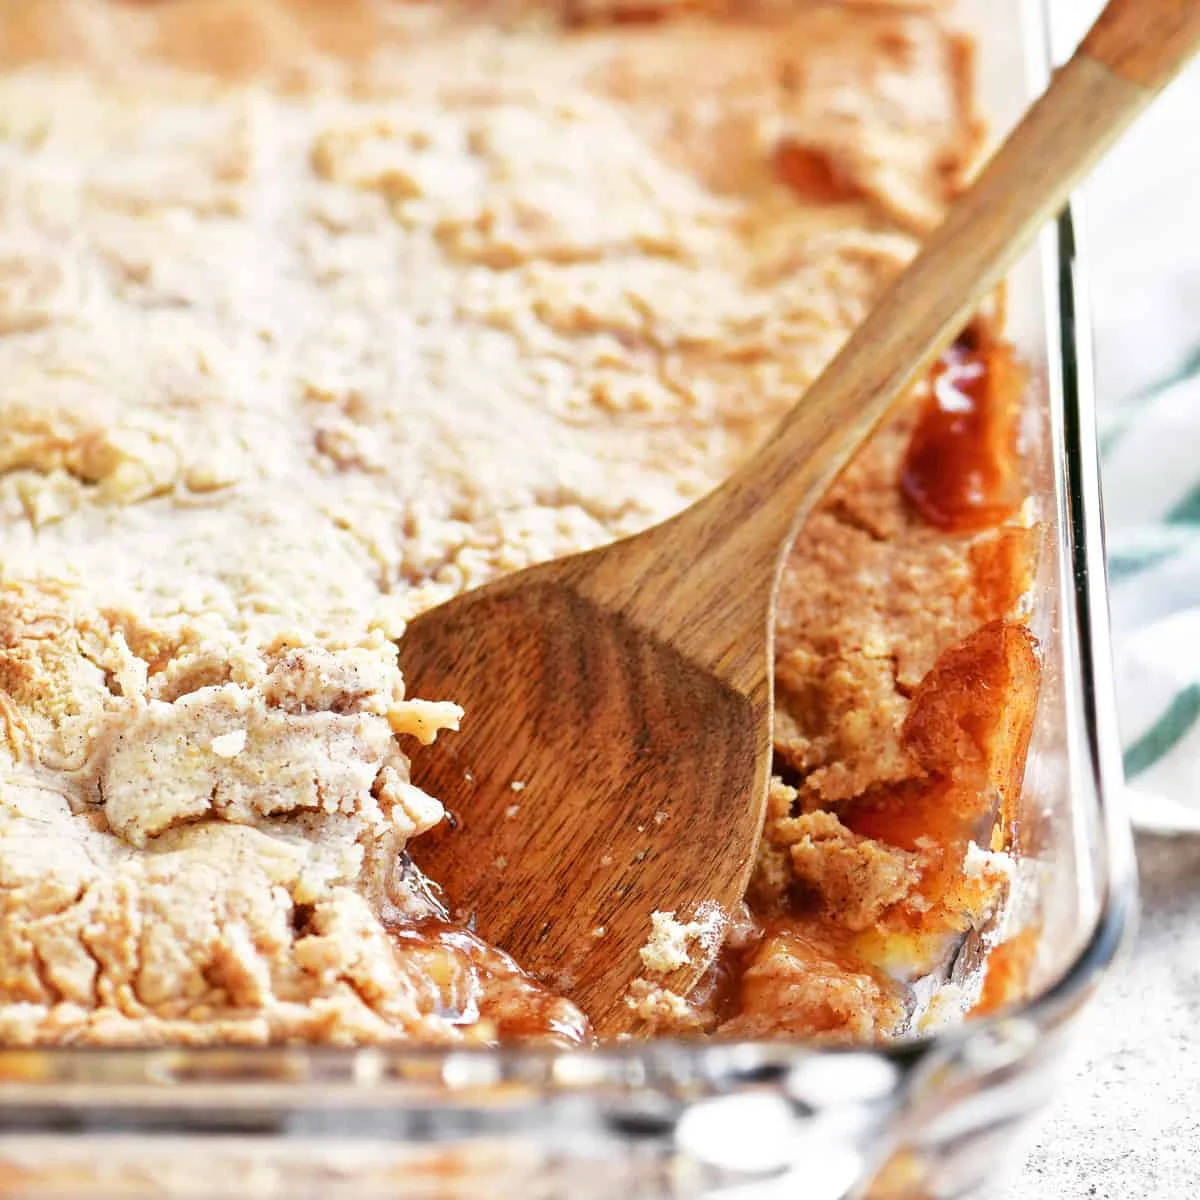
This easy American-style apple cobbler layers spiced apple pie filling with cake mix and melted butter, then bakes until golden. With just four ingredients and little preparation, it makes a straightforward dessert to share.
Ingredients
- 1.19 kg (42 oz; or 4⅔ cups homemade filling; two 21 oz cans)canned apple pie filling
- 432 g (15.25 oz)white cake mix
- 1 tbsp (15 ml)apple pie spice
- 170 g (¾ cup), meltedbutter
Instructions
- 1
Heat the oven
Preheat the oven to 175°C (350°F). Grease a 23 × 33 cm (9 × 13-inch) baking pan, then spread the apple pie filling evenly in it.
- 2
Mix the topping
Whisk the cake mix and apple pie spice together. Scatter the mixture over the filling and spread it to cover.
- 3
Add the butter
Drizzle the melted butter over the cake mix. If needed, tilt the pan gently so the butter reaches most of the dry mix.
- 4
Bake until golden
Bake at 175°C (350°F) for 50–55 minutes.
What is apple cobbler?
Cobbler is an American baked fruit dessert, usually topped with a biscuit, pastry or cake-like layer. This shortcut version uses cake mix instead of a from-scratch topping, giving it a texture that sits somewhere between a cobbler and a dump cake.
Apple pie filling provides fruit and sweetness, while apple pie spice flavours the topping. The method is simple: layer the ingredients, add butter and bake.
Nutrition and macros by portion
The nutrition label shows one serving as written: 337 calories, 2g protein, 56g carbs, 13g fat.
| Portion | Adjustment | kcal | Protein | Carbs | Fat |
|---|---|---|---|---|---|
| Lighter | Smaller dessert portion | 236 kcal | 1g | 39g | 9g |
| This serving | As written | 337 kcal | 2g | 56g | 13g |
| Hungry | Larger cobbler portion | 506 kcal | 3g | 84g | 20g |
The cake mix and apple filling provide most of the carbohydrates, while the butter contributes most of the fat; the recipe supplies relatively little protein. Serve a portion with plain yoghurt or alongside a meal with a protein-rich main to help balance the plate.
Choosing the filling
Canned filling: use two 21 oz cans, spread evenly across the greased pan so each portion gets fruit. If the filling is particularly thick, level it gently rather than stirring it into the topping.
Homemade filling: the recipe allows 4⅔ cups in place of the canned filling. Choose a filling with tender apple pieces and enough syrup to keep the base moist as it bakes.
Getting the topping right
Cake mix and spice: whisk them together before adding them to the pan so the spice is distributed through the topping. Spread the mix across the fruit to avoid leaving large uncovered areas.
Melted butter: drizzle it over the dry mix as evenly as you can. Tilting the pan can help it spread, though some dry patches may remain before baking.
Watch for doneness
Baking time: start checking at 50 minutes and continue up to 55 minutes if needed. The surface should look set and golden rather than powdery.
Resting: let the cobbler cool briefly before serving so the hot fruit filling settles and is easier to spoon out.
Serving ideas
Warm servings pair well with vanilla ice cream or a spoonful of custard. For a simpler finish, serve it on its own while still warm.
The pan makes 12 portions, which works well for a shared dessert. Cut or spoon portions evenly so the fruit and topping are distributed.
What to expect from this shortcut
This recipe does not make a rolled or kneaded dough topping. The cake mix and butter bake into a sweet, tender layer over the apples, with some variation in texture across the surface.
It is a useful option when you want an apple dessert without measuring out a long list of baking ingredients. The filling and mix already contribute much of the flavour.
Recipe notes & tips
- Grease the pan well so the sticky fruit filling is easier to serve.
- Spread the apple filling into an even layer before adding the cake mix.
- Whisk the spice thoroughly into the cake mix to avoid concentrated pockets.
- Drizzle the butter across the surface rather than pouring it in one spot.
- Check the top near the end of the baking time, as ovens can vary.
Variations
- Add nuts: scatter chopped pecans over the topping before baking for crunch.
- Use extra cinnamon: add a little more cinnamon to the cake mix for a warmer spice note.
- Try another filling: substitute an equal volume of another canned pie filling.
- Serve with custard: spoon warm custard alongside each portion.
- Add a crisp finish: sprinkle a small amount of chopped nuts over the top before baking.
Common mistakes to avoid
- Uneven fruit layer: spread the filling across the whole pan before adding the topping.
- Spice clumps: whisk the apple pie spice through the cake mix first.
- Dry patches: drizzle the butter broadly and tilt the pan gently to help it spread.
- Underbaking: bake until the topping looks set and golden, allowing up to 55 minutes.
- Serving immediately: give the cobbler a brief rest so the hot filling settles.
How to store
Cover and refrigerate leftovers for up to 3–4 days. Reheat individual portions in the microwave, or warm a larger amount in a low oven until heated through.
Frequently asked questions
Can I use homemade apple pie filling?
Yes. Use 4⅔ cups of homemade filling in place of the canned filling, as specified in the recipe.
Do I need to prepare the cake mix first?
No. Whisk the dry cake mix with the apple pie spice, then spread it over the fruit. The recipe does not call for adding the liquid ingredients listed on the cake mix box.
What size pan should I use?
Use a greased 23 × 33 cm (9 × 13-inch) pan.
Why are there dry spots on top?
The butter may not have reached every part of the dry cake mix. Drizzle it as evenly as possible and gently tilt the pan to help it spread.
Can I make it ahead?
It is best freshly baked, but you can refrigerate baked leftovers and reheat them. The recipe's method does not specify assembling it in advance.
How do I serve apple cobbler?
Spoon it out warm, on its own or with ice cream or custard.
Cook it from the original
This recipe comes from thegunnysack.com. Their page has the author’s own photos, notes and tips — the best place to cook it from.
Open the recipe on thegunnysack.com