
Marbled Chocolate Biscuit Cake
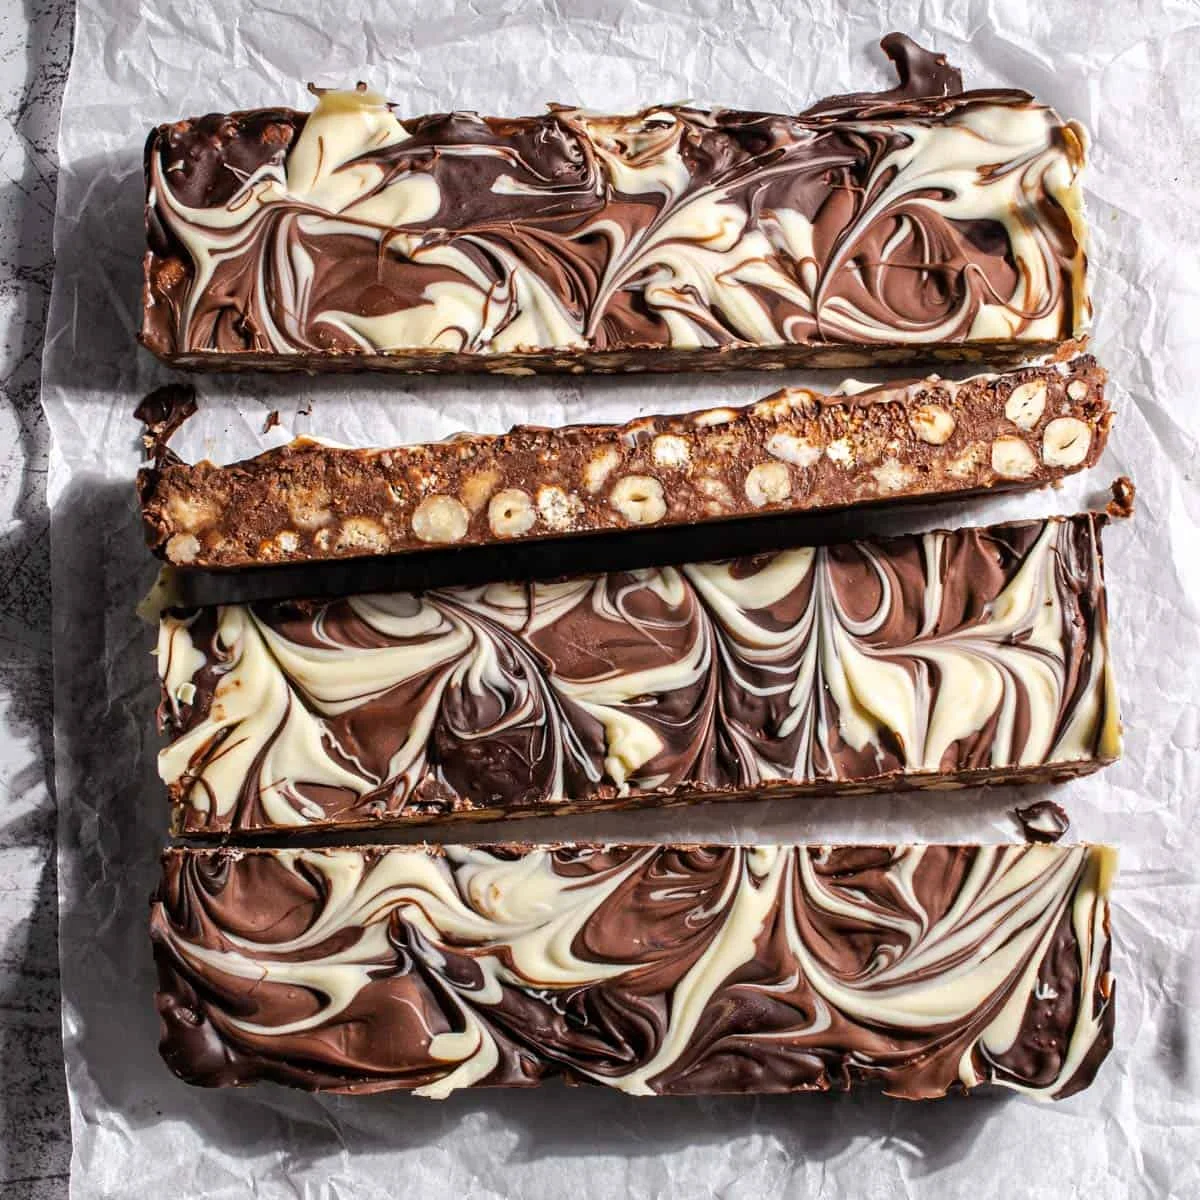
Buttery shortbread fingers, roasted hazelnuts (if you’re a Cadbury Whole Nut fan, you’ll love this!), the salty snap of chocolate-coated pretzels and a triple-chocolate marble that looks far fancier than it really is.The method for these crunchy chocolate no-bake bars is blissfully simple: Melt, mix, press, chill.
Ingredients
- 225 grams (7.9 oz) milk chocolate
- 125 grams (4.4 oz) butter (salted or unsalted)
- 125 grams (4.4 oz) golden syrup
- 300 grams (10.6 oz) shortbread fingers (or other cookies of choice like graham crackers/digestives/oaty cookies)
- 90 grams (3.2 oz) chocolate-covered pretzels (Like 'Flipz')
- 150 grams (5.3 oz) hazelnuts, roasted
- 80 grams (2.8 oz) milk chocolate
- 80 grams (2.8 oz) dark chocolate
- 80 grams (2.8 oz) white chocolate
Instructions
- 1
--- Make the cake base ---
- 2
Line a 20 cm × 20 cm (8″ × 8″) square tin with parchment paper, leaving a slight overhang for easy lifting later.
- 3
In a microwave-safe bowl, gently melt the milk chocolate, butter and golden syrup in 30-second bursts, stirring between each. Stop when almost melted and stir until smooth. Overheating can cause the mixture to split.
- 4
Let it cool for 5–7 minutes so it doesn’t melt the chocolate pretzels. In the meantime, get on with the rest.
- 5
Roughly chop the shortbread fingers, chocolate-covered pretzels and roasted hazelnuts (leave many hazelnuts whole for texture). Don’t chop the pretzels too finely, as you want chunky bits for added crunch.
- 6
Pour the slightly cooled chocolate mixture over the chopped biscuits, pretzels and nuts.
- 7
Stir gently until everything is evenly coated.
- 8
Spoon the mixture into the prepared tin. Press it down firmly with the back of a spoon or the base of a glass to remove air gaps and create an even layer (firm compression prevents crumbly slices later).
- 9
Chill for 1 hour at room temperature, then 30 minutes in the fridge. This gentle set prevents the topping from cracking later.
- 10
--- Add the marbled topping ---
- 11
Place the milk, dark and white chocolate in three separate microwave-safe bowls. Melt each one individually in 15–20 second bursts, stirring between each burst so the heat distributes evenly.Stop when there are still a few small lumps and stir until smooth. The residual heat will finish melting them. This prevents scorching and keeps the chocolate silky.(Alternatively, melt each chocolate in a heatproof bowl set over a pan of barely simmering water, stirring gently.)
- 12
Remove the tin from the fridge and let it sit at room temperature for about 10 minutes. This prevents the topping from seizing or cracking against a very cold base. Working quickly, dollop spoonfuls of each melted chocolate randomly over the surface. Gently spread each blob so they all touch (no gaps!), then give the tin a light shake to level.
- 13
Drag a skewer or toothpick through the blobs in random swirls to create a marbled effect.Refrigerate for 30 minutes or until firm.
- 14
Lift out using the parchment overhang. Use a sharp, hot knife (dip in hot water, wipe dry) to slice into neat squares, wiping between cuts to prevent cracks or crumbs.
Cook it from the original
This recipe comes from thecinnamonjar.com. Their page has the author’s own photos, notes and tips — the best place to cook it from.
Open the recipe on thecinnamonjar.com