
No-Knead Italian-Style Dinner Rolls
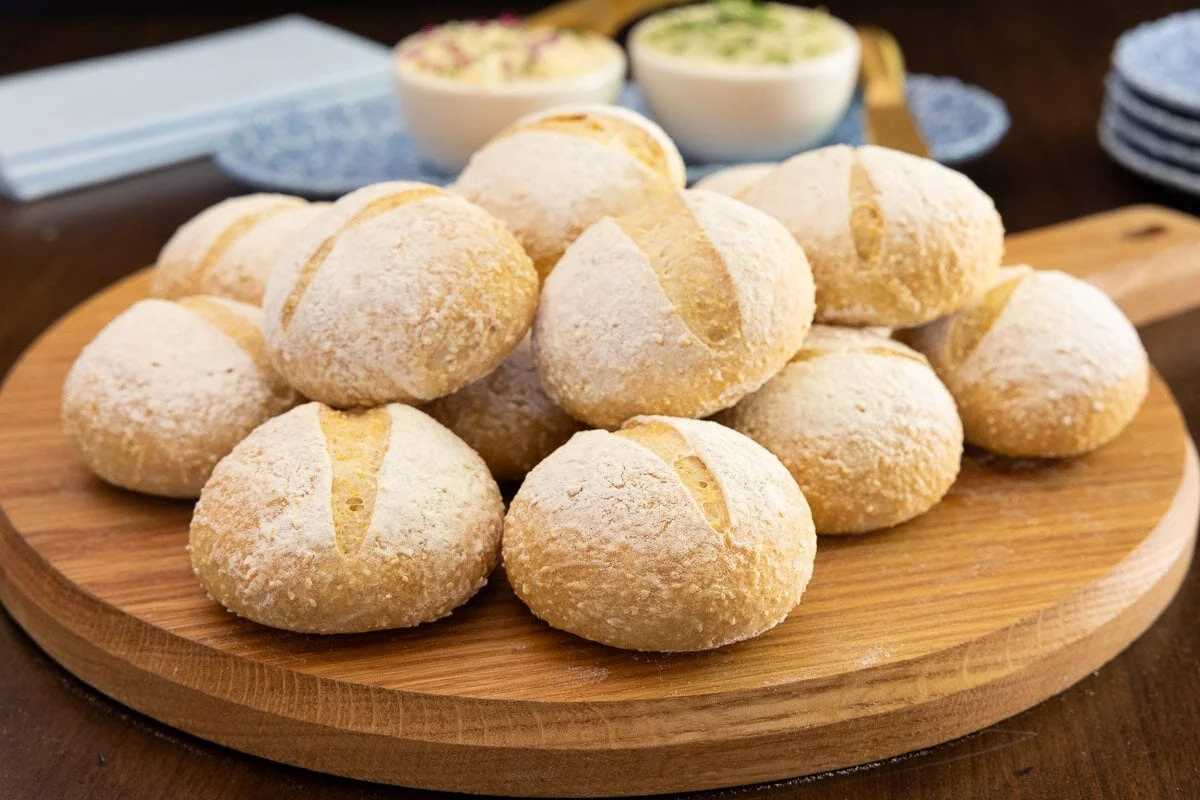
These easy no-knead Italian-style dinner rolls have a crisp golden crust and a tender, chewy interior. Made with simple pantry ingredients and no kneading required, they're perfect for serving alongside pasta, soups, salads and other Italian-inspired meals.
Ingredients
- 3 1/4 cups all-purpose flour (I like King Arthur unbleached flour)
- 1/2 cup polenta or medium-coarse cornmeal (I like Bob's Red Mill polenta)
- 2 1/4 teaspoons instant yeast
- 2 teaspoons kosher salt (I use Morton's)
- 2 teaspoons granulated sugar
- 1 1/2 cups warm water (105-115˚F - maybe a bit more)
- 1 tablespoon olive oil
Instructions
- 1
--- Prep: ---
- 2
Line two 12x18-inch sheet pans with parchment paper. Set aside.
- 3
--- Make the dough: ---
- 4
Combine the flour, polenta, sugar, salt, and yeast in a large bowl. Stir well to combine.
- 5
Make a well in the center of the dry ingredients and add 1½ cups of the warm water. Stir until thoroughly combined, making sure there is no dry flour remaining at the bottom of the bowl. Add additional water, 1 tablespoon at a time, as needed. The dough should be thick and shaggy, but you want enough water to fully incorporate all of the ingredients.
- 6
Drizzle the olive oil over the dough and stir until most of it is incorporated, leaving a light coating on the surface.
- 7
--- Rising and stretch and folds: ---
- 8
Cover the bowl tightly with plastic wrap and let the dough rise for 30 minutes.
- 9
Perform 8 stretch-and-folds (wet your hand, then lift the dough, stretch it upward, and fold it over the dough in the bowl, repeating in a circular motion around the bowl, turning the bowl about 45 degrees with each fold - see the video in the post). Flip the dough over and cover again. Repeat the 30-minute rise followed by another set of 8 stretch-and-folds.
- 10
Cover the bowl and let the dough rise for an additional 30-45 minutes, or until doubled in size. (This is dependent on the temperature of your kitchen.)
- 11
--- Divide and shape the rolls: ---
- 12
Turn the dough onto a generously floured work surface. Using a dough scraper or spatula, gently turn the dough several times so it's completely coated with flour.
- 13
Divide the dough into 16 equal portions. Turn each portion in flour to lightly coat all sides.
- 14
Shape each portion into a smooth round ball. I like to roll the dough piece in flour first, then hold it in the palm of my right hand (I'm right-handed) while using the fingers of my left hand to tuck the dough underneath and toward the center. Once it's roughly shaped, I set it on the floured counter and gently cup my hands around it, rotating it a few times to create a nice smooth ball.
- 15
Arrange 8 rolls on each prepared sheet pan.
- 16
Cover the pans with clean kitchen towels and allow the rolls to rise for 30-45 minutes, or until puffy and nearly doubled in size.
- 17
When the rolls are shaped and just starting the final rise, place an 8 or 9-inch baking pan filled with hot water on the lowest oven rack. Preheat the oven to 450˚F.
- 18
Lightly dust the tops of the rolls with flour. Use a baker's lame, razor blade or sharp knife to make a slash down the center of each roll about ¼ inch deep.
- 19
--- Bake: ---
- 20
Bake the first pan for 14-20 minutes, or until golden brown. Begin checking at 14 minutes, then every minute or two until done.
- 21
Repeat with the second pan, making sure the pan still contains water.
- 22
Transfer the rolls to a wire rack and cool slightly before serving.
Cook it from the original
This recipe comes from thecafesucrefarine.com. Their page has the author’s own photos, notes and tips — the best place to cook it from.
Open the recipe on thecafesucrefarine.com