
Kimchi Mac and Cheese
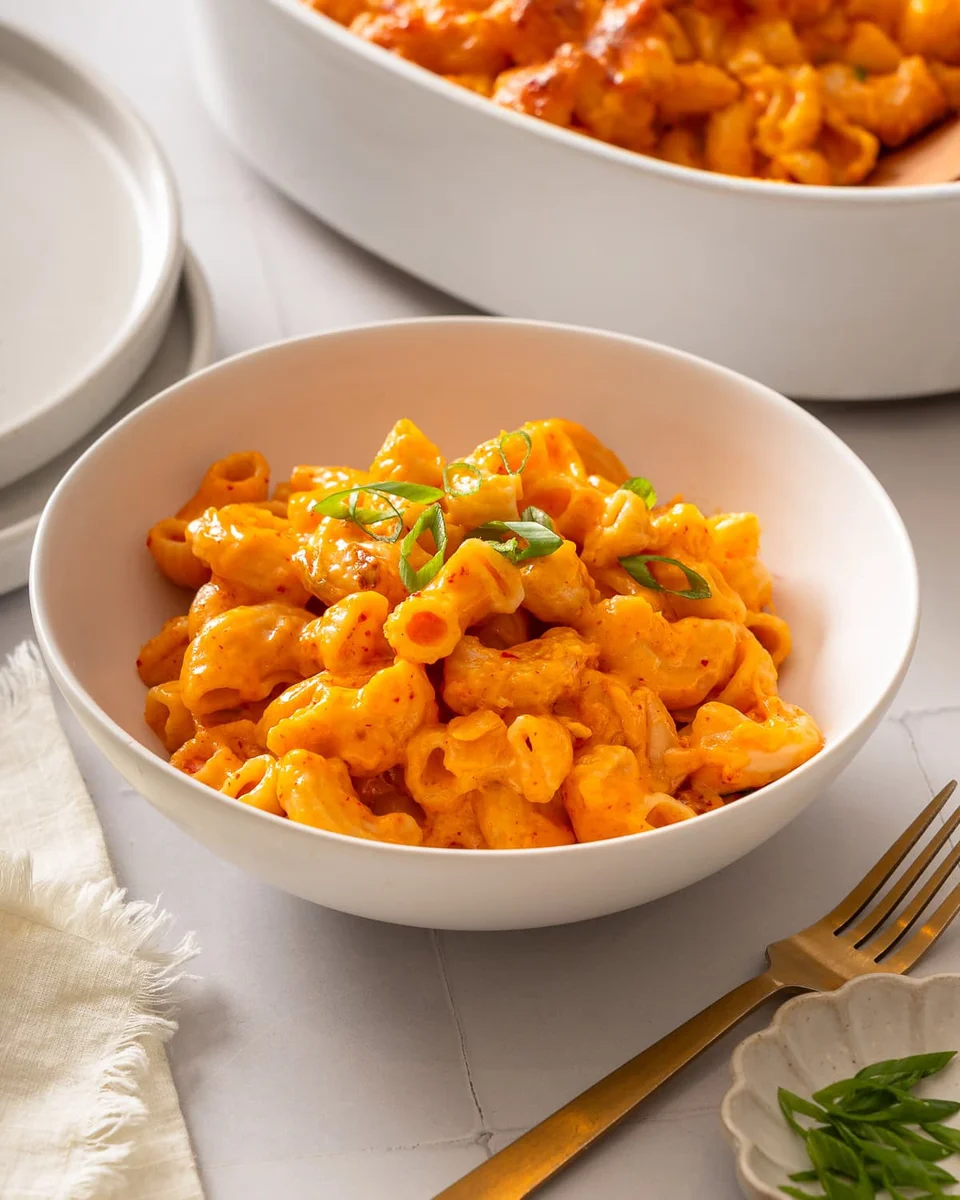
Creamy, cheesy, spicy pasta dish that features kimchi, taking a bold new twist on an American classic. This kimchi mac and cheese will be a guaranteed crowd-pleaser.
Ingredients
- 1 lb dried elbow pasta
- 8 tablespoons unsalted butter
- 3/4 cup kimchi juice (190 g)
- 1 cup Kimchi (200g finely chopped)
- 1 tablespoon gochujang
- 2 teaspoons gochugaru
- 1 teaspoon salt
- 1/2 teaspoon white pepper
- 1/2 cup all-purpose flour (70 g )
- 3 1/2 cups whole milk
- 2 cups sharp cheddar cheese (200 g grated)
- 3 cups mozzarella cheese (300 g grated)
- 1/2 cup sharp cheddar cheese (grated for topping)
- 1/2 cup mozzarella cheese (grated for topping)
- 2 stalks Green Onion (chopped)
Instructions
- 1
Cook the Pasta. Boil your pasta in a pot of salted water according to the package instructions until al dente. Reserve some pasta water for later. Strain and set aside.
- 2
Prepare the oven. Preheat it to 350°F (180°C). Place the wire rack in the center.
- 3
Make the kimchi roux. In a medium saucepan over medium-high heat, melt the butter. Then add the chopped kimchi, kimchi juice, gochujang, gochugaru, salt, and white pepper, and sauté for 2-3 minutes or until reduced. Then whisk in the flour to form the roux. Cook for 2-3 minutes, whisking continuously until the sauce thickens.
- 4
Add the milk. Slowly pour the milk in while whisking to prevent lumps until smooth, about 1 minute.
- 5
Add the cheeses. Lower the heat to low or medium-low, then add the cheddar and mozzarella. Stir until the cheese melts completely and the sauce becomes smooth, about 1-2 minutes. If the sauce is too thick, add one tablespoon of pasta water at a time.
- 6
Combine. Gently fold the drained pasta into the sauce.
- 7
Bake. Transfer the pasta to an oven-safe dish. Top with extra cheese and panko bread crumbs. Bake for 25 minutes until golden on top. For extra char, broil for the last 2-3 minutes, watching carefully.
- 8
Serve. Garnish with green onion and serve right away. Enjoy!
Cook it from the original
This recipe comes from takestwoeggs.com. Their page has the author’s own photos, notes and tips — the best place to cook it from.
Open the recipe on takestwoeggs.com