
The Best Coconut Lemon Cake- Super Soft And Fluffy
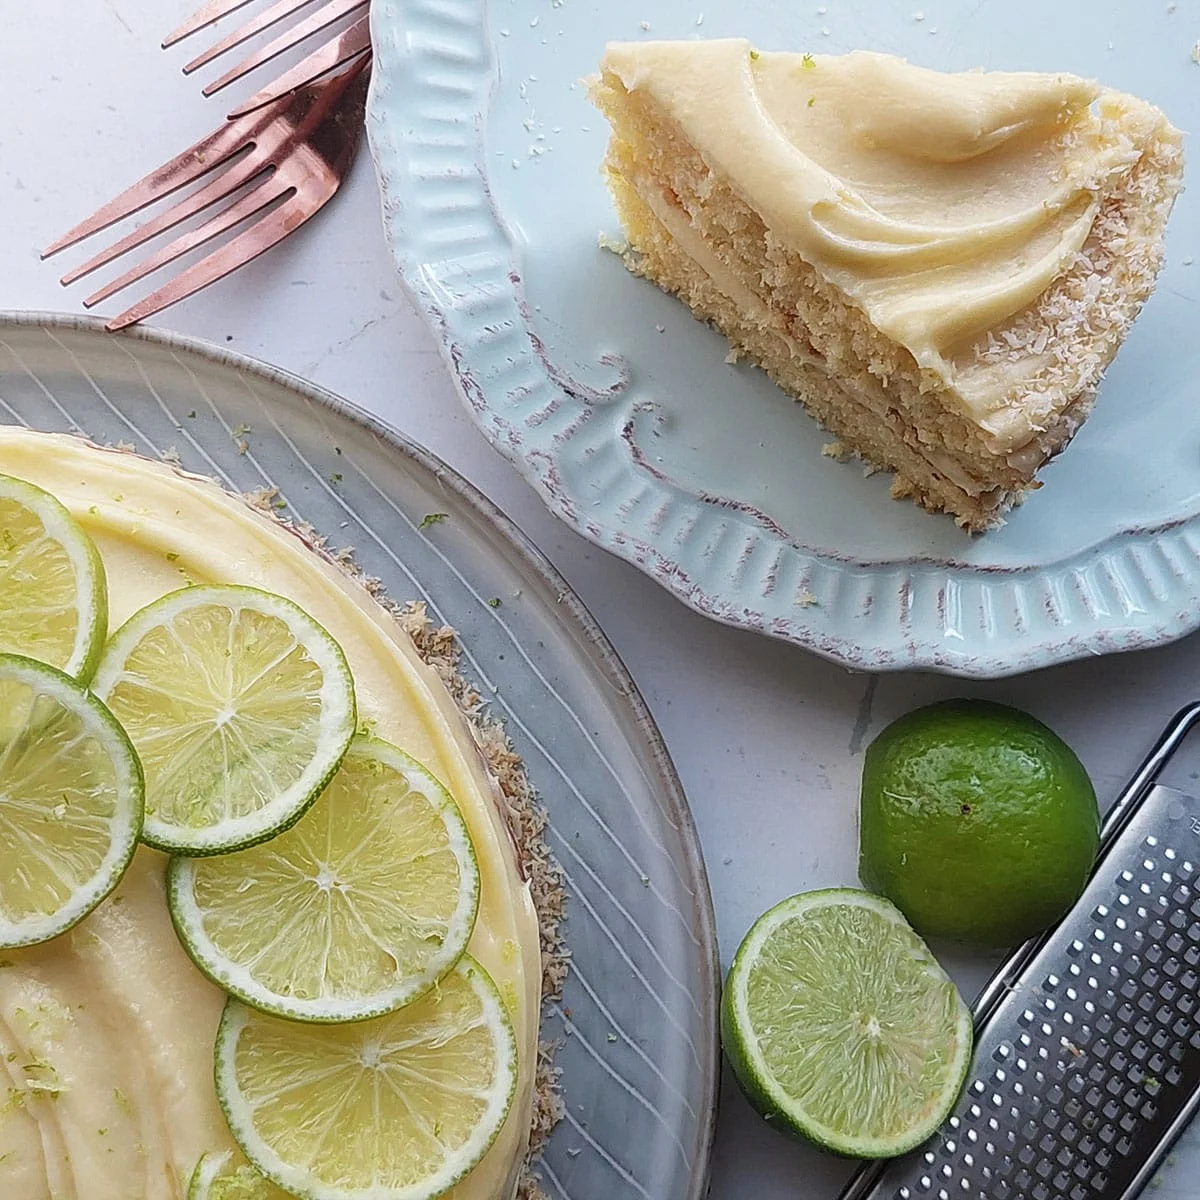
This Coconut Lemon Cake is a classic bake that simply can't be beat! With its sweet coconut flavor combined with zesty lemon, it's the perfect bake for any occasion.
Ingredients
- 2 1/2 cups all purpose OR cake flour ((can use plain flour - UK))
- 2 1/2 teaspoons baking powder
- 2/3 cups unsweetened shredded coconut ((desiccated coconut))
- 1/4 teaspoon salt
- 1 cup white granulated or castor sugar
- 1 1/3 cups butter, at room temperature ((salted or unsalted butter is fine to use))
- zest of one medium lemon or lime
- 5 large eggs ((at room temperature))
- 1/2 cup heavy cream (can use whipping cream or milk) ((see note 1))
- 8 ounces cream cheese see note 2 ((see note 2))
- 1/2 cup butter at room temperature
- 1 Tablespoon lemon juice ((see note 3))
- 1/2 teaspoon vanilla extract
- 2 cups powdered sugar (icing sugar)
Instructions
- 1
Spray two 8-inch (20cm) round baking pans with non-stick spray and set aside.
- 2
Preheat the oven to 340 °F (170°C) / (150° C) - if using a fan forced oven
- 3
--- Flour coconut mixture: ---
- 4
In a large bowl, whisk together all purpose or cake flour, baking powder, unsweetened shredded (desiccated) coconut and salt and set aside.
- 5
--- Butter sugar mixture: ---
- 6
In a separate bowl, beat together white granulated sugar and butter until light and creamy (about 3 minutes on medium speed).
- 7
Fold in the zest of one medium lemon or lime and set aside.
- 8
--- Egg cream mixture ---
- 9
Use another small bowl or measuring jug to whisk together the eggs and heavy cream (whipping cream) or milk
- 10
Pour the whisked egg cream mixture into the butter and sugar mixture. Use a hand or stand mixer to beat for about 2 minutes on medium speed.
- 11
Add in the flour/ coconut mixture and use a spatula or wooden spoon to fold it in until combined. Avoid over mixing. Just mix until there are no visible specks of flour in the batter.
- 12
--- Divide batter and bake: ---
- 13
Divide the batter into the prepared cake pans.
- 14
Bake for 20 to 25 minutes or until a skewer inserted comes out clean or without any batter clinging to it. Baking time may vary slightly since every oven is different.
- 15
If you find that the cakes are browning too quickly, cover loosely with foil.
- 16
Cool completely: Leave the cakes in the pan to cool for 10 minutes. Then run a blunt edged knife or spatula around the edges of the cake to loosen and turn out onto a cooling rack. Cool completely before frosting and decorating
- 17
--- Cream cheese frosting ---
- 18
Use a large bowl with a handheld mixer or a stand mixer fitted with a paddle attachment to beat together the cream cheese and butter for 2 to 3 minutes until combined and creamy.
- 19
Pour in the lime/lemon juice and vanilla extract and beat for about 20 seconds until combined.
- 20
Sift in the powdered (icing) sugar and beat on medium speed for 2 minutes until the frosting is smooth and creamy.
- 21
Refrigerate the cream cheese frosting for about 15 minutes before frosting the cooled cake.
- 22
--- Assemble and frost the cake ---
- 23
Place one of the cake layers on a serving plate on a cake turntable (if you have one).
- 24
Add ¼ of the frosting on top of the cake and use a spatula to smoothen out the frosting.
- 25
Add the next layer of cake. Repeat by piping or spreading the remaining frosting over the top and around the sides of the cake.
- 26
Decorate with lemon / lime slices and shredded coconut or as you prefer.
- 27
--- Storage ---
- 28
The frosted cake can be stored in an airtight container, in the fridge, for up to three days.
Cook it from the original
This recipe comes from thegardeningfoodie.com. Their page has the author’s own photos, notes and tips — the best place to cook it from.
Open the recipe on thegardeningfoodie.com