
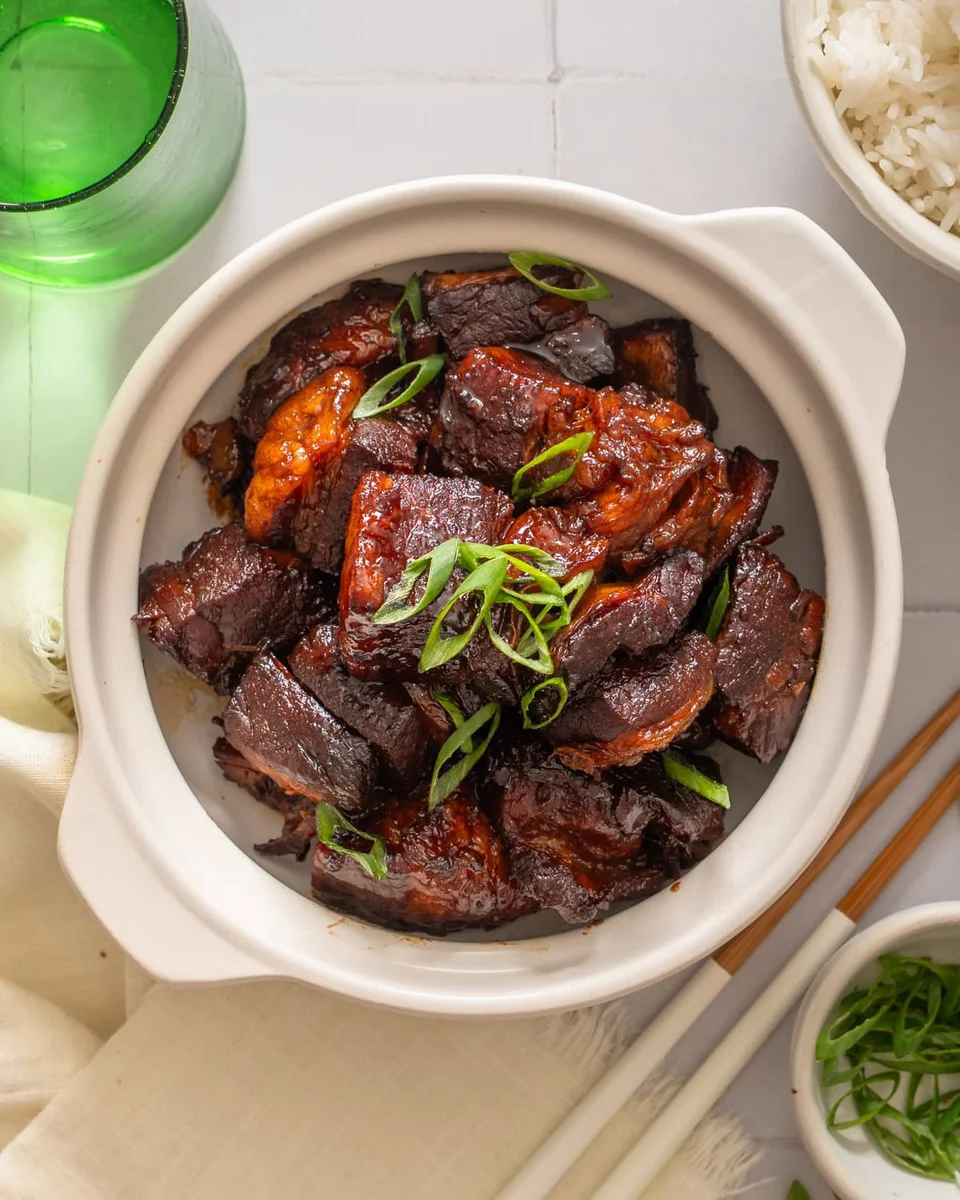
Chinese Braised Pork Belly (Hong Shao Rou)
Nutrition per Serving
1014
Calories
19g
Protein
10g
Carbs
97g
Fat
Slow braised pork belly smothered in a sticky, sweet, and savory sauce for the ultimate comfort dish. This Chinese braised pork belly is incredibly tender and comforting.
📝 Ingredients
- 1 1/2 lb pork belly (cut into 1 inch cubes)
- 2 tablespoon vegetable oil
- 2 tablespoon rock sugar (about 40 g)
- 3 cloves garlic (crushed)
- 1 inch knob ginger (sliced)
- 1/3 cup Shaoxing wine
- 3 tablespoons soy sauce
- 2 tablespoon dark soy sauce
- 2 pods star anise (optional)
- 2 bay leaves (optional)
- 2-3 cups water (or more depending on the pot)
- Green onion (sliced)
👨🍳 Instructions
- 1Blanch the pork. Place the pork belly in a pot, cover it with water, and bring to a boil over high heat. Once it reaches a boil, continue boiling for 5 minutes, drain the pork, and set aside.
- 2Melt the sugar. In a wok or medium heavy-bottomed pot over low heat, add two tablespoons of vegetable oil and rock sugar. Melt the sugar until it begins to turn amber-brown and caramelize.
- 3Saute the pork belly with aromatics. Increase the heat to medium-high heat, add the pork belly, ginger, and garlic, and cook for 2 minutes or until the pork is thoroughly coated and lightly browned.
- 4Add the sauces and spices. Next, add the Shaoxing wine and cook for 2 minutes. Then add the soy sauce, dark soy sauce, star anise, bay leaves, and water. If using a wok, use 3 cups of water. If using a medium pot, you may need 2- 2 1/2 cups of water. The water should be just enough to cover the pork.
- 5Simmer. Reduce the heat to medium-low, cover, and simmer for 1 to 1 1/2 hours or until the pork is fork tender. Stir every 15 minutes to prevent burning, and add water if necessary.
- 6Thicken the sauce. Once the pork is tender, remove the lid, increase the heat to medium-high heat, and reduce the sauce until it is thickened.
- 7Serve. Serve the Chinese braised pork belly with green onions and white rice. Enjoy!
About the Chef & Original Recipe
This recipe was published by takestwoeggs.com. Visit the original source for step-by-step photos, chef notes and additional details.
Source: takestwoeggs.com