
Eggnog Crème Brûlée
Nutrition per Serving
400
Calories
6g
Protein
31g
Carbs
28g
Fat
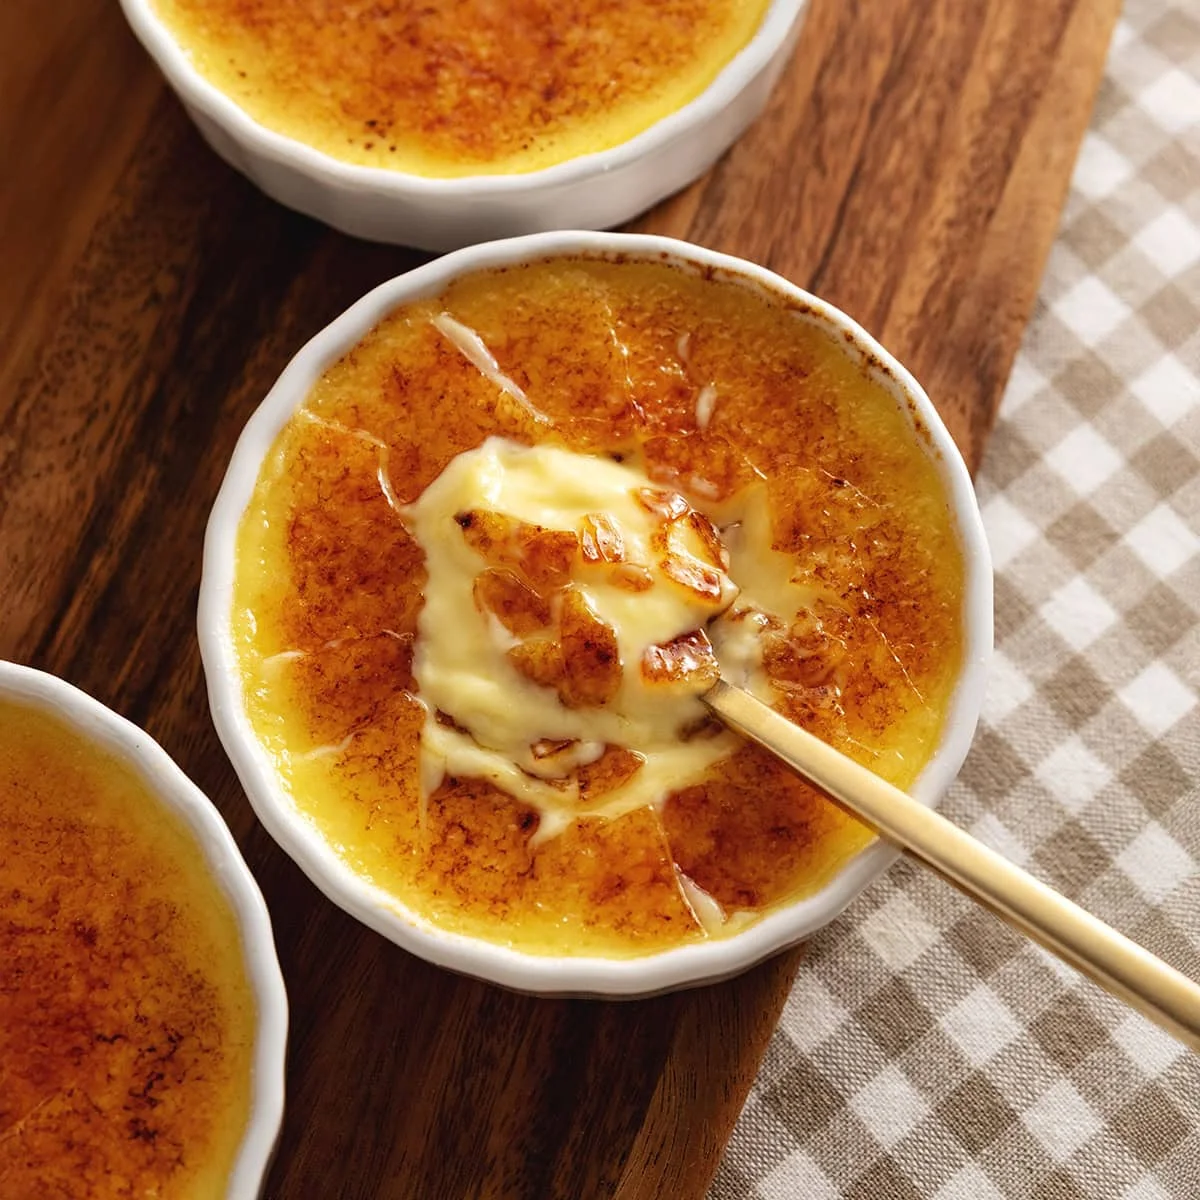
Smooth and silky eggnog custard under a crunchy, caramelized sugar topping
📝 Ingredients
- 250 g whipping cream or heavy cream
- 200 g eggnog
- 3 large egg yolks
- 60 g granulated sugar
- 1 teaspoon vanilla extract
- 1/2 teaspoon ground nutmeg
- 1/4 teaspoon salt
- 40 g granulated sugar (for topping)
👨🍳 Instructions
- 1Prep: Preheat the oven to 325°F. Place 4 ramekins onto a baking tray that is at least 1" deep. Set aside. Boil a kettle of water for later.
- 2Heat cream mixture: In a small saucepan, heat the whipping cream and eggnog on low-medium heat until it comes to a simmer.
- 3Whisk: Meanwhile, in a medium mixing bowl, whisk together the egg yolks, granulated sugar, vanilla extract, nutmeg, and salt.
- 4Temper the egg mixture: Very slowly pour the hot cream mixture into the egg mixture while whisking constantly until you have a thin mixture.
- 5Fill ramekins: Use a ladle to pour the mixture into your ramekins until almost full. If there are any large air bubbles, you can dab at them with a paper towel to get rid of them.
- 6Water bath: Place the baking tray into the oven and fill the baking tray with hot water until it reaches about halfway up the ramekins.
- 7Bake: Bake for 28-30 minutes or until the surface and edges look set but the middle is still slightly jiggly.
- 8Chill: Carefully pour out some of the water in the baking tray and let the custard cool completely on a wire rack. Chill the custard in the fridge for at least 4 hours or overnight.
- 9Bring to room temp: Right before serving, take the ramekins out of the fridge and let them come back to room temperature for about 30 minutes so that the condensation on the surface doesn't interfere with the sugar topping.
- 10Sugar topping: Sprinkle a tablespoon of sugar on top of each custard. Use a kitchen blowtorch to torch the sugar by passing over the surface quickly but repeatedly until the sugar melts, bubbles, and becomes golden brown. Let the sugar cool and harden for about 5 minutes before serving.
About the Chef & Original Recipe
This recipe was published by teakandthyme.com. Visit the original source for step-by-step photos, chef notes and additional details.
Source: teakandthyme.com