
Banana Scones
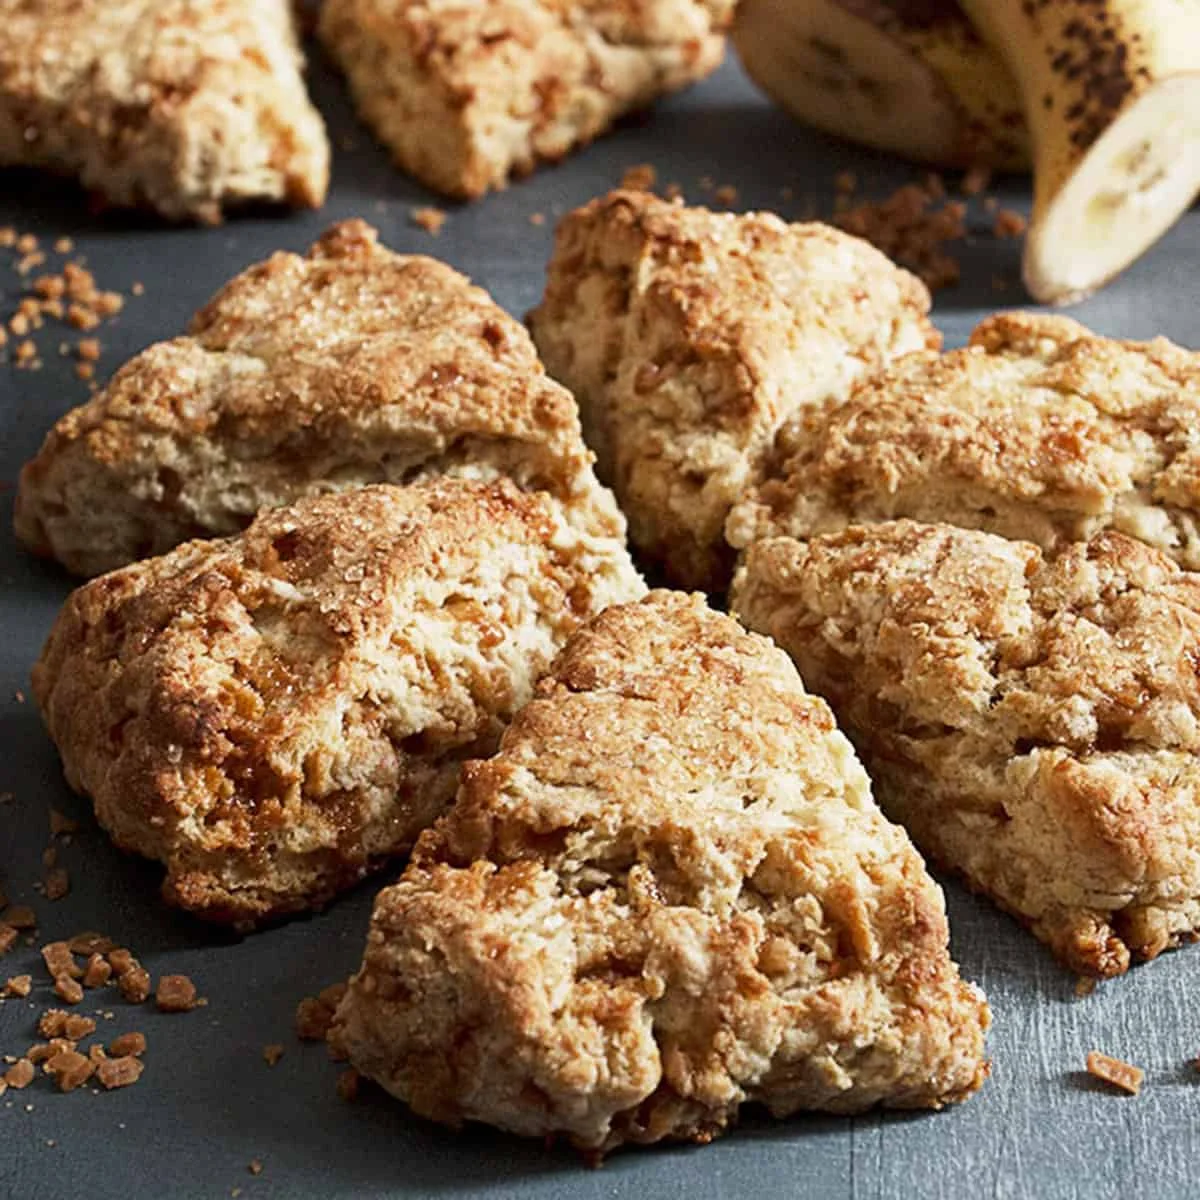
Delicious and moist banana scones, filled with toffee bits.
Ingredients
- 3 cups all purpose flour
- 1 Tablespoon baking powder
- 1/2 teaspoon baking soda
- 3/4 teaspoon fine salt
- 1/4 cup white sugar
- 1/2 cup cold butter (cut in 8 pieces)
- 3/4 cup toffee bits (*see notes)
- 2 small bananas (very ripe (or one large))
- 2 teaspoon vanilla extract
- 1/2 cup milk (or buttermilk, plus more as needed)
- Turbinado sugar (for topping)
Instructions
- 1
Preheat the oven to 425°F. (regular bake setting/not fan assisted). Line a baking sheet with parchment paper and set aside.
- 2
In a large bowl whisk together the flour, baking powder, baking soda, salt, and sugar. Add the cubed, cold butter into the dry ingredients and using a pastry cutter or your fingertips, work the butter into the flour until the mixture is unevenly crumbly. Toss in the toffee bits and stir until evenly distributed.
- 3
Mash the bananas with the vanilla in a small bowl. Stir in 1/2 cup of the buttermilk or milk.
- 4
Add the banana mixture to the butter/flour mixture, stirring until the dough comes together into one mass, and adding more milk/buttermilk if needed to moisten all the flour.
- 5
Turn the dough out onto a well-floured surface. Flour your hands and the surface of the dough. Knead the dough very gently about 10 times, just enough to bring it together, sprinkling on more flour as needed to keep the dough from sticking.
- 6
Cut the dough in half and press each piece gently into a circle 6" to 8" in diameter. Cut each circle into 6 wedge-shaped pieces with a knife or bench scraper. Transfer the scones to the prepared baking sheet, leaving ½" or so between the wedges. Sprinkle the top of the scones with turbinado sugar (or white sugar).
- 7
Bake the scones for 14 to 16 minutes, or until golden brown.
- 8
Remove the scones from the oven and serve hot, warm, or at room temperature. When completely cool, store any leftovers well wrapped, at room temperature, for several days or freeze for longer storage.
Cook it from the original
This recipe comes from seasonsandsuppers.ca. Their page has the author’s own photos, notes and tips — the best place to cook it from.
Open the recipe on seasonsandsuppers.ca