
TikTok Garlic Bread
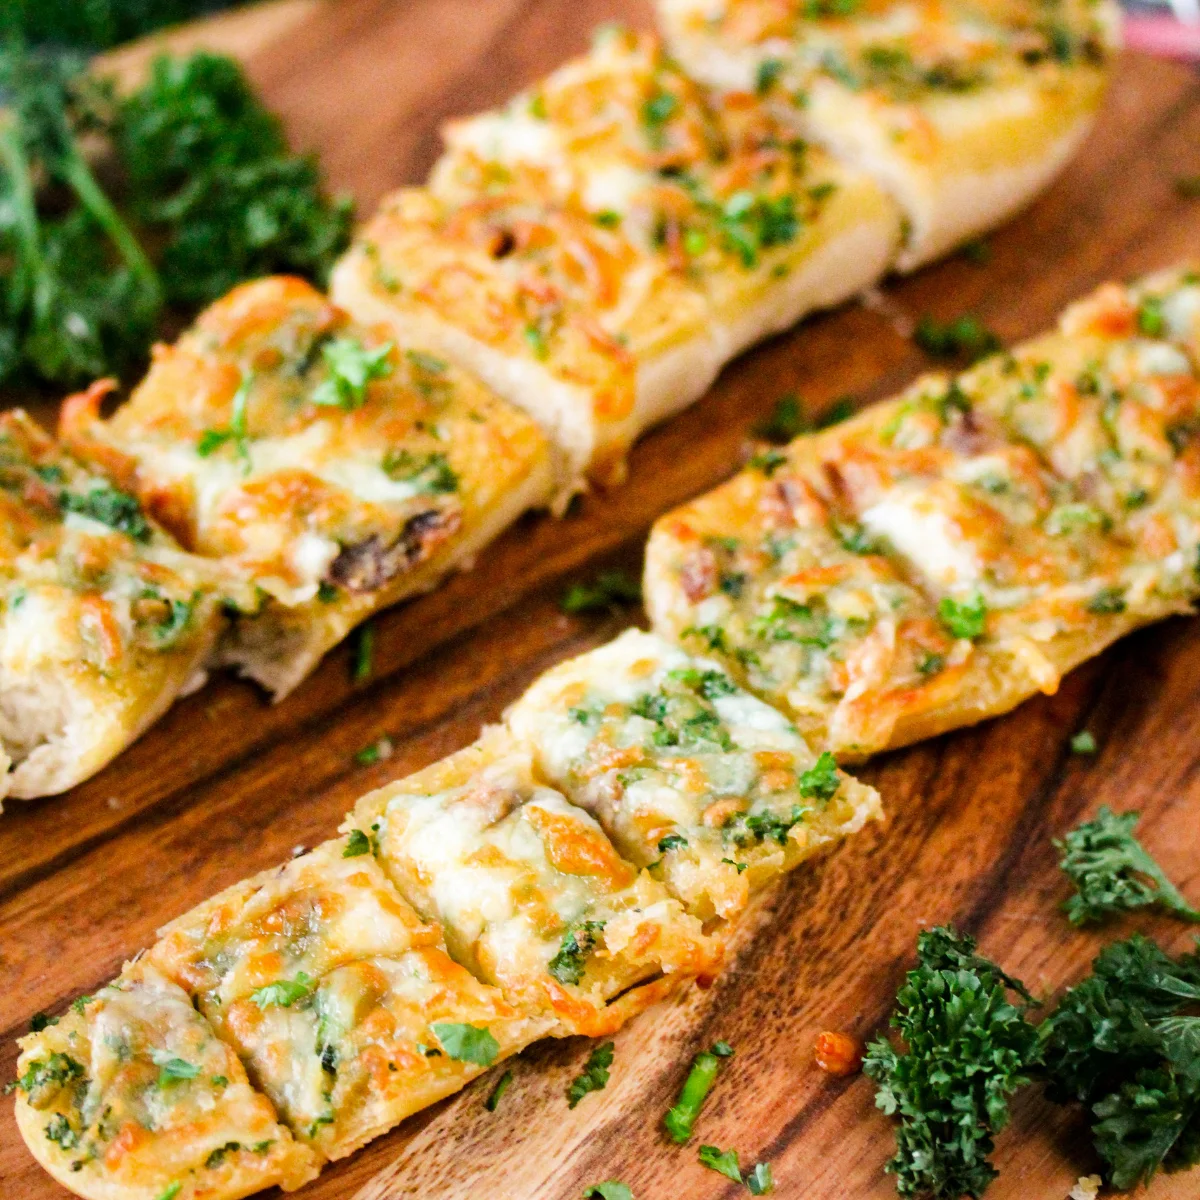
This air-fryer garlic bread is topped with a smooth roasted-garlic, butter and Parmesan spread, then finished with melted mozzarella. It makes a generous, cheesy side for pasta, soup or a casual sharing meal.
Ingredients
- 57 g (¼ cup)unsalted butter
- 2 bulbswhole garlic
- 15 g (3 tbsp)grated Parmesan
- to tasteshredded mozzarella
- 1 handfulchopped parsley
- to tastesalt
- to tasteblack pepper
- 1 splasholive oil
- 1bread
Instructions
- 1
Roast the garlic
Preheat the air fryer to 190°C. Slice the tops off two large garlic bulbs, set them on foil and pour olive oil into each one. Season with salt and pepper, wrap in the foil, then air-fry for 30–35 minutes.
- 2
Mix the spread
Once the garlic is cooked, squeeze the cloves into a bowl with the room-temperature unsalted butter, chopped parsley, grated Parmesan and black pepper to taste. Add salt if needed, then stir until smooth.
- 3
Top the bread
Slice a large baguette in half and spread a generous layer of garlic butter over it. Sprinkle grated mozzarella on top.
- 4
Bake until golden
Bake the garlic bread in an oven or air fryer for 5–8 minutes at 180°C/306°F. Serve when the cheese has melted and the bread is golden brown.
What is TikTok garlic bread?
This is a social-media-style take on American garlic bread: a baguette is spread with roasted garlic butter, covered with mozzarella and baked until golden. The roasted cloves give the topping a mellow, rich flavour, while Parmesan adds a savoury edge.
Nutrition and macros by portion
The nutrition label shows one serving as written: 392 calories, 73g protein, 216g carbs, 22g fat.
| Portion | Adjustment | kcal | Protein | Carbs | Fat |
|---|---|---|---|---|---|
| Lighter | Less butter and mozzarella | 274 kcal | 51g | 151g | 16g |
| This serving | As written | 392 kcal | 73g | 216g | 22g |
| Hungry | Larger bread portion | 588 kcal | 110g | 324g | 34g |
The bread supplies most of the carbohydrates, while butter, olive oil and mozzarella contribute much of the fat; Parmesan and mozzarella also provide some protein. Serve a piece with a vegetable-rich soup or salad to round out the plate.
Roasting the garlic
Foil: wrapping the trimmed bulbs helps them cook in their own steam and keeps the cloves from drying out. Pour the oil into the exposed tops and season before sealing the foil.
Doneness: the cloves should be soft enough to squeeze from their skins and mash into the butter. If they are still firm after 30–35 minutes, cook them a little longer.
Making the garlic butter
Soft butter: room-temperature butter is easier to combine evenly with the roasted cloves. Mash any larger garlic pieces as you stir for a spread that is easy to apply.
Seasoning: Parmesan and the cheese topping both bring savoury flavour, so taste the spread before adding salt. Keep the black pepper to taste.
Getting the bread crisp
Cut sides: spread the garlic butter across the cut surface so the flavour reaches the edges. Add mozzarella over the top, keeping it on the bread rather than spilling into the air fryer.
Finish: bake at 180°C for 5–8 minutes, checking towards the end. The cheese should be melted and the bread golden brown.
Timing and serving
Plan for the garlic to take 30–35 minutes to roast before assembling the bread; the final bake is much quicker at 5–8 minutes. The recipe gives a total time of 50 minutes.
Serve the bread warm alongside pasta or soup, or cut it into pieces for sharing. It is best eaten soon after baking, while the cheese is still soft.
Recipe notes & tips
- Let the butter soften at room temperature so it blends smoothly with the garlic.
- Trim just enough from each garlic bulb to expose the cloves.
- Taste the butter mixture before adding salt, as the cheeses are savoury.
- Check the bread after 5 minutes, since air fryers can brown it quickly.
- Cut the finished bread into portions while the cheese is melted.
Variations
- Extra herbs: stir a little more chopped parsley into the garlic butter.
- More Parmesan: add a light extra sprinkle over the mozzarella before baking.
- Peppery topping: grind a little black pepper over the cheese before it goes into the air fryer.
- Smaller pieces: slice the baguette into portions before spreading on the garlic butter.
- Oven finish: bake the topped bread in the oven instead of the air fryer, checking for melted cheese and golden bread.
Common mistakes to avoid
- Garlic still firm: roast it longer until the cloves are soft enough to squeeze from their skins.
- Butter too cold: leave it at room temperature until it is soft enough to stir with the garlic.
- Oversalting the spread: taste it first, then add salt only if needed.
- Uneven topping: spread the garlic butter across the cut surface before adding mozzarella.
- Overbaking the bread: start checking at 5 minutes and take it out once golden and melted.
How to store
Keep leftover garlic bread covered in the fridge and eat within 2 days. Reheat in an air fryer or oven until warmed through; the bread may be less crisp after storage.
Frequently asked questions
Can I make this without an air fryer?
Yes. The method also allows for baking the topped bread in an oven. For roasting the garlic, use a suitable oven-safe setup and cook until the cloves are soft.
How do I know when the garlic is roasted?
The cloves should be soft and easy to squeeze out of their skins. If they are firm, return the wrapped bulbs to the air fryer for a little longer.
Can I prepare the garlic butter ahead?
Yes. Mix the roasted garlic with the butter, parsley, Parmesan and pepper, then refrigerate it in a covered container. Let it soften enough to spread before assembling the bread.
What bread should I use?
The method specifies a large baguette, sliced in half. Use a loaf with a cut surface broad enough to hold the spread and mozzarella.
How long does the topped bread take to bake?
Bake it for 5–8 minutes at 180°C, checking for melted cheese and golden-brown bread.
Cook it from the original
This recipe comes from simshomekitchen.com. Their page has the author’s own photos, notes and tips — the best place to cook it from.
Open the recipe on simshomekitchen.com