
Easy Baked Plantain Chips
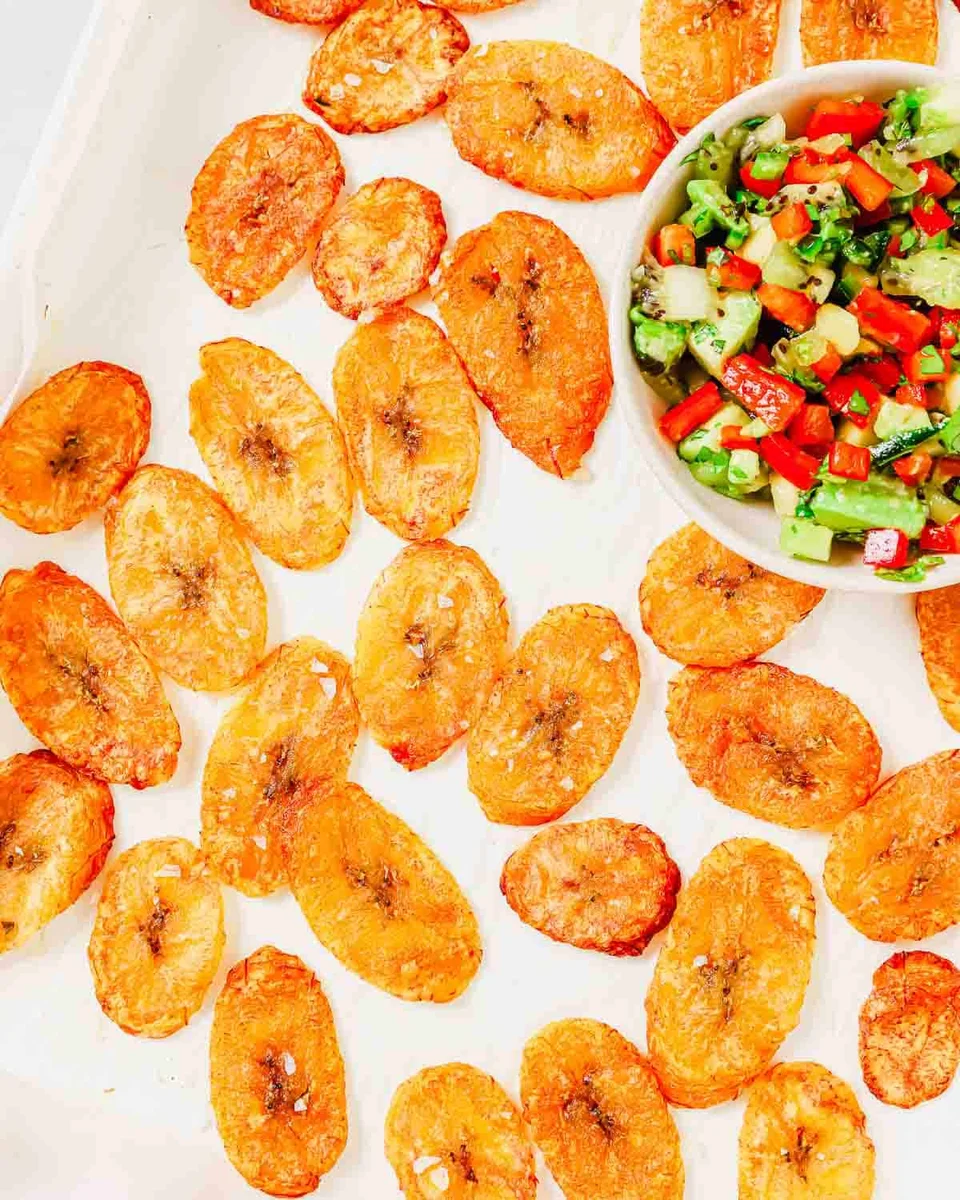
Thin slices of green plantain bake with coconut oil and salt until golden and crisp, served with a fresh kiwi, pepper and avocado salsa. It’s a simple snack for dipping or eating straight from the tray.
Ingredients
- 2green plantains, sliced thinly on the diagonal
- 2 tablespoonscoconut oil, melted
- to tastekosher salt
- 1/2green bell pepper, diced
- 1/2red bell pepper, diced
- 1 smalljalapeño pepper, diced
- 1kiwi, diced
- 1/2avocado, chopped
- 1 tablespooncilantro, minced
- 1/2 tablespoonmint, minced
- juice of 1/2lime
Instructions
- 1
Preheat the oven
Heat the oven to 177°C (350°F).
- 2
Oil the plantains
Toss the plantain slices with the melted coconut oil, then arrange them flat on a baking sheet.
- 3
Season the slices
Sprinkle the plantains generously with kosher salt.
- 4
Bake until golden
Bake for 15 minutes, turn the slices over, then bake for another 5–7 minutes, until golden brown.
- 5
Cool the chips
Leave the plantains to cool on the baking sheet so they crisp up.
- 6
Mix the salsa
Meanwhile, put the remaining ingredients in a bowl and toss them together to make the salsa.
What are plantain chips?
Plantain chips are thin slices of plantain cooked until crisp. Green plantains are less sweet and more starchy than ripe ones, making them a good choice for a savoury snack.
This version is baked rather than fried and comes with a bright salsa of peppers, kiwi, avocado, herbs and lime. The contrast of crisp chips and fresh, tangy salsa makes each bite lively.
Nutrition and macros by portion
The nutrition label shows one serving as written: 256 calories, 2g protein, 40g carbs, 11g fat.
| Portion | Adjustment | kcal | Protein | Carbs | Fat |
|---|---|---|---|---|---|
| Lighter | Use less coconut oil | 179 kcal | 1g | 28g | 8g |
| This serving | As written | 256 kcal | 2g | 40g | 11g |
| Hungry | Serve a larger portion | 384 kcal | 3g | 60g | 17g |
The plantains provide most of the carbohydrates, while coconut oil and avocado contribute much of the fat. Plantains and avocado also provide a little protein, but this snack is not especially protein-rich; serve it with a protein-containing dish or dip to make a more balanced plate.
Choosing and slicing plantains
Green plantains: Choose firm fruit with mostly green skin for a starchier, less sweet flavour. Thin, evenly cut slices help the chips bake at a similar pace.
Diagonal slices: Cutting on the diagonal gives broad pieces that are easy to pick up and dip. Aim for a consistent thickness rather than a particular shape.
Getting the chips crisp
Coconut oil: Melt it first so it coats the slices evenly as you toss them. Use just enough to lightly coat the plantains.
Single layer: Lay the slices flat on the baking sheet, as directed, so they bake rather than overlap. Turn them after the first 15 minutes for colour on both sides.
When they are done
Colour: Look for golden-brown plantains after the additional 5–7 minutes of baking. The slices may still feel a little soft while hot.
Cooling: Leave the chips on the baking sheet to cool; this is when they crisp up. If they are not crisp yet, allow them more time to cool before serving.
A fresh, balanced salsa
Sweet and sharp: Kiwi and lime bring fruity acidity, while the green and red peppers add a fresh, crisp contrast. Jalapeño gives the salsa a little heat.
Herbs and avocado: Cilantro and mint add fragrance, and avocado makes the mixture creamy. Toss the salsa together shortly before serving so its ingredients stay fresh-tasting.
Serving the chips
Serve the chips once they have cooled and crisped, with the salsa alongside for dipping. They also work on their own as a salty snack.
For a more substantial spread, serve them with other savoury dishes or fresh vegetables. Keep the chips separate from the salsa until serving so they do not soften.
Recipe notes & tips
- Slice the plantains evenly so they bake at a similar rate.
- Arrange the slices flat on the baking sheet rather than overlapping them.
- Turn the slices after 15 minutes, then check for golden colour during the final 5–7 minutes.
- Let the chips cool on the baking sheet before judging their crispness.
- Keep the salsa separate from the chips until you are ready to serve.
Variations
- More heat: Leave some jalapeño seeds in the salsa for a stronger kick.
- Milder salsa: Use less jalapeño for a gentler flavour.
- Citrus change: Use extra lime juice for a tangier salsa.
- Herb balance: Adjust the relative amounts of cilantro and mint to suit your taste.
- Salt level: Season the chips lightly, then add more at the table if needed.
Common mistakes to avoid
- Uneven slices: Thick and thin pieces bake differently; aim for a consistent thickness.
- Overlapping plantains: Crowded slices may not bake evenly; lay them flat on the baking sheet.
- Skipping the turn: The second side needs time to colour too; flip after 15 minutes.
- Expecting instant crispness: Hot plantains may still feel soft; let them cool on the baking sheet.
- Mixing salsa with chips early: The salsa can soften the chips; serve them separately.
How to store
Store cooled chips in an airtight container at room temperature and keep the salsa in a separate covered container in the fridge. The chips are best soon after baking; the salsa is best used within a day. If the chips soften, warm them briefly in the oven and let them cool again before serving.
Frequently asked questions
Can I use ripe plantains?
Green plantains are best for this savoury, starchy chip. Riper plantains are sweeter and softer, so the result will be different.
How thin should I slice the plantains?
Slice them thinly and as evenly as you can. Consistent slices are more likely to bake at the same rate.
Why are my plantain chips still soft?
They may need to cool longer, as the recipe relies on cooling on the baking sheet to help them crisp up. Also check that the slices were laid flat and turned during baking.
Can I make the salsa ahead?
You can prepare it shortly ahead and keep it covered in the fridge. For the freshest texture, toss it together close to serving time.
Can I serve the chips without salsa?
Yes. The salted chips can be enjoyed on their own, or served with another dip.
Cook it from the original
This recipe comes from runningtothekitchen.com. Their page has the author’s own photos, notes and tips — the best place to cook it from.
Open the recipe on runningtothekitchen.com