
Maple Sugar Shortbread
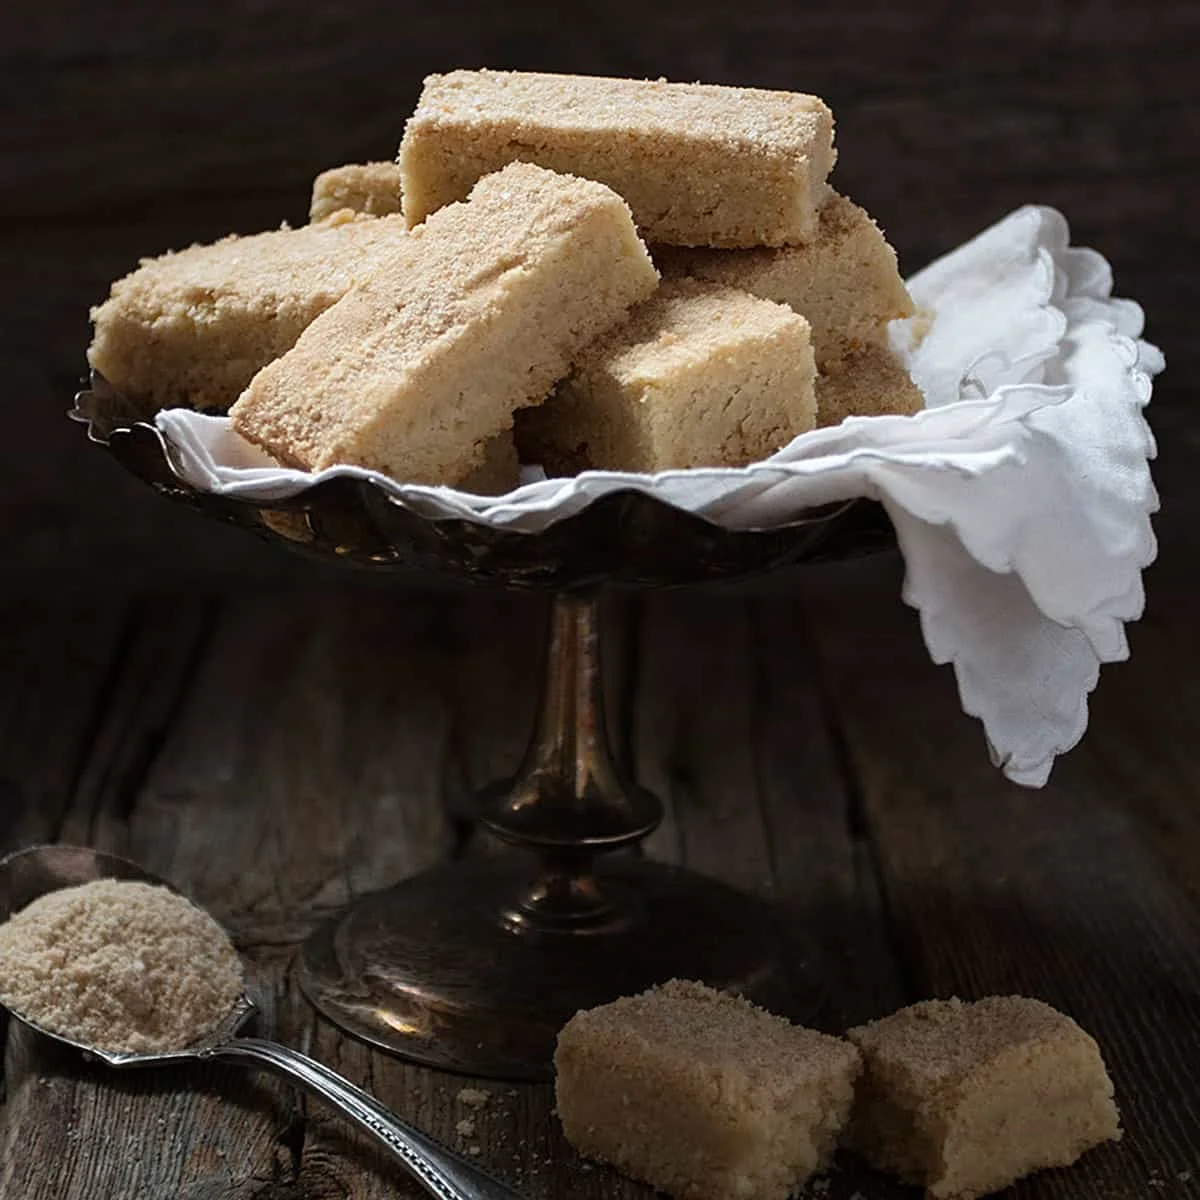
These buttery shortbread cookies pair a tender, melt-in-the-mouth crumb with maple sugar in the dough and on top. They’re baked in one square pan, then sliced while warm for easy sharing.
Ingredients
- 250 g (2 cups)plain flour, spooned and levelled
- 40 g (¼ cup)rice flour
- 50 g (¼ cup), plus extra for toppingfine maple sugar
- ½–¾ teaspoon; if using salted butter, reduce to ¼–½ teaspoonfine salt
- 227 g (1 cup)unsalted butter, melted and cooled until lukewarm
Instructions
- 1
Prepare the pan
Heat the oven to 175°C (350°F). Line a 20 cm (8-inch) square pan with baking parchment, leaving an overhang on two opposite sides so the shortbread can be lifted out.
- 2
Mix and bake
Whisk the plain flour, rice flour, maple sugar and salt together in a bowl. Stir in the melted, cooled butter until the mixture resembles moist sand, then press it evenly into the prepared pan. Bake for 30–35 minutes, until golden brown and set. Set the pan on a cooling rack; while the shortbread is still warm, sprinkle it with extra maple sugar and slice it. Leave it to cool completely before removing it from the pan.
What is maple sugar shortbread?
Shortbread is a rich, crumbly biscuit traditionally associated with Scotland. This American-style version brings in maple sugar, giving the dough and its topping a warm maple flavour.
Rice flour helps give the shortbread a delicate, sandy texture, while baking it in a square pan keeps shaping simple. Slicing it while warm makes neat portions without needing to roll or cut individual biscuits.
Nutrition and macros by portion
The nutrition label shows one serving as written: 112 calories, 1g protein, 9g carbs, 7g fat.
| Portion | Adjustment | kcal | Protein | Carbs | Fat |
|---|---|---|---|---|---|
| Lighter | Smaller shortbread piece | 78 kcal | 1g | 6g | 5g |
| This serving | As written | 112 kcal | 1g | 9g | 7g |
| Hungry | Larger shortbread piece | 168 kcal | 2g | 14g | 11g |
Most of the carbohydrates come from the flours and maple sugar, while butter provides most of the fat. The shortbread contains a small amount of protein, mainly from the flour; serve a piece with fruit or yoghurt for a more balanced snack.
The flour blend
Plain flour: spoon it into the measuring cup and level it off if measuring by volume, as packing it down can add too much.
Rice flour: its fine, dry texture contributes to the shortbread’s tender, crumbly bite. Whisk it thoroughly with the plain flour so it is evenly distributed.
Butter and dough texture
Lukewarm butter: let the melted butter cool before mixing it in, so it is not piping hot when it meets the dry ingredients.
Moist crumbs: the mixture should look sandy rather than like a smooth, elastic dough. Press it firmly and evenly into the pan to help the shortbread hold together after baking.
Baking and slicing
Golden edges: begin checking at 30 minutes and bake for up to 35 minutes, until the top is golden and the shortbread looks set. The centre should no longer look wet.
Warm cut: add the topping sugar and slice while the shortbread is still warm, when it is easier to cut cleanly. Let it cool fully in the pan before lifting it out.
Choosing maple sugar and salt
Maple sugar: use fine maple sugar in the dough so it blends readily with the flours. A little extra over the warm surface gives the finished shortbread a sweet, maple-scented top.
Salt: the recipe allows for a range of salt depending on taste. If your butter is salted, use the smaller amount specified to avoid making the shortbread too salty.
Serving ideas
Serve the cooled pieces with tea or coffee, or alongside fresh fruit for a simple dessert. Their buttery sweetness also works well with a bowl of berries.
For a varied biscuit plate, pair them with plainer, less sweet biscuits so the maple flavour remains the focus.
Recipe notes & tips
- Weigh the flours for consistent results, or spoon and level them rather than scooping directly from the bag.
- Leave the parchment overhang on two opposite sides to make lifting the cooled shortbread easier.
- Press the mixture into an even layer so it bakes at a similar rate throughout.
- Use a sharp knife to slice the shortbread while it is still warm.
- Cool the pieces completely before lifting them from the pan so they have time to firm up.
Variations
- More maple: add a little extra maple sugar on top while the shortbread is warm.
- Salted butter: use salted butter and reduce the fine salt to ¼–½ teaspoon as directed.
- A touch of spice: mix a small pinch of cinnamon into the dry ingredients for a gently spiced version.
- Smaller pieces: cut the warm slab into narrower fingers instead of larger squares.
- Plain topping: leave off the extra maple sugar for a less sweet finish.
Common mistakes to avoid
- Hot butter: let it cool to lukewarm before stirring it into the flour mixture.
- Packed flour: spoon and level it, or weigh it, to avoid adding too much.
- Uneven layer: press the mixture level in the pan so some areas do not bake faster than others.
- Cutting when cold: slice the shortbread while it is still warm, before it becomes more brittle.
- Lifting too soon: let it cool completely in the pan before using the parchment to lift it out.
How to store
Keep the cooled shortbread in an airtight container at room temperature for up to a week. If you prefer it warm, briefly reheat a piece in a low oven; avoid heating it for long, as it can become too soft.
Frequently asked questions
Can I use salted butter?
Yes. Reduce the fine salt to ¼–½ teaspoon, as specified in the ingredient list.
Why does the mixture look like sand?
That moist, sandy texture is expected with melted butter. Press it firmly into the pan to form an even layer.
When should I add the maple sugar topping?
Sprinkle it over the shortbread while it is still warm, after taking the pan out of the oven.
Should I slice it before or after it cools?
Slice it while warm, then leave it to cool completely in the pan before removing the pieces.
How can I tell when it is baked?
It should look golden brown and set after 30–35 minutes. Check it from the 30-minute mark, as ovens can vary.
Cook it from the original
This recipe comes from seasonsandsuppers.ca. Their page has the author’s own photos, notes and tips — the best place to cook it from.
Open the recipe on seasonsandsuppers.ca