
Cheesy Manicotti
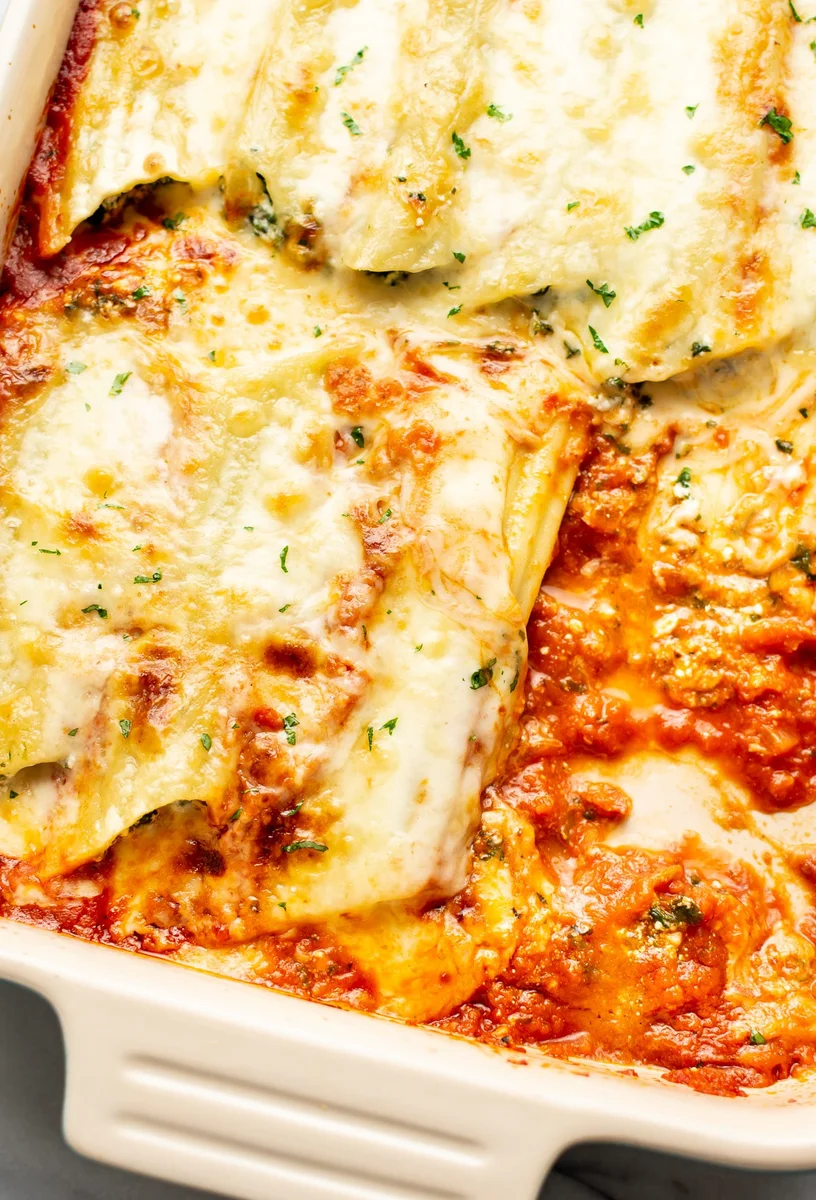
This manicotti recipe is an Italian-American favorite with three kinds of cheese, marinara sauce, and spinach! It's an oven-baked classic that feeds a crowd.
Ingredients
- 12 manicotti shells
- 1 (24 ounce) jar marinara sauce
- 16 ounces frozen spinach (thawed)
- 15 ounces ricotta cheese
- 1 cup freshly grated parmesan cheese
- 1 large egg
- 1/2 teaspoon salt
- Pepper (to taste)
- 1 teaspoon garlic powder
- 1 teaspoon Italian seasoning
- 2 cups mozzarella cheese (shredded)
- For serving: fresh basil and/or chopped parsley (optional, to taste)
Instructions
- 1
Preheat your oven to 375F and move the rack to the top third of the oven.
- 2
Boil a salted pot of water and cook the manicotti 2 minutes less than package directions indicate (they will finish cooking in the oven). Once the pasta is done, drain it and keep in your colander/strainer until needed.
- 3
Pour the jar of marinara sauce in a 9x13 casserole dish and spread it out evenly.
- 4
While the manicotti cooks, thaw the spinach and squeeze the water out thoroughly. Add it to a prep bowl along with the ricotta, parmesan, egg, salt & pepper, garlic powder, and Italian seasoning. Stir together until well combined.
- 5
Spoon or pipe the mixture into each manicotti noodle and add them to the casserole dish as you fill them. I find it fastest to use a small spoon (like a teaspoon), and I fill each one halfway then turn it around and finish filling it from the other opening. You can pack quite a lot of filling into each manicotti shell so it all gets used up (let some filling stick out a bit as shown in the step-by-step photos in the blog post).
- 6
Top with the mozzarella and cover the casserole dish tightly with foil.
- 7
Bake for 30 minutes, then remove the foil and broil for a few minutes to brown the cheese (watch it carefully so it doesn't burn).
- 8
Serve immediately with extra salt & pepper as needed and fresh basil and/or parsley if using.
Cook it from the original
This recipe comes from saltandlavender.com. Their page has the author’s own photos, notes and tips — the best place to cook it from.
Open the recipe on saltandlavender.com