
Gooey, Fudgy Black Bean Brownies
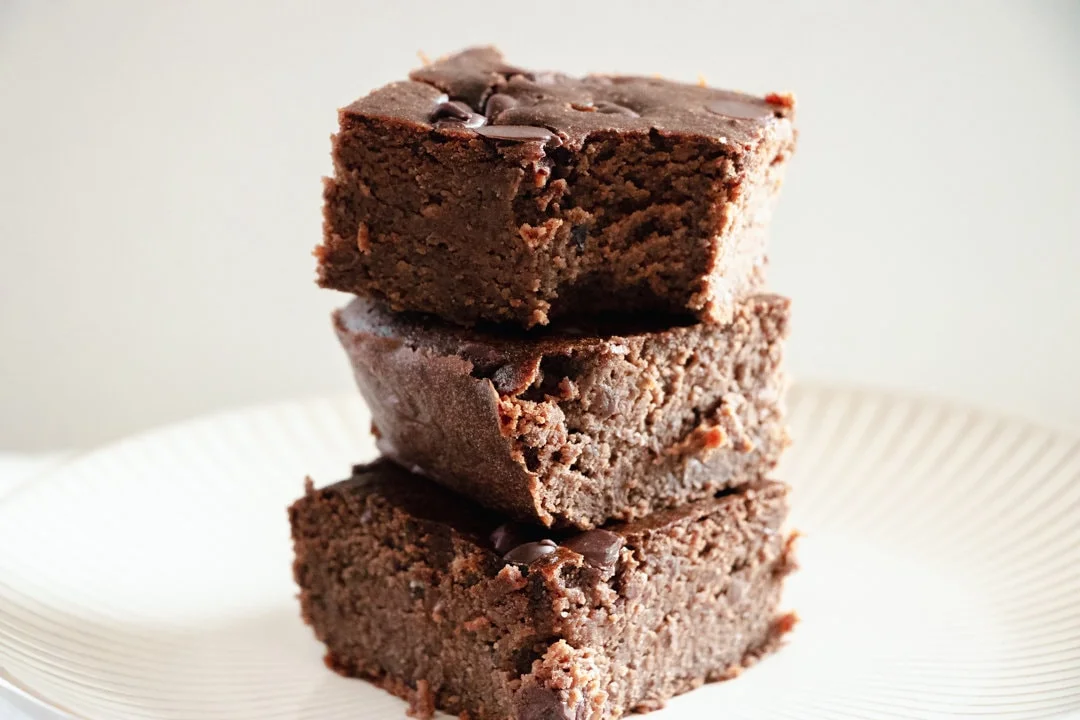
The gooey, fudgy texture of these brownies stays moist and delicious for days! (If they even last in your refrigerator that long!) These brownies are an awesome gluten-free treat with basic ingredients, including a whole can of fiber-dense black beans, raw cacao, and nut butter.
Ingredients
- 1 15-oz can (425g) Black Beans, rinsed and drained
- 1/3 cup (35g) raw cacao powder ((can substitute with unsweetened cocoa powder))
- 1/4 cup (30g) oat flour
- 1/2 teaspoon baking powder
- 1/4 teaspoon salt
- 1/2 teaspoon coffee (finely ground or instant)
- 3 Tablespoons canola oil ((can substitute with any flavorless oil))
- 2 teaspoons vanilla extract
- 2/3 cup (160g) pure maple syrup
- 1/4 cup (60g) creamy nut butter ((your choice, can also use chocolate hazelnut spread as well))
- 3 large eggs
- 1/2 cup (60g) semisweet chocolate chips
- 1/4 cup (30g) semisweet chocolate chips
Instructions
- 1
Preheat oven to 350F/175C. Line a 8x8in or 9x9in pan with parchment paper.
- 2
Rinse and drain black beans.
- 3
In a large bowl, mix together all dry ingredients (cacao powder, oat flour, baking powder, salt, and coffee). Set aside.
- 4
In food processor, add oil, vanilla, maple syrup, and black beans. Puree until a nice, creamy bean paste is created (approximately 30-45 seconds). Add the bean paste to the dry ingredients bowl and stir well.
- 5
Add nut butter to the mixture and stir. Add eggs to the mixture and mix until well combined. Stir in 1/2 cup of chocolate chips.
- 6
Pour mixture into parchment-lined pan. Sprinkle the top with another 1/4 cup (or handful) of chocolate chips.
- 7
Bake for about 30-35 minutes or until the edges are cooked and the center only jiggles slightly when shaken. A toothpick inserted in the middle will still come out gooey.
- 8
Place brownie pan on a cooling rack for an hour and then refrigerate an additional 3 hours so brownies are completely cool before cutting and eating.
Cook it from the original
This recipe comes from prettysimplesweet.com. Their page has the author’s own photos, notes and tips — the best place to cook it from.
Open the recipe on prettysimplesweet.com