
Instant Pot Cold Start Yogurt (No Boil Method)
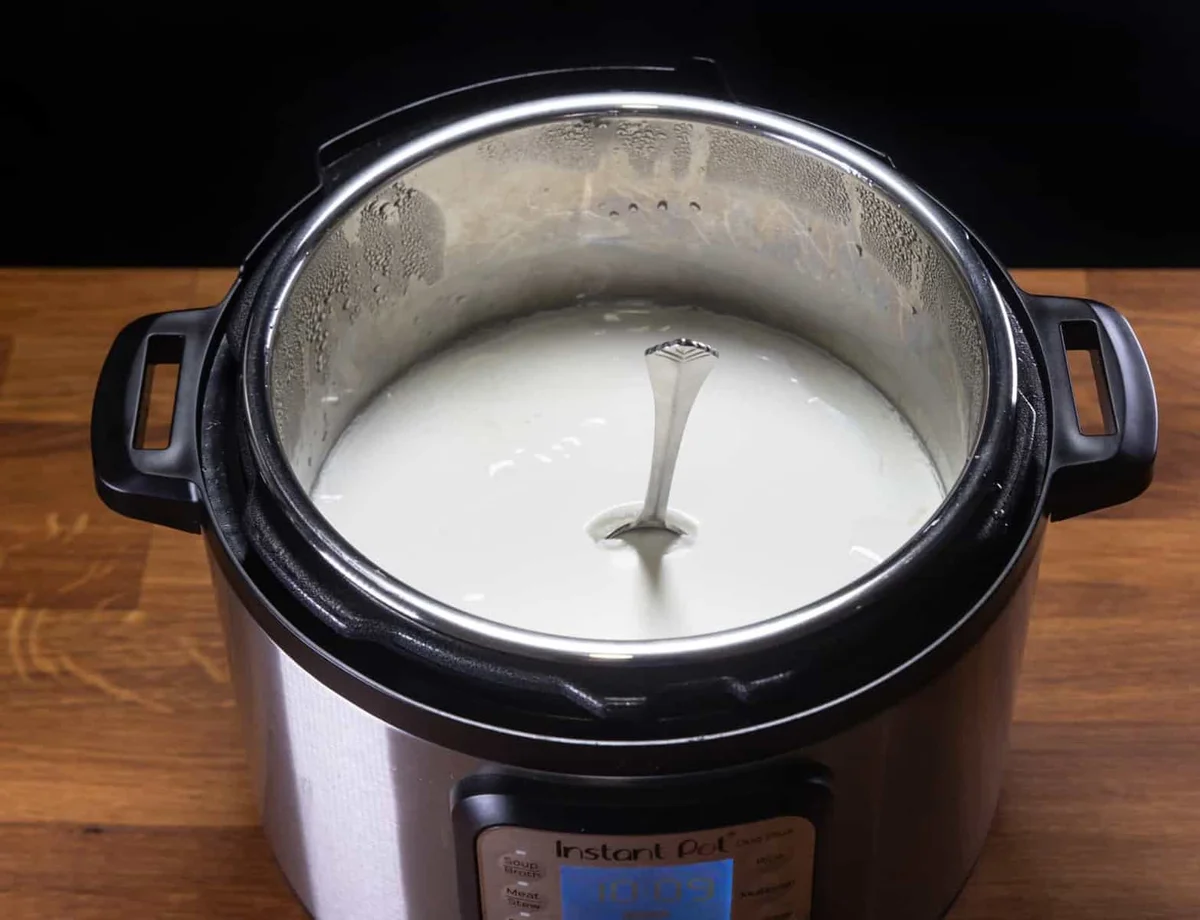
This cold-start Instant Pot yoghurt uses ultra-filtered whole milk and a small amount of live-culture yoghurt, with no separate boiling step. The cooker handles the long incubation, leaving you with smooth yoghurt that can be chilled or strained to your preferred thickness.
Ingredients
- 2 litres (½ gallon)ultra-filtered whole milk
- 2 tablespoons (32 g)yoghurt with active bacterial cultures
- 500 ml (2 cups)cold water, for optional equipment sterilisation
Instructions
- 1
Sterilise equipment
Optional: add 500 ml (2 cups) cold water and the trivet to the Instant Pot. Put the yoghurt-making equipment—a silicone spatula or whisk without a plastic or wooden handle, a Pyrex measuring cup and a measuring spoon—inside. Close the lid, set the steam release to Sealing and cook at High Pressure for 3 minutes, followed by a natural release. Air-dry the equipment on a clean rack.
- 2
Mix the starter
Add 32 g (2 tablespoons) of yoghurt with active bacterial cultures and 250 ml (1 cup) of ultra-filtered milk to the Instant Pot inner pot. Whisk until combined.
- 3
Incubate the yoghurt
Pour in the remaining 1,750 ml (7 cups) of ultra-filtered milk and whisk well. Close the lid; the steam-release position does not matter. Press the Yoghurt button and select the Normal function, setting the incubation for 8 hours 30 minutes to 12 hours 30 minutes, according to how tangy you like it. The yoghurt may be ready for a taste test after roughly 6 hours 30 minutes; wait until it has set before opening the lid. The timer counts up during incubation, and moving the cooker or opening the lid before the yoghurt sets can disrupt fermentation.
- 4
Chill the yoghurt
When the yoghurt has reached your preferred tanginess, remove the inner pot and refrigerate it for a few hours to stop incubation. Chilling also thickens it slightly. Stir in flavourings now or just before serving.
- 5
Strain if desired
For thicker yoghurt, strain it using a yoghurt strainer; longer straining produces a thicker result. The recipe estimates that 1 hour separates about 375 ml (1½ cups) of whey from 2 litres of yoghurt, 2 hours separates about 625 ml (2½ cups), and overnight straining separates about 902 ml (4 cups), leaving a little over 1 litre of Greek-style yoghurt.
What is cold-start yoghurt?
Cold-start yoghurt is made by mixing a live-culture starter straight into milk, rather than heating the milk first. This version uses ultra-filtered milk and an Instant Pot’s yoghurt setting for incubation.
Yoghurt has a long history across many food cultures, so there is no single origin for this home method. Its appeal here is the simple ingredient list and the choice to serve it smooth or strain it thicker.
Nutrition and macros by portion
The nutrition label shows one serving as written: 122 calories, 7g protein, 9g carbs, 7g fat.
| Portion | Adjustment | kcal | Protein | Carbs | Fat |
|---|---|---|---|---|---|
| Lighter | Smaller yoghurt serving | 85 kcal | 5g | 6g | 5g |
| This serving | As written | 122 kcal | 7g | 9g | 7g |
| Hungry | Larger yoghurt serving | 183 kcal | 11g | 14g | 11g |
The supplied nutrition figures indicate that the milk and starter contribute the carbohydrates, fat and protein in each serving. Serve it with fruit or oats for extra fibre and texture, or pair it with a savoury meal and vegetables for a more balanced plate.
Choose the right milk
Ultra-filtered milk: use the type specified in the recipe, as the method is designed around it. The milk contributes most of the mixture’s volume and helps make a creamy yoghurt.
Live-culture starter: choose plain yoghurt that states it contains active bacterial cultures. Whisk it with a little milk first so it disperses evenly through the rest.
Keep the culture undisturbed
Gentle handling: once the milk and starter are mixed, close the lid and leave the cooker in place while it incubates. Opening the lid or moving the pot before the yoghurt sets can interfere with fermentation.
Optional sterilising: the recipe includes a pressure-steaming step for the utensils and measuring equipment. Let them air-dry on a clean rack before use.
Adjust the tang
Incubation time: the recipe gives a range of 8 hours 30 minutes to 12 hours 30 minutes. A longer incubation makes the yoghurt tangier, while the yoghurt may be set enough to taste after roughly 6 hours 30 minutes.
Timer display: during incubation, the Instant Pot timer counts upwards rather than downwards. Check that the Yoghurt Normal function is selected before leaving the mixture to incubate.
Set the texture
Smooth yoghurt: chill the yoghurt in its inner pot for a few hours after incubation. This stops the fermentation and lets the yoghurt thicken a little more.
Thicker yoghurt: strain it in a yoghurt strainer, checking the texture as it goes. The whey separation figures are estimates from the recipe, and the amount left depends on how long you strain.
Serve it simply
Breakfast: serve chilled yoghurt with fruit, oats or granola for contrasting freshness and crunch. Add flavourings after chilling or just before serving.
Snack: use a smaller bowl as it is, or add a savoury topping such as herbs and cucumber. Keep toppings separate if you want the yoghurt to stay plain for other uses.
Recipe notes & tips
- Use yoghurt that clearly lists active bacterial cultures.
- Whisk the starter with the first 250 ml of milk before adding the rest.
- Leave the Instant Pot undisturbed until the yoghurt has set.
- Choose the shorter end of the incubation range for a milder taste.
- Chill the yoghurt before judging its final thickness.
- Strain for longer in stages if you want a thicker result.
Variations
- Add vanilla: stir it in after incubation or just before serving.
- Sweeten it: mix in honey or sugar after chilling to suit your taste.
- Top with fruit: add fresh or stewed fruit when serving.
- Make it savoury: season a portion with herbs and serve as a dip.
- Strain it Greek-style: leave it in a yoghurt strainer until it reaches your preferred thickness.
Common mistakes to avoid
- Using a starter without live cultures: check the label and choose yoghurt with active bacterial cultures.
- Opening the lid too early: wait until the yoghurt has set, roughly 6 hours 30 minutes, before checking it.
- Moving the cooker during incubation: keep it in place so the fermentation can proceed undisturbed.
- Expecting the timer to count down: the display counts up during the yoghurt cycle, so use the selected incubation time as your guide.
- Straining for too long: check the texture periodically because more straining means thicker yoghurt and more whey separation.
How to store
Refrigerate the yoghurt in a clean, covered container and use it within 3–4 days. Keep strained yoghurt chilled too, and stir it before serving if it has separated slightly.
Frequently asked questions
Do I need to boil the milk first?
No. This is a cold-start method using ultra-filtered milk, so the milk is mixed with the starter without a separate boiling step.
How long should I incubate the yoghurt?
Set the Yoghurt Normal function for 8 hours 30 minutes to 12 hours 30 minutes. Choose a longer time for a tangier flavour; it may be set enough to taste after roughly 6 hours 30 minutes.
Can I open the lid to check it?
Wait until the yoghurt has set, around 6 hours 30 minutes, before opening the lid for a taste test. Avoid disturbing the cooker earlier in the process.
Why is the timer counting up?
The recipe notes that the timer counts up once incubation begins. This is expected for the yoghurt cycle.
How can I make the yoghurt thicker?
Chill it first, then strain it with a yoghurt strainer if you want a thicker texture. The longer it strains, the more whey separates.
When should I add flavourings?
The recipe suggests adding them after chilling or just before serving. This lets you keep the batch plain and flavour individual portions.
Cook it from the original
This recipe comes from pressurecookrecipes.com. Their page has the author’s own photos, notes and tips — the best place to cook it from.
Open the recipe on pressurecookrecipes.com