
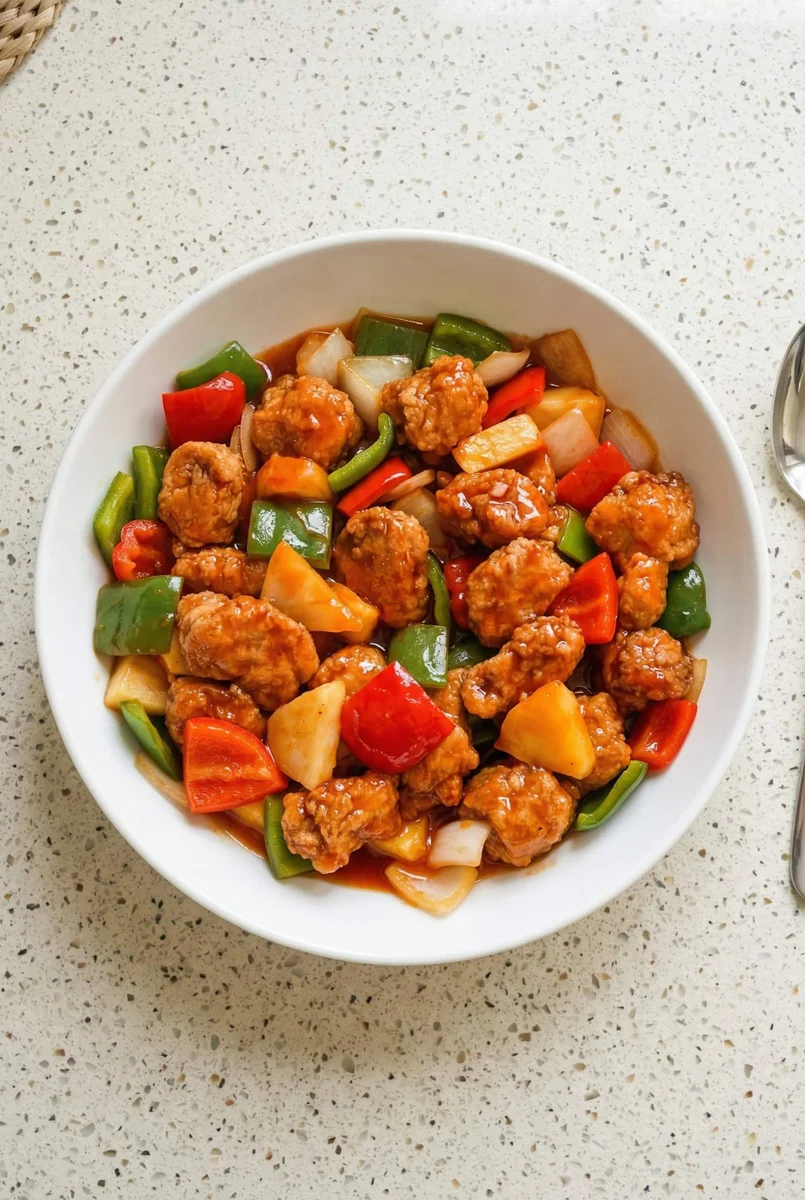
Sweet and Sour Pork
Nutrition per Serving
1679
Calories
28g
Protein
48g
Carbs
155g
Fat
This sweet and sour pork is crispy, golden, and coated in a perfectly balanced tangy sauce. Juicy pork bites are paired with colorful bell peppers and sweet pineapple for a classic takeout-style dish made right at home. It’s a flavorful and satisfying meal that tastes even better than your favorite restaurant version.
📝 Ingredients
- 1 1/2 pounds pork tenderloin (cut into 1-inch pieces)
- 2 large eggs (beaten)
- 1 tsp salt
- 1/2 tsp black pepper
- 1/2 cup all-purpose flour
- 1/2 cup cornstarch
- 4 cups oil (for frying, about 3 inches deep in pot)
- 2 tsp vegetable oil
- 1/2 cup onion (cut into 1-inch pieces)
- 1 medium green bell pepper (cut into 1-inch pieces)
- 1 medium red bell pepper (cut into 1-inch pieces)
- 3/4 cup pineapple chunks (fresh or canned)
- 1/2 cup granulated sugar
- 1/3 cup apple cider vinegar
- 2 tbsp soy sauce
- 1/4 tsp garlic powder
- 1/4 tsp onion powder
- 1/3 cup ketchup
- 1 tbsp cornstarch
👨🍳 Instructions
- 1Heat oil in a deep pot to 350°F. Place eggs in a bowl and season with salt and pepper. In another bowl, mix flour and cornstarch.
- 2Dip each piece of pork into the egg, then coat in the flour mixture until fully covered.
- 3Fry the pork in batches for about 5 minutes until golden brown and crispy. Remove and drain on paper towels.
- 4Heat 2 teaspoons of vegetable oil in a large pan over medium-high heat. Add onion and bell peppers, season lightly, and cook for 4–5 minutes.
- 5Stir in pineapple chunks and cook briefly until heated through.
- 6In a bowl, whisk together sugar, apple cider vinegar, soy sauce, garlic powder, onion powder, ketchup, and cornstarch.
- 7Pour the sauce into the pan with the vegetables and bring to a simmer. Cook for 2–3 minutes until thickened.
- 8Add the crispy pork to the pan and toss everything together until evenly coated in sauce. Serve immediately.
About the Chef & Original Recipe
This recipe was published by MelanieCooks.com on melaniecooks.com. Visit the original source for step-by-step photos, chef notes and additional details.
Source: melaniecooks.com