
Brining Olives - Oil and Brine Methods
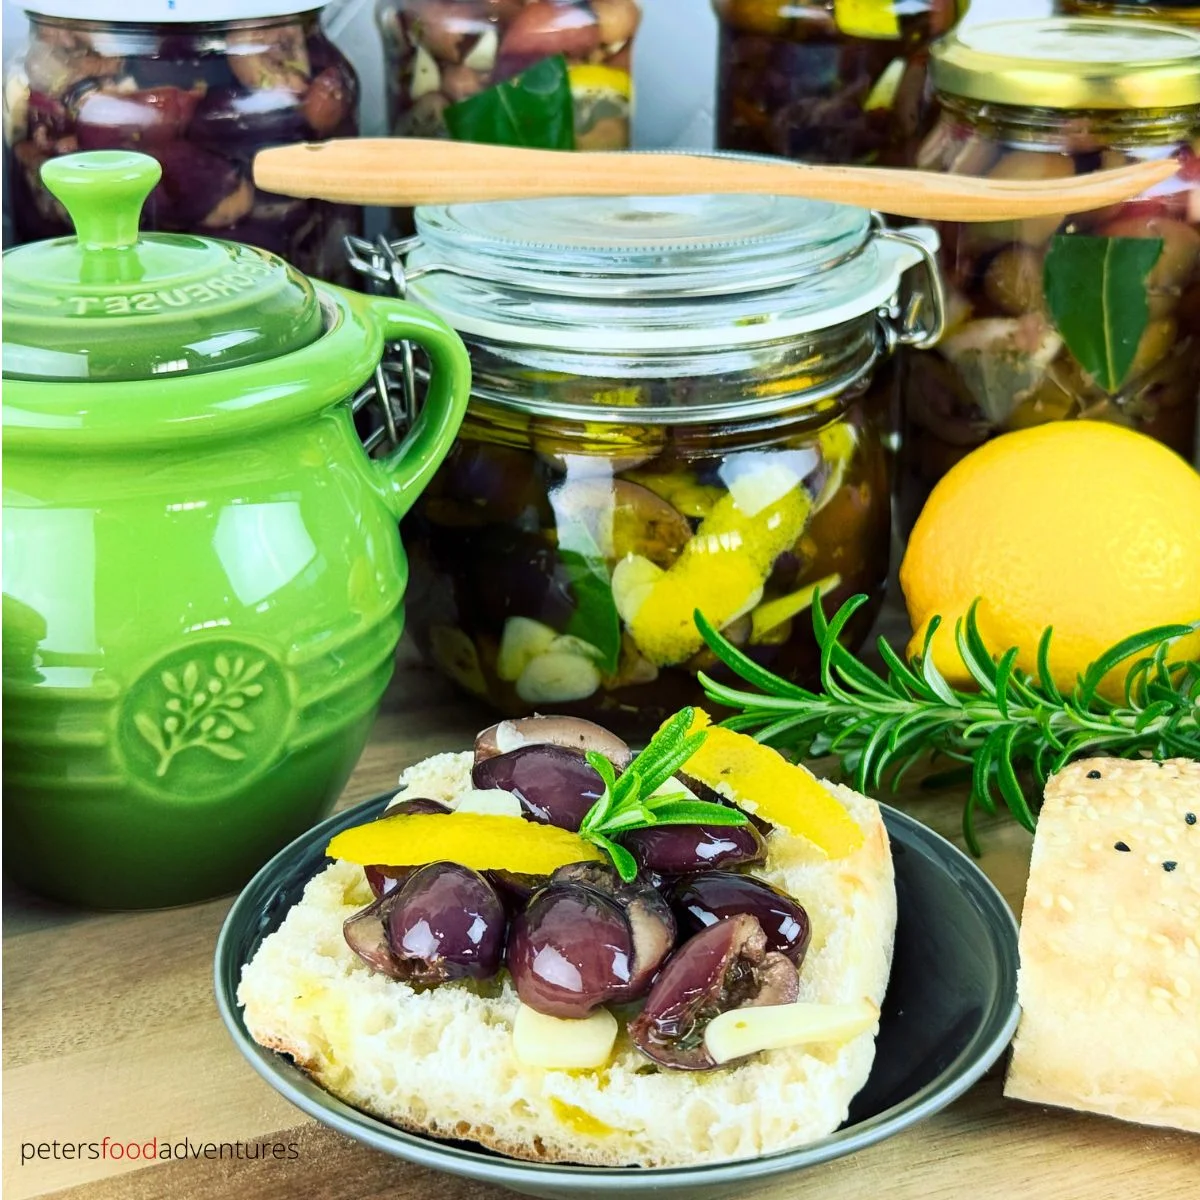
It's easy to make delicious homemade brined olives with 5 different flavor variations. From the classic oregano-garlic version with Mediterranean taste, to a new Beet Brined Olives. Perfect for antipasto platters, charcuterie or everyday snacking. Brine and Oil instructions.
Ingredients
- 4 1/2 pounds (2kg) Fresh Olives (Green for firmness, Black for mild taste)
- Water for Soaking
- Olive Oil for Storage
- 4 liters Spring Water or filtered water
- 400 grams Fine Salt (Celtic Salt, Fine Sea Salt, Himalayan, without iodine or additives) (1 1/3 cups Salt to a US Gallon)
- 1/2 cup Apple Cider Vinegar
- 3 liters Spring Water or Filtered Water
- 240 grams Fine Salt (Celtic Salt, Fine Sea Salt, Himalayan without iodine or additives)
- 1/3 cup Apple Cider Vinegar
- Greek - Bay Leaf, Garlic, Dried Oregano,
- Italian - Bay Leaf, Garlic, Dried Rosemary (can use fresh Rosemary if infusing in Oil)
- Fennel Olives - Bay Leaf, Garlic, Oregano, Fennel Seeds
- Spicy Olives - Bay Leaf, Garlic, Oregano, Chili Flakes
- Russian Olives - sliced Beets, Garlic, Dill, Lemon and Vodka
- Lemon Slices (1-2 per jar) for Brine method (Lemon Peels if using Oil)
Instructions
- 1
Prepare Olives - sort, rinse and discard damaged Olives. Using a sharp paring knife, slit each Olive lengthways with 2 cuts. This helps to speed up the bitterness removal, even in small Olives. For Black Olives, can crack them using a glass jar until slightly split.
- 2
Freshwater Soak - place Olives in jar and fill with water until fully covered. Fill a Ziploc bag with water and place in jar over the Olives (to ensure they aren't exposed to air). Drain and change the water daily. Taste at Day 5 to see if bitterness is removed, or continue soaking up until 10 days. Black Olives often ready at Day 5, and Green Olives need more days.
- 3
Pitting Olives - Using an Olive Pitter, remove the Olive pit (the seed), this usually splits Olives into two halves. Alternatively, place ¼ cup Olives on a cutting board. Place a heavy pan on top and press down gently in a circular motion until the Olive Pits pop out.
- 4
Prepare 10% Brine - for 1 liter of Spring Water, dissolve 400 grams of non-iodized Salt. If using 1 gallon of water, use 1 ⅓ cup of non-iodized salt. Start by putting salt in a heatproof jug and adding boiling hot Spring Water. Mix until dissolved. Pour into the rest of the Spring Water until cooled to room temperature. Mix in ½ cup Apple Cider Vinegar.
- 5
Add Aromatics - drain Olives and pack into clean jars or fermenting crock. Divide Olives into multiple jars to make different flavors (I divided the batch into 5 flavors). Place 5 cloves of Garlic and 1 Bay Leaf in each jar with a teaspoon herbs and spices.
- 6
Brining and Fermentation - cover with cooled Brine and add weight to keep it submerged (clean Ziploc bags filled with water or fermenting weight). Cover loosely with cheesecloth and place in a cool, dark cupboard. Gently shake every few days. Olives are ready when tangy-salty without bitterness. Taste at 4 weeks for flavor, and continue brining until 6 weeks as needed.
- 7
Rinse Olives - Drain Olives and rinse with water if too salty. Place in a colander and run under running water for 2 minutes.
- 8
Final Storage Brine - make a fresh 8% Salt Brine Solution (with ⅓ cup Vinegar). Place rinsed Olives into a bowl. For each 500g (1 pound) mix together 1 teaspoon dried Herbs, 5 Garlic Cloves (thinly chopped), 2 slices of Lemon (quartered) and Bay Leaf cut in half. Stuff into clean jars and pour cooled Brine. Add a thin layer (¼") Olive Oil on top of the Brine in each jar. Close with lid and keep refrigerated up to 1 year.
- 9
Final Storage Warn Infused Oil per 1 pound( 500g) Olives - this only lasts 3-4 months in the fridge. Gently warm 1 cup Olive Oil with Aromatics (Garlic, Herbs, Lemon Peels, Chili Flakes) on low heat for about 3 minutes - DO NOT BOIL. Allow to cool for 5 minutes. Pour over the Olives in a bowl, toss and pack tightly into jars. Top up with extra plain Olive Oil at least ½ inch on top. Seal and Refrigerate. Use within 3-4 weeks after opening.
Cook it from the original
This recipe comes from petersfoodadventures.com. Their page has the author’s own photos, notes and tips — the best place to cook it from.
Open the recipe on petersfoodadventures.com