
Amish White Bread
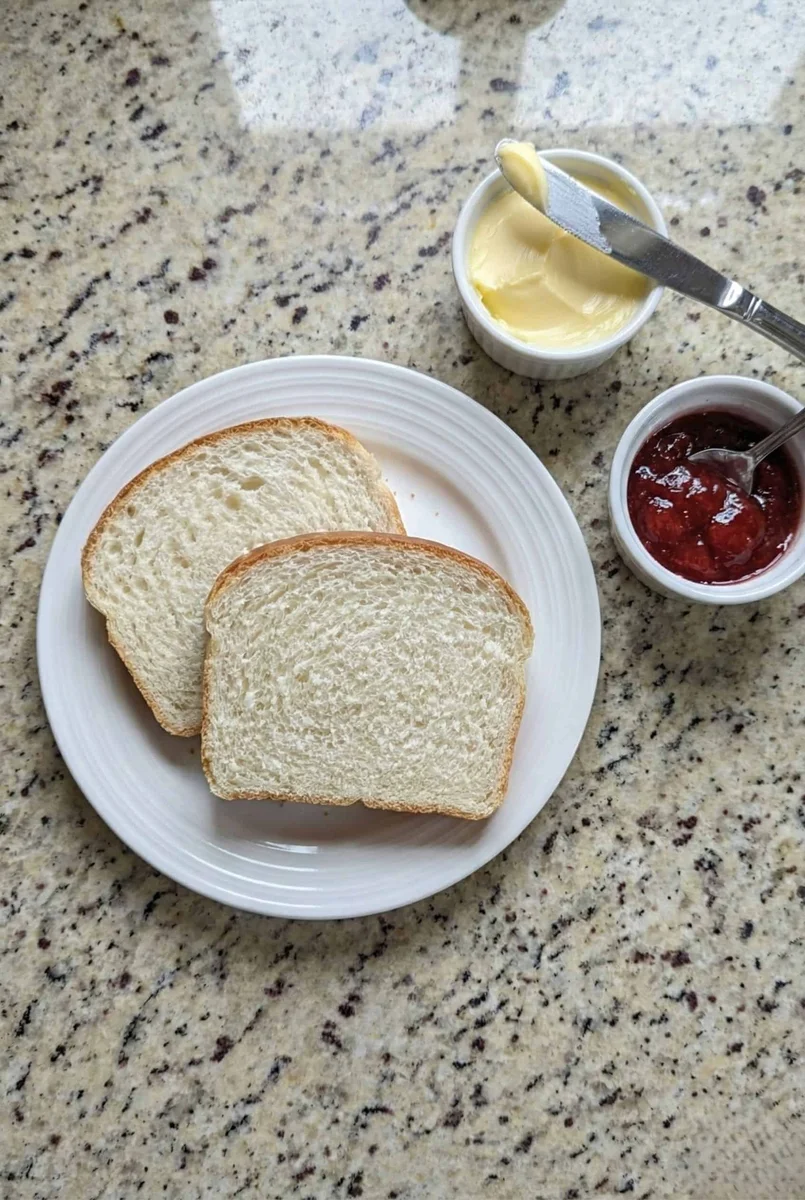
Amish white bread is a soft, lightly sweet yeast bread baked in two golden loaves. Make it for everyday sandwiches and toast, or serve slices warm with butter.
Ingredients
- 480 ml (2 cups)warm water, about 43°C (110°F)
- 133 g (2/3 cup)white sugar
- 14 g (1 1/2 tbsp)active dry yeast
- 60 ml (1/4 cup)vegetable oil
- 7.5 g (1 1/2 tsp)salt
- 720 g (6 cups)bread flour
Instructions
- 1
Activate the yeast
Stir the sugar into the warm water in a large mixing bowl. Sprinkle the yeast over the surface and leave it for 5–10 minutes, until creamy and foamy.
- 2
Add oil and salt
Stir the vegetable oil and salt into the yeast mixture until combined.
- 3
Make the dough
Add the flour one cup at a time, mixing until a dough forms.
- 4
Knead until smooth
Turn the dough onto a lightly floured surface and knead for about 8–10 minutes, until smooth and elastic.
- 5
First rise
Put the dough in a well-oiled bowl and turn it once to coat. Cover with a damp cloth and leave in a warm place for about 1 hour, until doubled in size.
- 6
Divide the dough
Punch down the dough, knead it again for a couple of minutes, then divide it into two equal pieces.
- 7
Shape the loaves
Shape each piece into a loaf and place them in two greased 23 × 13 cm (9 × 5-inch) loaf pans.
- 8
Second rise
Leave the dough to rise until it reaches about 2.5 cm (1 inch) above the tops of the pans, about 30 minutes.
- 9
Heat the oven
While the dough rises, preheat the oven to 180°C (350°F).
- 10
Bake the bread
Bake the loaves for 30 minutes, until the tops are golden brown and they sound hollow when tapped.
- 11
Cool before slicing
Let the loaves cool slightly before slicing.
What is Amish white bread?
Amish white bread is a soft, lightly sweetened yeast loaf associated with home baking in the United States. This version uses a straightforward mix of flour, water, sugar, yeast, oil and salt, shaped into two sandwich-ready loaves.
Sugar helps give the bread its gentle sweetness, while the two rises build a light crumb. The method is simple, but kneading and watching the dough’s appearance are key to a good result.
Nutrition and macros by portion
The nutrition label shows one serving as written: 155 calories, 4g protein, 28g carbs, 3g fat.
| Portion | Adjustment | kcal | Protein | Carbs | Fat |
|---|---|---|---|---|---|
| Lighter | Thinner slices | 109 kcal | 3g | 20g | 2g |
| This serving | As written | 155 kcal | 4g | 28g | 3g |
| Hungry | Larger slice | 233 kcal | 6g | 42g | 5g |
The flour and sugar provide most of the carbohydrates, while the vegetable oil contributes fat. The flour supplies some protein; pair a slice with eggs, beans or another protein and vegetables for a more balanced plate.
Getting the yeast started
Warm water: aim for about 43°C (110°F), as stated in the recipe. Water that is too hot can impair the yeast, while cool water may slow its activity.
Foam cue: after 5–10 minutes, the yeast mixture should look creamy and foamy. If it remains flat, check that the yeast is active before adding the other ingredients.
Building a workable dough
Flour additions: mix in the flour one cup at a time so it incorporates evenly and you can see when the dough comes together. Bread flour gives the dough structure for a springy loaf.
Kneading: work the dough for 8–10 minutes, until it feels smooth and elastic. Use only a light dusting of flour on the work surface so the dough does not become unnecessarily dry.
Reading the rises
First rise: keep the covered bowl in a warm spot and look for the dough to double, rather than relying on the clock alone. A cooler room may mean it needs more time than the stated hour.
Second rise: once shaped, let the loaves rise until the dough is about 2.5 cm (1 inch) above the pans. This visible cue helps guide you even if the 30-minute estimate varies.
Shaping and baking
Even loaves: divide the dough into two equal pieces so both pans bake at a similar pace. Shape each piece into a loaf and set it evenly in its greased pan.
Doneness: the recipe gives two cues: a golden-brown top and a hollow sound when tapped. Let the loaves cool slightly before slicing so the crumb has a chance to settle.
Serving the bread
Sandwich slices: the soft crumb suits everyday fillings, while a light toast gives the bread a little more structure. It is also good warm with butter.
On the side: serve slices with soup, eggs or a simple salad. For a more balanced plate, pair the bread with a source of protein and some vegetables.
Recipe notes & tips
- Measure the flour consistently, as adding too much can make the loaves dense.
- Use a damp cloth to cover the dough during its rises so the surface does not dry out.
- Grease both the bowl and the loaf pans before adding the dough.
- Use the rise cues as well as the estimated times, since room temperature affects how quickly dough rises.
- Let the bread cool slightly before cutting to help the slices hold their shape.
Variations
- More savoury: reduce the sugar for a less sweet loaf.
- Seeded topping: scatter seeds over the shaped loaves before the second rise.
- Herb loaf: knead dried herbs into the dough for a savoury variation.
- Cinnamon toast: spread butter and cinnamon sugar over toasted slices.
- Sandwich rolls: divide the dough into smaller pieces and shape them as rolls.
Common mistakes to avoid
- Water too hot: use water around 43°C (110°F) so it is warm rather than hot.
- Yeast stays flat: check the yeast is active when it does not become creamy and foamy after 5–10 minutes.
- Too much flour: add it one cup at a time and stop once a dough forms.
- Rising by the clock alone: wait for the dough to double on the first rise and reach about 2.5 cm (1 inch) above the pans on the second.
- Slicing too soon: allow the loaves to cool slightly before cutting.
How to store
Once fully cool, store the loaves in an airtight bag or container at room temperature and use within about 3 days. Freeze sliced bread for longer storage, then thaw or toast slices as needed.
Frequently asked questions
Can I use all-purpose flour instead of bread flour?
The recipe specifies bread flour, which gives the dough its structure. All-purpose flour can be used, but the texture may be somewhat different.
How do I know the dough has doubled?
Compare its size with where it started in the bowl; it should look about twice as large. The time can vary with the warmth of the room.
Can I make the dough ahead?
This method gives rises at room temperature and does not include overnight refrigeration. For the most reliable result, follow the stated rises and bake the loaves the same day.
Why did my bread turn out dense?
Too much flour, insufficient kneading or a dough that has not risen enough can all affect the crumb. Measure carefully and use the stated smooth, elastic and rise cues.
Can I freeze the bread?
Yes. Cool the loaves completely, wrap them well and freeze; slicing before freezing makes it easier to take out only what you need.
Cook it from the original
This recipe comes from melaniecooks.com. Their page has the author’s own photos, notes and tips — the best place to cook it from.
Open the recipe on melaniecooks.com