
Fried Eggplant
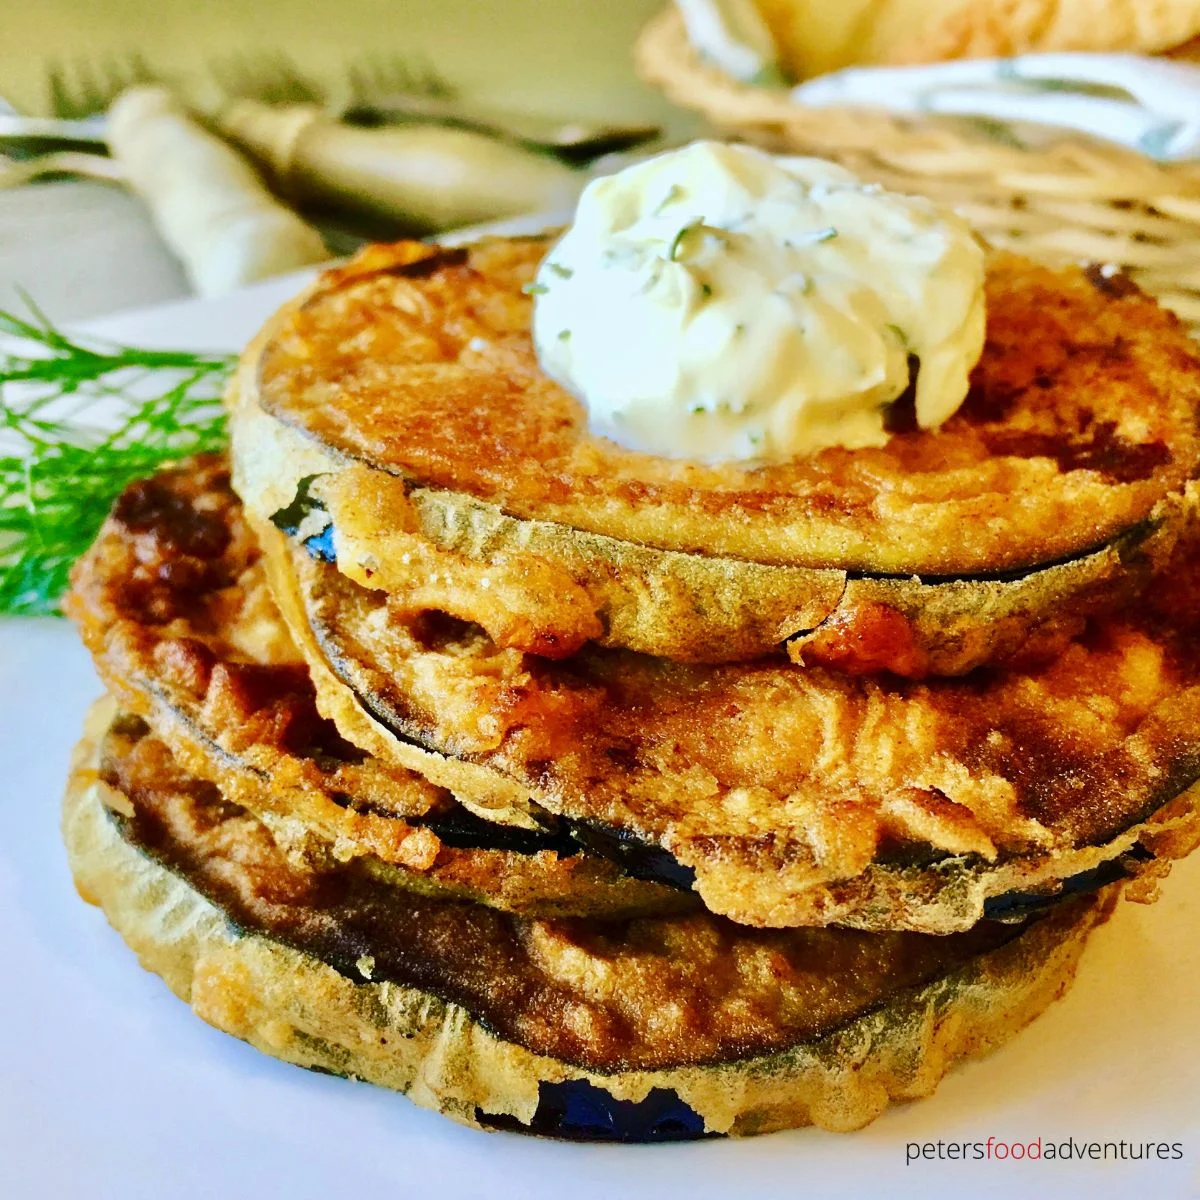
These crisp, pan-fried eggplant slices are served with a fresh dill and sour cream dip. They make a simple lunch, side dish or snack, with a golden coating and cool, herby finish.
Ingredients
- 1eggplant
- 2eggs
- ½ teaspoonsalt and pepper
- 60 g (½ cup)plain flour
- for fryingoil
- 120 g (½ cup)sour cream
- 2 tablespoonsfresh dill, chopped
Instructions
- 1
Slice the eggplant
Cut the eggplant into slices about 6 mm (¼ inch) thick.
- 2
Prepare the coating
Beat the eggs with the salt and pepper. Put the flour on a plate.
- 3
Heat the oil
Heat about 6 tablespoons of oil in a frying pan until hot, ready to fry the eggplant in small batches.
- 4
Coat the slices
Dip each eggplant slice in the beaten egg and shake off the excess. Dredge it in flour, then shake off any extra flour.
- 5
Fry until golden
Place the coated slices in the hot pan and cook, turning them until golden. Add more oil if needed, and season with salt to taste.
- 6
Mix the dip
Stir the sour cream and chopped dill together, then serve with the fried eggplant slices.
What is fried eggplant?
Fried eggplant is a straightforward dish of sliced aubergine coated and cooked in a pan until crisp and golden. This homestyle version is described as a childhood favourite, served with sour cream and dill.
The recipe’s Continental label is broad rather than pointing to one specific regional tradition. Its appeal is the contrast between tender eggplant, a lightly crisp coating and a cool, tangy dip.
Nutrition and macros by portion
The nutrition label shows one serving as written: 330 calories, 8g protein, 25g carbs, 23g fat.
| Portion | Adjustment | kcal | Protein | Carbs | Fat |
|---|---|---|---|---|---|
| Lighter | Use less frying oil | 231 kcal | 6g | 18g | 16g |
| This serving | As written | 330 kcal | 8g | 25g | 23g |
| Hungry | Add another eggplant | 495 kcal | 12g | 38g | 35g |
The eggplant and flour provide most of the carbohydrates, while the frying oil and sour cream contribute much of the fat. Eggs and sour cream add some protein, but this is not a particularly protein-rich meal on its own; serve it with beans or another protein-rich dish and a salad for a more balanced plate.
The coating matters
Egg first: the beaten egg helps the flour cling to each slice. Let excess egg drip off before dredging so the coating stays light.
Flour second: shake off loose flour before frying. A thin, even layer browns more readily than a thick, patchy coating.
Fry in small batches
Small batches: leave space around the slices so they fry rather than crowd together. If the pan becomes full, cook the next batch after the first is done.
Hot oil: the recipe calls for about 6 tablespoons to start. Add a little more if the pan looks dry as you cook.
Look for golden edges
Colour: turn the slices once the underside is golden, then cook the other side until it matches. Keep an eye on them, as thin slices can brown quickly.
Texture: the coating should look crisp and the eggplant should be tender when pierced. The recipe gives no set frying time, so use these visual and texture cues.
Make the dill sour cream
Fresh dill: chop it finely and stir it into the sour cream just before serving. This keeps the dip fresh-tasting and distributes the herbs evenly.
Serve the dip alongside the hot slices rather than coating them in advance, so the fried exterior stays crisp for longer.
Serving ideas
Serve the slices as a snack, side dish or part of a simple lunch. They pair well with a crisp salad or other plainly cooked vegetables.
For a more filling meal, add a source of protein such as beans or grilled chicken. Keep the sour cream and dill on the side so everyone can add as much as they like.
Recipe notes & tips
- Slice the eggplant evenly so the pieces cook at a similar rate.
- Shake off excess egg and flour to keep the coating from becoming heavy.
- Fry in small batches to leave room for the slices to brown.
- Check the first slice for colour and tenderness before continuing with the batch.
- Mix the dill into the sour cream while the eggplant fries.
- Serve soon after cooking for the crispest coating.
Variations
- Add garlic: stir a little finely grated garlic into the sour cream.
- Use yoghurt: replace some or all of the sour cream with thick plain yoghurt.
- Add lemon: mix a squeeze of lemon juice into the dill dip for a brighter flavour.
- Season the flour: add a pinch of paprika or dried herbs before coating the slices.
- Finish with herbs: scatter extra chopped dill over the eggplant just before serving.
Common mistakes to avoid
- Slices too thick: cut them evenly to about 6 mm so they cook through at a steady pace.
- Crowded pan: the slices may not brown evenly; fry them in small batches.
- Oil not hot enough: the coating can turn greasy; wait until the oil is hot before adding the first batch.
- Too much coating: excess egg or flour can make the crust heavy; shake each slice gently before frying.
- Turning too soon: give the first side time to become golden before flipping.
- Dip added too early: keep the sour cream mixture separate until serving to help the coating stay crisp.
How to store
Refrigerate leftover eggplant and dill sour cream separately in airtight containers for up to 3 days. Reheat the eggplant in a hot oven or frying pan until warmed through; it will be less crisp after storage. Stir the dip before serving.
Frequently asked questions
Should I peel the eggplant?
The recipe does not call for peeling, so leave the skin on. It helps the slices hold their shape while frying.
How thick should the slices be?
Slice them about 6 mm (¼ inch) thick, as specified. Even slices are easier to cook consistently.
How can I tell when the eggplant is done?
Look for a golden coating on both sides and check that the eggplant is tender when pierced. The method does not give a fixed cooking time.
Can I make the dill sour cream ahead?
Yes. Mix it shortly before serving, or make it a little ahead and keep it covered in the fridge. Stir it again before serving.
Can I cook the slices without frying oil?
This method relies on pan-frying, so it needs oil. Using less may make the browning less even; add oil as needed while cooking.
Cook it from the original
This recipe comes from petersfoodadventures.com. Their page has the author’s own photos, notes and tips — the best place to cook it from.
Open the recipe on petersfoodadventures.com