
Saganaki - Greek Fried Cheese
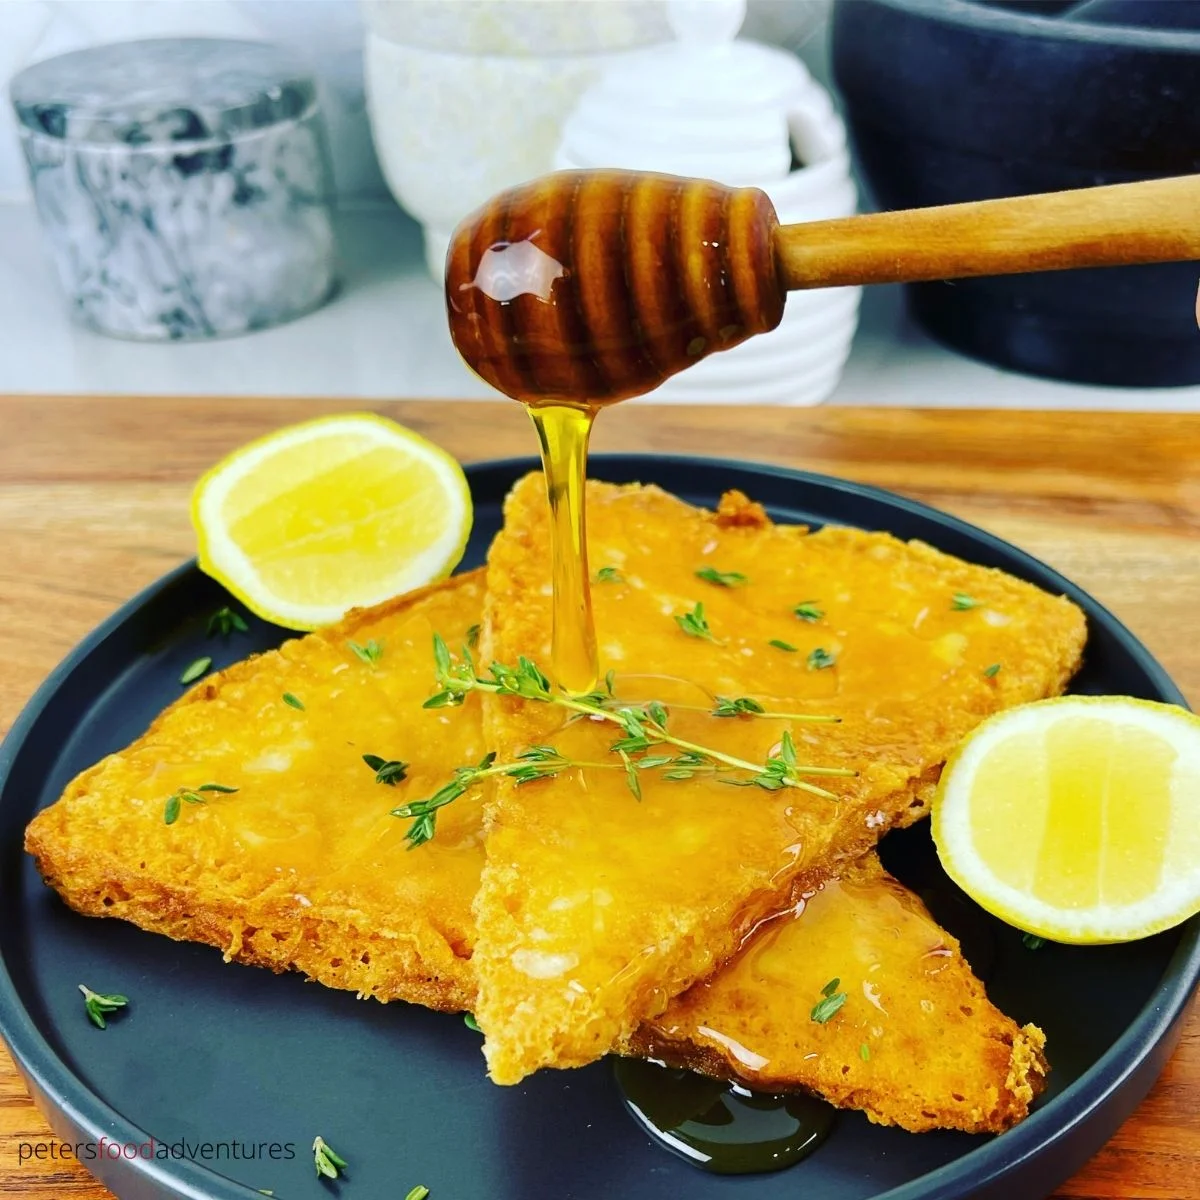
Saganaki is Greek cheese fried until crisp and golden outside while soft and gooey within. A drizzle of honey and fresh thyme finish this quick meze, best served straight from the pan.
Ingredients
- 200 g (7 oz)saganaki cheese (kefalograviera)
- 60 ml (4 tablespoons)extra-virgin olive oil
- 125 g (1 cup)plain flour
- to tastehoney
- to tastefresh thyme
Instructions
- 1
Slice the cheese
If the cheese is not already cut, slice it into pieces about 6 mm (¼ inch) thick.
- 2
Dredge in flour
Spread the flour on a plate and lightly coat each piece of cheese.
- 3
Fry until golden
Heat the olive oil in a small frying pan. Add the cheese and fry for about 1 minute per side, until a golden crust forms.
- 4
Finish and serve
Lift the cheese from the pan, drizzle with honey and garnish with fresh thyme. Serve immediately with a crusty loaf.
What is saganaki?
Saganaki is a Greek meze named after the small, two-handled pan traditionally used to cook it. The name is also used for dishes prepared in that pan, including this simple fried cheese.
Kefalograviera is a firm Greek cheese that browns well while softening in the middle. Here, a light flour coating helps create a crisp surface, while honey and thyme bring a sweet, aromatic finish.
Nutrition and macros by portion
The nutrition label shows one serving as written: 275 calories, 13g protein, 8g carbs, 21g fat.
| Portion | Adjustment | kcal | Protein | Carbs | Fat |
|---|---|---|---|---|---|
| Lighter | Use less oil and honey | 193 kcal | 9g | 6g | 15g |
| This serving | As written | 275 kcal | 13g | 8g | 21g |
| Hungry | Serve with extra bread | 413 kcal | 20g | 12g | 32g |
Most of the protein and fat come from the kefalograviera, with additional fat from the olive oil. The flour and honey contribute most of the carbohydrates, while the cheese also provides much of the sodium. Serve a modest piece alongside vegetables or salad to balance the plate.
Choosing the cheese
Kefalograviera: This firm, salty cheese is the recipe’s defining ingredient and holds its shape long enough to fry. Cut it into even slices so they cook at the same rate.
Alternatives: If kefalograviera is unavailable, look for another firm Greek frying cheese, such as kefalotyri. Softer cheeses may melt too quickly to turn cleanly.
Getting the crust right
Light coating: Dust the slices with flour, then shake off any excess. A thin layer gives the cheese a delicate crust without leaving a heavy, floury coating.
Hot oil: Heat the oil before adding the cheese. It should sizzle when the cheese goes in; if the pan is too cool, the coating can soak up oil instead of browning.
Watch the short cooking time
First side: Fry for about 1 minute, checking for a golden crust before turning. A small pan makes it easier to handle the cheese, but cook in batches if the slices do not fit in one layer.
Second side: Give the other side about 1 minute as well. Remove the cheese once the outside is browned and the centre has softened; leaving it longer can cause it to spread or break.
Honey and thyme
Honey: Drizzle it over the cheese after frying, when the crust is still hot. Start with a little and add more to taste, so the sweetness does not overwhelm the salty cheese.
Thyme: Scatter fresh leaves over the top just before serving. Their herbal fragrance complements the honey and rich, savoury cheese.
Serve it straight away
Saganaki is at its best immediately after frying, while the outside is crisp and the centre is warm and soft. The recipe serves four as a meze; set it out with a crusty loaf as suggested in the method.
If making more than one batch, serve each as soon as it is ready rather than stacking the slices. This helps keep the crust from softening.
Recipe notes & tips
- Pat the cheese dry if its surface is damp before dredging.
- Shake off loose flour so it does not burn in the frying oil.
- Use a thin, even layer of oil across the base of the pan.
- Turn the cheese gently with a thin spatula to help keep each slice intact.
- Have the honey, thyme and serving plate ready before you start frying.
Variations
- Lemon finish: Add a squeeze of lemon just before serving for a bright contrast.
- Oregano: Use a little fresh oregano in place of thyme for a different herbal note.
- Chilli honey: Stir a pinch of chilli into the honey for gentle heat.
- Sesame: Sprinkle toasted sesame seeds over the honeyed cheese for crunch.
- No honey: Leave off the honey and serve the cheese with lemon for a more savoury finish.
Common mistakes to avoid
- Too much flour: A thick coating can taste pasty; shake away the excess before frying.
- Cool oil: The coating may absorb oil without browning; let the oil heat before adding the cheese.
- Crowded pan: Slices can cook unevenly when packed together; fry them in a single layer.
- Overcooking: The cheese can soften too far and lose its shape; turn after about 1 minute per side and check the colour.
- Waiting to serve: The crust softens as it sits; bring the cheese to the table as soon as it is finished.
How to store
Saganaki is best eaten straight away. If needed, refrigerate leftovers in a sealed container for up to 2 days and reheat briefly in a frying pan; the crust may not become as crisp as when freshly cooked.
Frequently asked questions
What cheese can I use for saganaki?
Kefalograviera is specified here; kefalotyri is another firm Greek cheese often used for frying. Choose a cheese that can hold its shape in a hot pan.
How thick should I cut the cheese?
Slice it about 6 mm (¼ inch) thick, as directed. Even slices help the cheese brown consistently.
How do I know when the cheese is ready?
Look for a golden crust on each side after about 1 minute per side. The inside should be warm and soft, not fully melted away.
Can I prepare saganaki ahead?
It is better cooked just before serving, since the coating loses its crispness as it sits. You can slice the cheese and prepare the flour, honey and thyme in advance.
What should I serve with saganaki?
The recipe suggests a crusty loaf. It also works as part of a meze spread.
Cook it from the original
This recipe comes from petersfoodadventures.com. Their page has the author’s own photos, notes and tips — the best place to cook it from.
Open the recipe on petersfoodadventures.com