
Hanetsuki Gyoza (Gyoza with Wings)
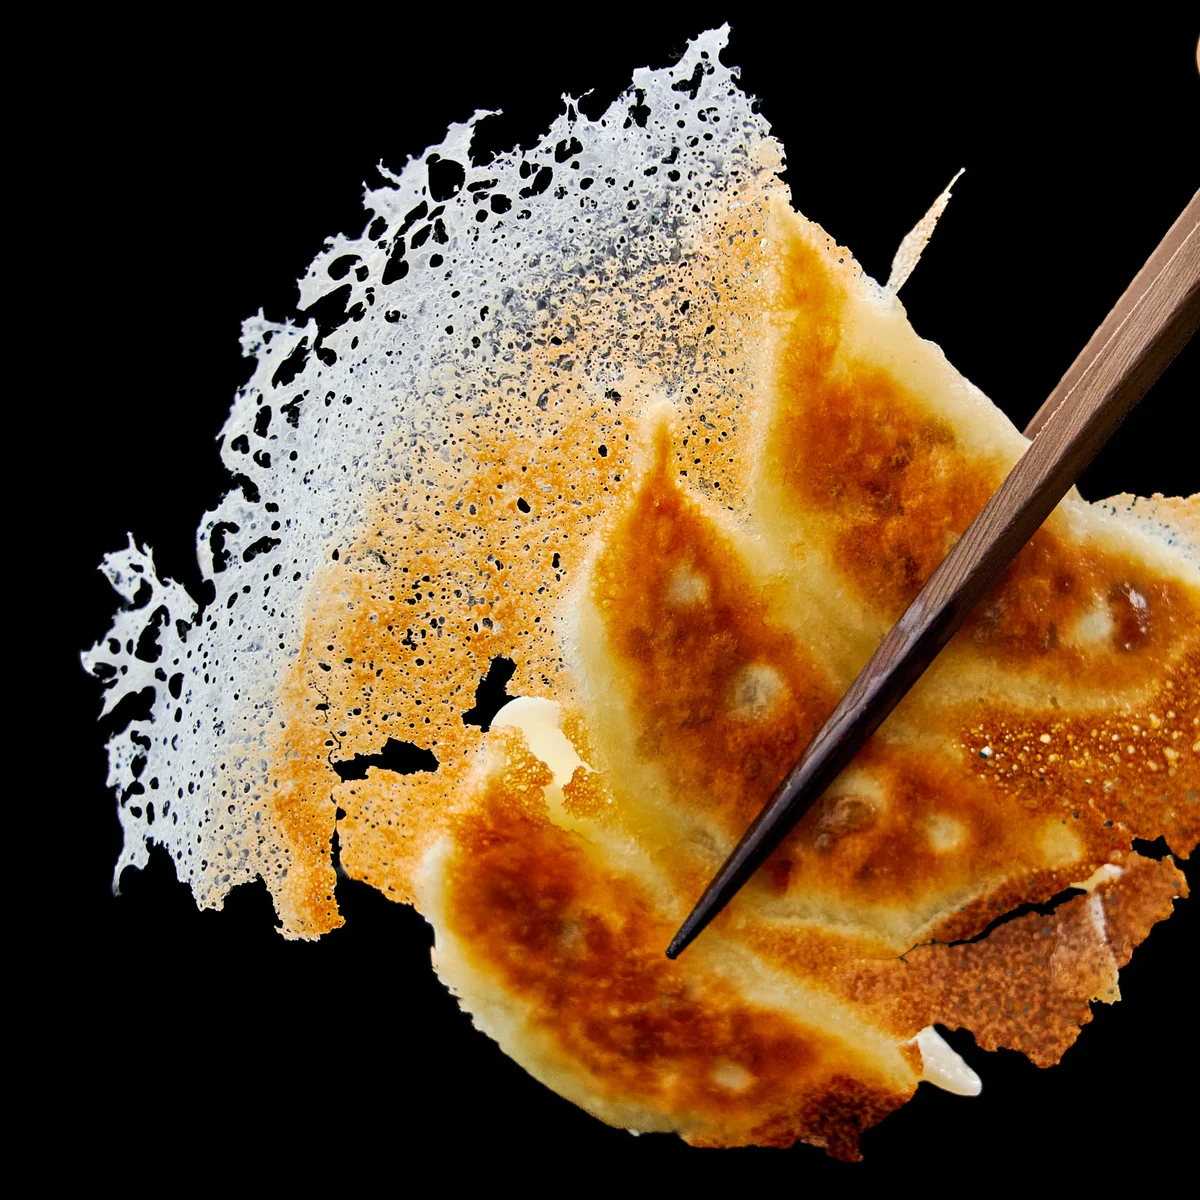
Discover the secret to ultra-crispy dumplings with my hanetsuki gyoza recipe based on a technique I learned from the chef who invented these irresistible Japanese dumplings. Juicy inside, with a golden, crispy wing that will wow your guests.
Ingredients
- 30 gyoza ((click link for my recipe))
- 20 grams flour ((about 2 tablespoons))
- 2 tablespoons water
- 1 1/2 teaspoons vegetable oil ((plus more for frying))
- 1 1/2 cups boiling water
Instructions
- 1
Make flour slurry: Add 20 grams flour, 2 tablespoons water, and 1 1/2 teaspoons vegetable oil to a beaker and mix until the batter is free of lumps.
- 2
Cook batter: Add 1 1/2 cups boiling water and use an immersion blender to emulsify the mixture until it is the consistency of a thin gravy. This can also be done in a blender or with a whisk.
- 3
Preheat pan: Heat a frying pan over medium-high heat until hot.
- 4
Add slurry and gyoza: Pour 1/2 cup of the batter into the pan and then line up 10 dumplings in two rows (use the 30 gyoza in 3 batches), leaving a little space between each one.
- 5
Cover & steam: Cover the pan with a lid and set a timer for 5 minutes to steam the gyoza. The liquid in the pan should be boiling, but not so much that it boils over, so adjust the heat as needed.
- 6
Evaporate liquid: When almost no liquid remains in the pan (~5 minutes), remove the lid and allow any remaining water to burn off. The batter on the bottom of the pan should be dry and crisp. This is very important, or your wings will end up full of holes.
- 7
Brown wings: Drizzle about a tablespoon of oil around the edges of the pan, over the potstickers, and down the center between the two rows of dumplings. This helps the wings brown evenly.
- 8
Split sheet in half: When the wings have reached a medium brown color, use a spatula to cut the sheet of potstickers in half.
- 9
Serve dumplings: Serve the crispy gyoza with the wing side up to keep them crisp as long as possible. There is enough batter to make three batches of Hanetsuki Gyoza.
Cook it from the original
This recipe comes from norecipes.com. Their page has the author’s own photos, notes and tips — the best place to cook it from.
Open the recipe on norecipes.com