
Lemon Banana Muffins
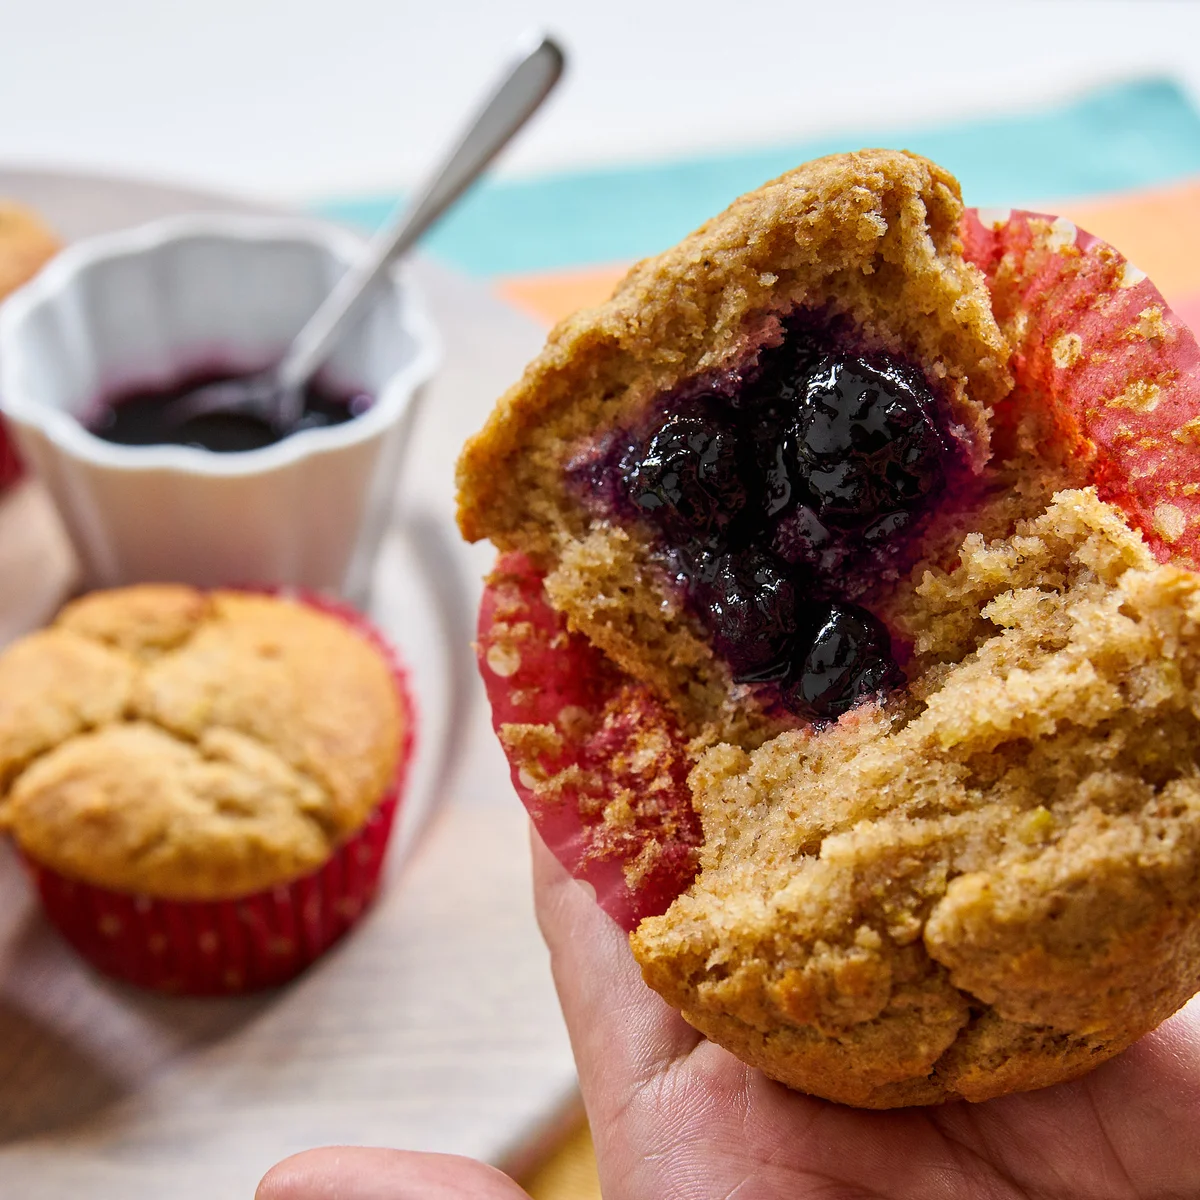
These scrumptious lemon banana muffins are ultra-moist and buttery with the fresh zing of lemon zest. Coming together in about 30 minutes, these muffins are the perfect accompaniment to a lazy weekend brunch.
Ingredients
- 200 grams all-purpose flour
- 175 grams whole wheat flour
- 1 teaspoon baking soda
- 1/4 teaspoon salt
- 140 grams cultured unsalted butter ((10 tablespoons, at room temperature))
- 100 grams evaporated cane sugar ((about 1/2 cup packed))
- 1 teaspoon lemon zest ((zest of 1 lemon))
- 300 grams bananas ((~4 very ripe bananas))
- 2 large eggs
- 1 cup plain yogurt
- 1 tablespoon lemon juice
Instructions
- 1
Heat oven.: Adjust the oven rack to the lower middle position, and then preheat to 375 degrees Fahrenheit. Line a 12 cup muffin pan with muffin liners.
- 2
Sift dry ingredients.: Sift together the 200 grams all-purpose flour, 175 grams whole wheat flour, 1 teaspoon baking soda, and 1/4 teaspoon salt.
- 3
Cream butter and sugar.: In the bowl of an electric mixer fitted with the paddle attachment, beat the 140 grams cultured unsalted butter, 100 grams evaporated cane sugar and 1 teaspoon lemon zest until light and fluffy (about 3 minutes).
- 4
Combine wet ingredients.: Mash the 300 grams bananas, 2 large eggs, 1 cup plain yogurt and 1 tablespoon lemon juice together until the mixture is uniform and there are no lumps (a hand blender will speed this up).
- 5
Add wet in portions.: With the mixer running at medium speed, slowly pour in 1/3 of the banana mixture to the butter.
- 6
Add dry in portions.: Turn off the mixer and add half the flour mixture, mixing at low speed until just combined. Continue alternating the banana mixture and flour mixture until they are both added.
- 7
Fill muffin pan. Bake.: Spoon the batter into the prepared muffin tin, dividing evenly, and then put the pan in the oven. Bake until the muffins are golden brown and a toothpick inserted into the center of one comes out clean (about 20-25 minutes).
- 8
Cool slightly. Serve.: Let the lemon banana muffins cool until they are cool enough to handle and serve warm.
Cook it from the original
This recipe comes from norecipes.com. Their page has the author’s own photos, notes and tips — the best place to cook it from.
Open the recipe on norecipes.com