
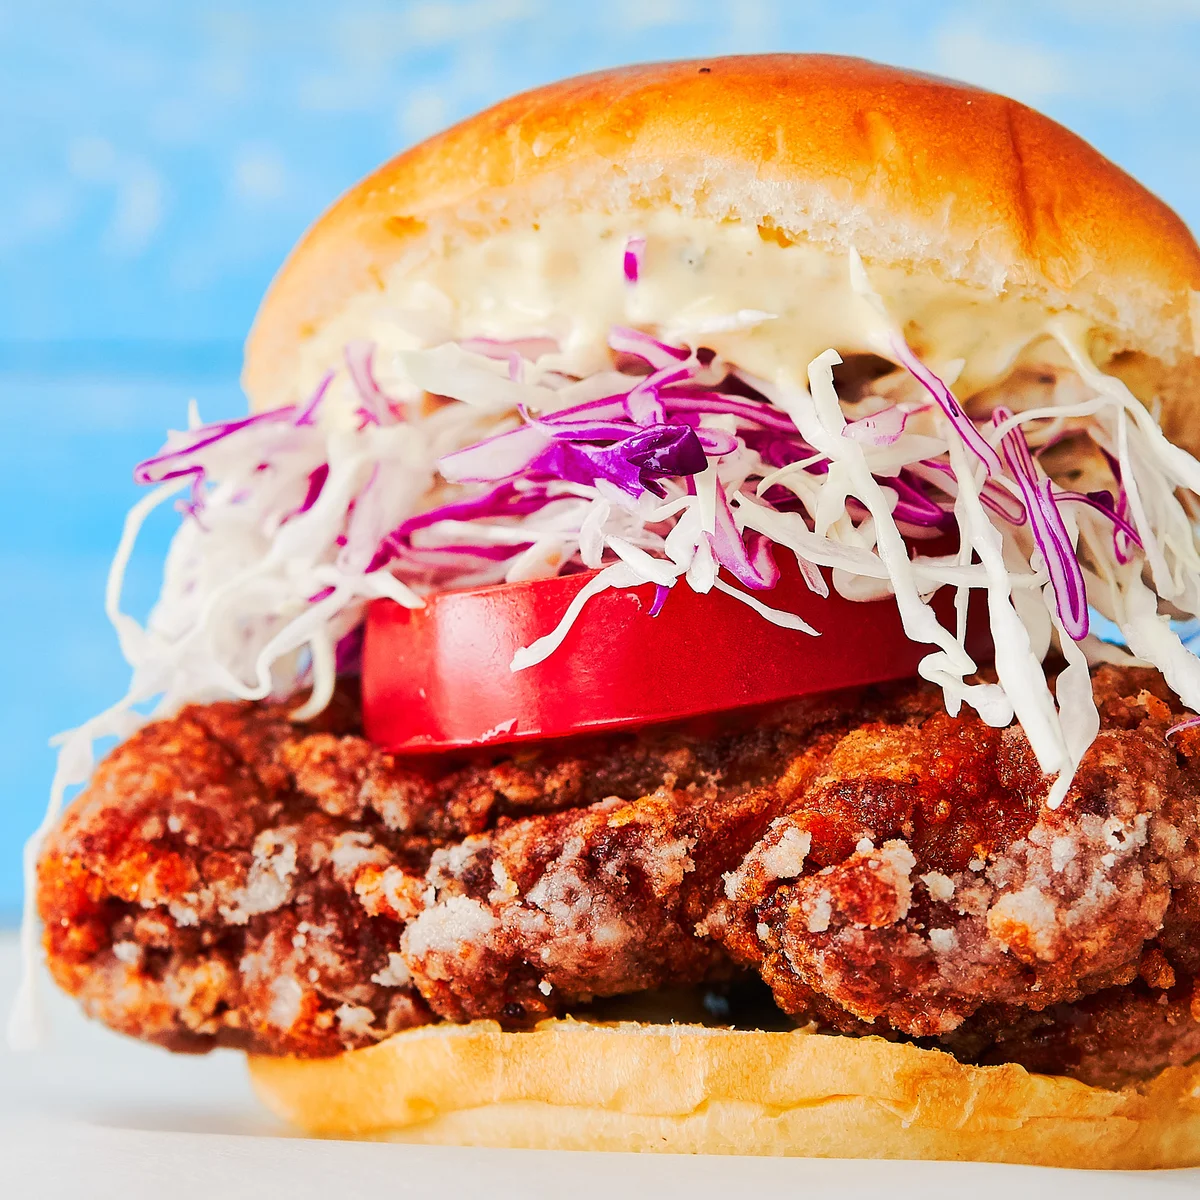
Japanese Fried Chicken Sandwich
Nutrition per Serving
889
Calories
45g
Protein
53g
Carbs
54g
Fat
With a crisp, juicy slab of Japanese fried chicken stuffed into a pillowy butter roll slathered in yuzu mayonnaise, this is the ultimate fried chicken sandwich that will beat any restaurant in taste and texture.
📝 Ingredients
- 380 grams boneless skin-on chicken thighs ((2 large thighs))
- 1/4 cup soy sauce
- 2 tablespoons sake
- 2 teaspoons grated ginger
- 1/3 cup potato starch
- vegetable oil ((for frying))
- 1/4 cup Kewpie mayonnaise
- 1/2 teaspoon yuzu kosho
- 1/2 teaspoon yuzu juice ((optional))
- 2 butter rolls ((sliced in half horizontally))
- 1 large tomato ((cut into 1/4-inch thick slices))
- shredded cabbage
👨🍳 Instructions
- 1Combine the soy sauce, sake, and ginger in a bowl and add the chicken thighs. Let this marinate for around 3 hours.
- 2To make the yuzu mayonnaise, whisk the mayo, yuzu kosho, and yuzu juice together in a bowl.
- 3When the chicken is done marinating, add 2-inches of oil to a heavy-bottomed pot and heat to 320 degrees F (160 C).
- 4Drain the marinade from the chicken, and add the potato starch to a bowl.
- 5Dust the chicken in a thick coating of potato starch.
- 6Fry the chicken until it's golden brown and it has reached an internal temperature of 160 degrees F (71 C). This will take about 8-10 minutes, depending on how thick your chicken is. If your chicken starts browning too quickly, turn down the heat.
- 7When the chicken is done, transfer it to a paper towel-lined rack and let it rest for about 5 minutes.
- 8To assemble the sandwich, divide the yuzu mayo between the four halves of bun and spread it around.
- 9Top the bottom bun with the fried chicken.
- 10Top the chicken with a slice of tomato and a pile of shredded cabbage and finish with the top bun.
- 11Give the sandwich a little press to make sure everything holds together.
About the Chef & Original Recipe
This recipe was published by Marc Matsumoto on norecipes.com. Visit the original source for step-by-step photos, chef notes and additional details.
Source: norecipes.com