
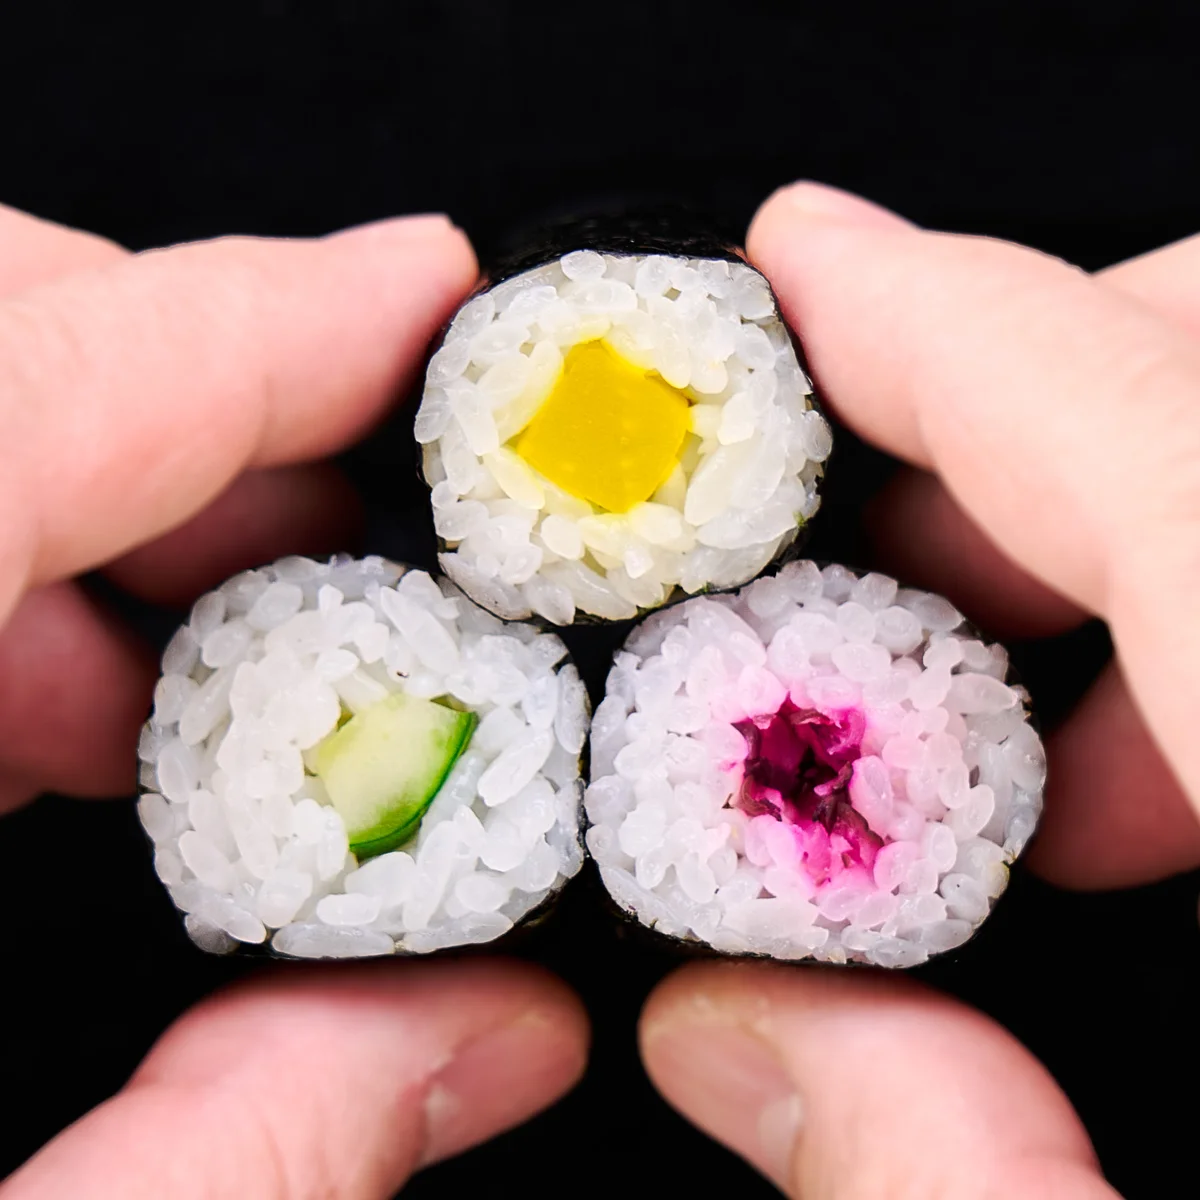
Oshinko Roll (Japanese Pickle Sushi)
Nutrition per Serving
81
Calories
2g
Protein
17g
Carbs
0g
Fat
Elevate your sushi game with these simple homemade Oshinko Rolls, a traditional delight combining tangy pickled vegetables and sushi rice in a beautifully crafted hosomaki roll.
📝 Ingredients
- 1 batch seasoned sushi rice
- 5 full sheets nori
- 350 grams Japanese pickles
- 1 tablespoon rice vinegar
👨🍳 Instructions
- 1Prepare rice: Prepare 1 batch seasoned sushi rice.
- 2Cut pickles: Cut 350 grams Japanese pickles into sticks that are 1/3-inch in diameter.
- 3Mince pickles: Or, if your pickles are smaller, you can mince them up.
- 4Cut Nori: Full sheets of nori are 7.5 x 8.25 inches. Stack 5 full sheets nori, and with the long edge facing you, cut the sheets in half with a sharp knife. Your half sheets should end up 7.5 x 4.125 inches in size.
- 5Prepare tezu: Prepare a bowl of tezu by stirring 1 tablespoon rice vinegar into a small bowl of water.
- 6Place nori: Set your sushi mat on a clean work surface and place a half sheet of nori at the bottom edge of the mat with the rough side facing up.
- 7Portion rice: Wet your hands with the tezu and grab a handful of your prepared sushi rice (~80 grams). Shape it into a cylinder.
- 8Place rice: About 1/2-inch from the top edge of the nori, use one hand to slowly pull the cylinder of sushi rice from one side of the nori to the other while using your other hand to pat the rice down as you go so it stretches the cylinder across the surface of the nori.
- 9Spread Rice: Now, use one hand to form a dam along one side of the nori and use the fingertips of your other hand to gently press the rice down towards the bottom edge of the nori, leaving a 1/4-inch gap. You want to leave a small "speed bump" of rice along the top (see the next step for a clearer photo of this bump). Repeat on the other side and then the center.
- 10Add filling: Now, place your filling right up against the speed bump of sushi rice.
- 11Roll sushi: Place your thumbs below the bottom edge of the sushi mat, and then flip the edge up and over the filling. The bottom border of nori should meet up with the speed bump of rice, allowing you to seal the roll shut.
- 12Finish rolling sushi: Unwrap the mat and pull it forward to coax the oshinko maki to roll onto the remaining flap of nori.
- 13Shape sushi roll: Wrap the roll with the mat tightly and press evenly on the top and sides of the roll using your fingers and thumbs from the center to the sides to compress the rice and give the roll a square shape.
- 14Cut roll: To cut the roll, find the center and use a back-and-forth motion with a sharp knife while supporting the sides of the roll to cut it in half.
- 15Serve sushi: Line the halves up and slice them in half again. Now, cut each half into quarters.
About the Chef & Original Recipe
This recipe was published by Marc Matsumoto on norecipes.com. Visit the original source for step-by-step photos, chef notes and additional details.
Source: norecipes.com