
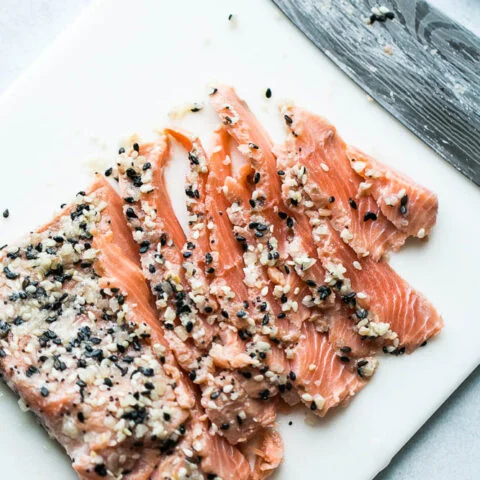
Homemade Everything Bagel Gravlax (Cured Salmon)
Nutrition per Serving
—
Calories
—
Protein
—
Carbs
—
Fat
Homemade gravlax is easier than you think! Just a handful of simple ingredients and time is all you need. We love this Everything Bagel Gravlax on lettuce wraps, rice bowls, and avocado toast!
📝 Ingredients
- 4-6 ounce high quality, wild-caught salmon fillet
- 1/4 teaspoon pink Himalayan salt or fine sea salt
- 1/2 teaspoon granulated sweetener (like coconut sugar)
- 1 lemon
- 1-2 teaspoons Everything Bagel Seasoning
👨🍳 Instructions
- 1Lay a piece of plastic wrap on a...: Lay a piece of plastic wrap on a work surface -- large enough to wrap the piece of salmon.
- 2Lay the salmon on top of the plastic...: Lay the salmon on top of the plastic wrap and sprinkle the salt and sugar on the top of the fillet. Squeeze the juice from 1/2 of the lemon (about 1 Tablespoon). Add 1 teaspoon of the Everything Bagel Seasoning evenly over the salmon as well.
- 3Wrap the salmon tightly in the plastic wrap...: Wrap the salmon tightly in the plastic wrap and place it in a small pan or shallow bowl. A bread pan works well.
- 4Place something heavy on top of the salmon,...: Place something heavy on top of the salmon, like a can of tomatoes or coconut milk -- about that size and weight.
- 5Put the pan in the refrigerator for 3-5...: Put the pan in the refrigerator for 3-5 days. The salmon should be firmer than it was at the beginning with a deep, salty flavor. The curing time may vary depending on the thickness of your salmon.
- 6Remove and discard plastic wrap and any juices...: Remove and discard plastic wrap and any juices that may have leaked out.
- 7Slice the salmon very thinly. You may want...: Slice the salmon very thinly. You may want to sprinkle more Everything Bagel Seasoning and lemon juice on top when you serve it.
- 8Store covered and chilled for up to five...: Store covered and chilled for up to five days.
About the Chef & Original Recipe
This recipe was published by Natalie Perry on perrysplate.com. Visit the original source for step-by-step photos, chef notes and additional details.
Source: perrysplate.com