
Honey Garlic Pork Tenderloin
Nutrition per Serving
213
Calories
25g
Protein
19g
Carbs
4g
Fat
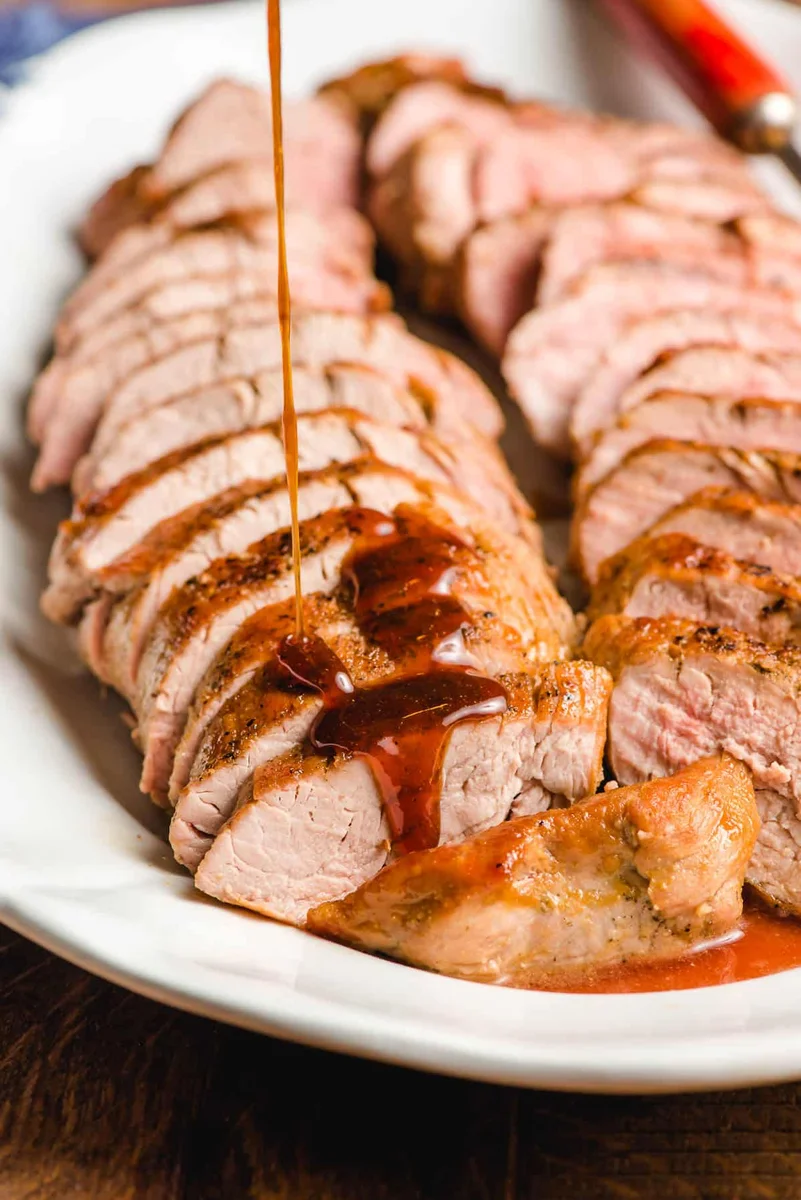
Sweet tangy glaze tops tender seasoned pork to make this Honey Garlic Pork Tenderloin a show-stopping dinner that comes together in just 30 minutes.
📝 Ingredients
- 2 pork tenderloins (about 1 - 1 1/4 lb each)
- 1 teaspoon Kosher salt
- 1/2 teaspoon black pepper
- 1/2 teaspoon garlic powder
- 1/2 teaspoon dried sage
- 1/2 cup honey
- 1/2 cup soy sauce
- 2 teaspoons dijon mustard
- 3 large cloves garlic (minced)
- Neutral oil (to coat)
👨🍳 Instructions
- 1Preheat the oven to 350 degrees.
- 2Use a sharp knife to trim the pork tenderloins of any excess fat and silverskin. This great video shows you how to quickly trim a pork tenderloin for cooking.
- 3Whisk together the salt, pepper, garlic powder, and sage, then rub the mixture evenly over both sides of the meat.
- 4In a liquid measuring cup, whisk together the honey, soy sauce, dijon, and garlic. Set aside.
- 5Heat the oil in a large oven safe skillet over medium heat until shimmering. Add the pork tenderloins and brown, undisturbed, for 2-3 minutes, or until the pork easily comes loose from the pan. Flip the meat over and brown another 2 minutes. Add the garlic, and saute just 30 seconds, or until fragrant.
- 6Pour the sauce around the sides of the pork tenderloin. Flip the tenderloins over a final time, then place in the oven.
- 7Bake the pork for 13-17 minutes, or until a meat thermometer inserted in the thickest part of the meat registers at least 145 degrees. Remove the pork to a plate, tent with foil, and allow to rest while you prepare the sauce.
- 8Return the pan with the honey sauce and meat juices to the stove top. Bring the mixture to a simmer over medium low heat, stirring constantly for about 2 minutes, or until the sauce thickens enough to coat the back of a spoon.
- 9Slice the tenderloin and serve with plenty of honey garlic sauce.
About the Chef & Original Recipe
This recipe was published by Courtney Rowland on neighborfoodblog.com. Visit the original source for step-by-step photos, chef notes and additional details.
Source: neighborfoodblog.com