
Skillet Shredded Beef Nachos
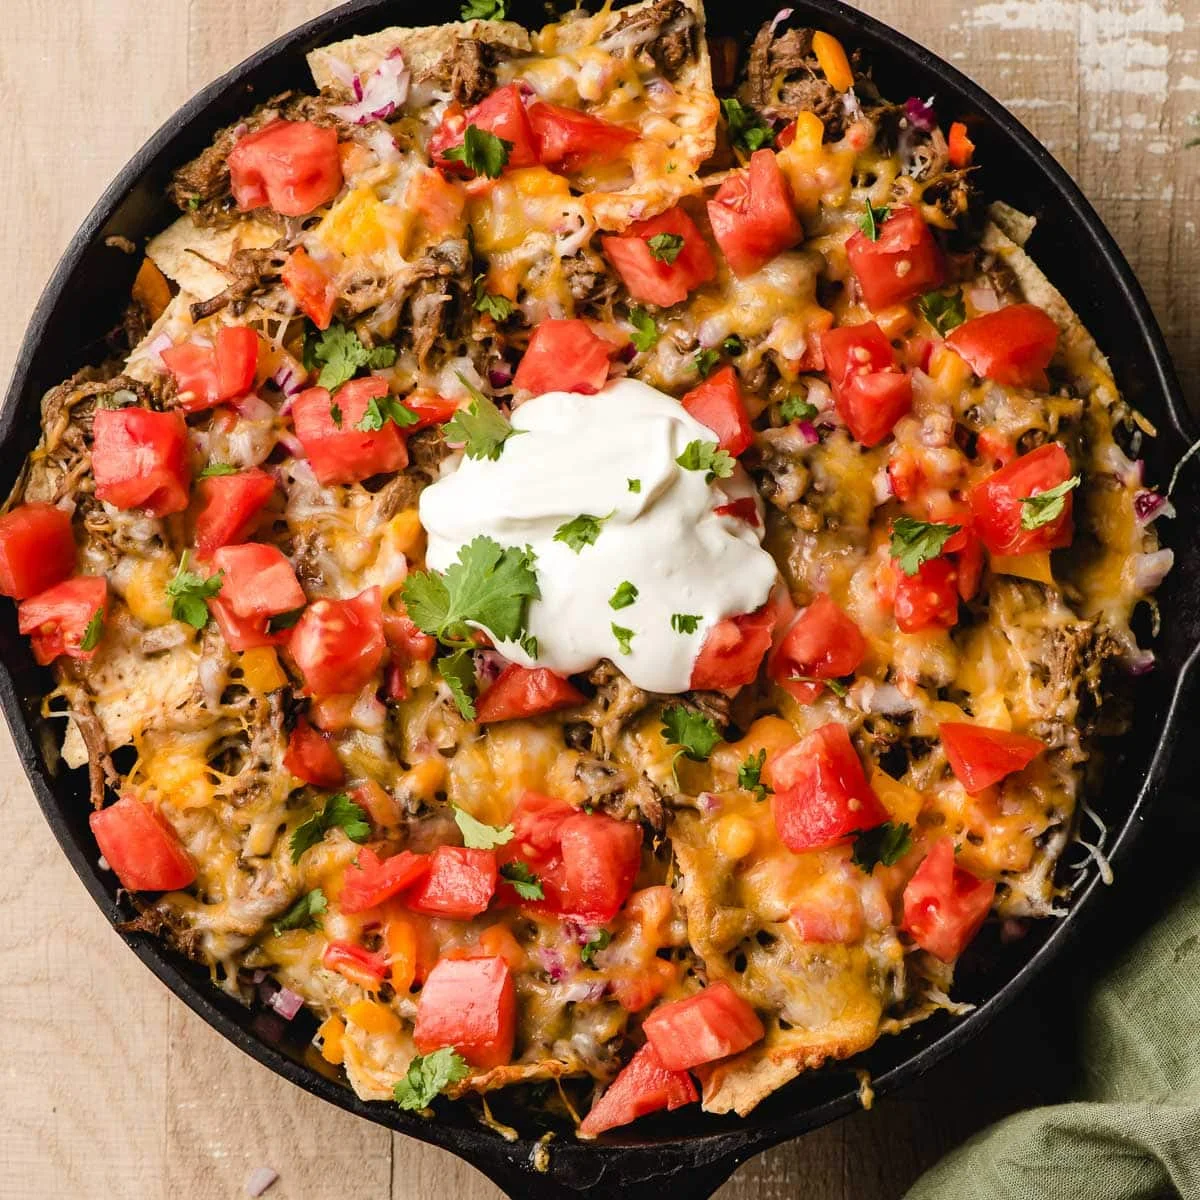
These skillet shredded beef nachos layer thick tortilla chips with barbacoa beef, vegetables and two cheeses, then finish with cool sour cream and fresh toppings. They make a quick, shareable dinner with very little preparation.
Ingredients
- 1/2 large bagthick tortilla chips
- 300 g (2 cups)shredded barbacoa beef
- 170 g (1 1/2 cups), dividedshredded Monterey Jack cheese
- 115 g (1 cup)shredded cheddar cheese
- 75 g (1/2 cup)diced red onion
- 75 g (1/2 cup)diced bell pepper
- 1tomato, chopped
- 1jalapeño, sliced
- to tastesour cream
- to tastechopped coriander
Instructions
- 1
Heat the oven
Preheat the oven to 204°C (400°F).
- 2
Layer the nachos
In a large cast-iron skillet, arrange half the tortilla chips, then add half each of the cheeses, beef, onion and pepper. Make a second layer with the remaining chips, cheese, beef and vegetables, keeping back 1/2 cup of cheese for the top.
- 3
Bake and finish
Bake for 7–10 minutes, until the cheese has melted. Take the skillet out of the oven and top with the tomato, chopped coriander, sour cream and sliced jalapeño, if desired. Serve immediately.
What are skillet nachos?
Nachos are a Mexican-inspired dish of tortilla chips topped with savoury ingredients and cheese. This skillet version layers the toppings over the chips and briefly bakes them, making a hot, shareable meal.
Barbacoa beef makes the topping hearty, while Monterey Jack and cheddar melt together over the chips. Fresh tomato, coriander and sour cream add a cool contrast at the end.
Nutrition and macros by portion
The nutrition label shows one serving as written: 621 calories, 36g protein, 32g carbs, 39g fat.
| Portion | Adjustment | kcal | Protein | Carbs | Fat |
|---|---|---|---|---|---|
| Lighter | More vegetables, fewer chips | 435 kcal | 25g | 22g | 27g |
| This serving | As written | 621 kcal | 36g | 32g | 39g |
| Hungry | Larger portion | 932 kcal | 54g | 48g | 59g |
The tortilla chips provide most of the carbohydrates, while the beef and cheeses contribute much of the protein and fat. Serve a portion with salad or extra vegetables to add freshness and balance the plate.
Why layer the toppings?
First layer: spreading half the chips and toppings across the base helps distribute the beef, vegetables and cheese throughout the skillet.
Second layer: finishing with more chips and toppings gives the upper layer plenty of flavour, while the reserved cheese goes over the top to melt in the oven.
Choosing the ingredients
Thick chips: sturdy tortilla chips are a good fit for the beef and melted cheese. Thin chips can soften more quickly under the toppings.
Cheese: Monterey Jack and cheddar provide the recipe’s cheese layer. Shredding them before assembly makes it easier to spread them between the chips.
Getting the bake right
Keep the oven time short: bake at 204°C (400°F) for 7–10 minutes, checking for melted cheese. The recipe relies on the oven to heat the toppings and melt the cheese, not to cook the beef from raw.
Serve promptly: nachos are at their best just after baking, before the toppings soften the chips.
Finishing with fresh toppings
Add the tomato, coriander and sour cream after baking so they remain fresh against the hot cheese and beef.
Jalapeño: add the sliced chilli at the end if desired. This keeps it as a finishing topping rather than baking it into the layers.
What to serve alongside
The skillet can be served as a meal to share, with each person taking a portion straight from the pan. A simple salad or extra chopped vegetables make a fresh side alongside the rich, cheesy topping.
Put any extra sour cream or sliced jalapeño on the table so diners can adjust their own portions.
Recipe notes & tips
- Use a large skillet so the chips and toppings can be spread in layers.
- Reserve the stated 1/2 cup of Monterey Jack for the top layer.
- Dice the onion and pepper before assembling so layering goes quickly.
- Check the cheese at 7 minutes and continue baking only until it has melted.
- Add sour cream after baking rather than before the skillet goes into the oven.
Variations
- Adjust the heat: add more sliced jalapeño at the table for a spicier finish.
- Change the cheese: use another good-melting shredded cheese in place of Monterey Jack.
- Add beans: layer cooked beans with the beef and vegetables.
- Make it milder: leave off the jalapeño.
- Try a fresh finish: serve with extra chopped tomato and coriander.
Common mistakes to avoid
- Uneven layering: divide the toppings between both chip layers so they are not all concentrated on top.
- Forgetting the reserved cheese: keep 1/2 cup aside to scatter over the final layer.
- Baking too long: check from 7 minutes and remove the skillet once the cheese melts.
- Adding sour cream before baking: spoon it on after the skillet comes out of the oven.
- Waiting to serve: bring the nachos to the table straight away to help the chips stay crunchy.
How to store
These nachos are best served immediately, as the toppings soften the chips over time. If you have leftovers, refrigerate them in a covered container and reheat in the oven until warmed through; the chips may not stay crisp.
Frequently asked questions
Can I use a different skillet?
The recipe calls for a large cast-iron skillet. If using a different oven-safe skillet, make sure it is suitable for the stated oven temperature.
How do I know when the nachos are ready?
Look for melted cheese after 7–10 minutes in the oven. Remove the skillet once the cheese has melted.
Do I have to add jalapeño?
No. The recipe lists it as an optional topping, so leave it off or serve it separately.
Can I prepare the nachos ahead?
They are best assembled and baked just before serving so the chips keep their crunch. You can chop the vegetables and prepare the toppings in advance.
Can I reheat leftover nachos?
Yes. Refrigerate leftovers in a covered container and reheat them in the oven until warmed through, keeping in mind that the chips may soften.
Cook it from the original
This recipe comes from neighborfoodblog.com. Their page has the author’s own photos, notes and tips — the best place to cook it from.
Open the recipe on neighborfoodblog.com