
Macerating Fruit
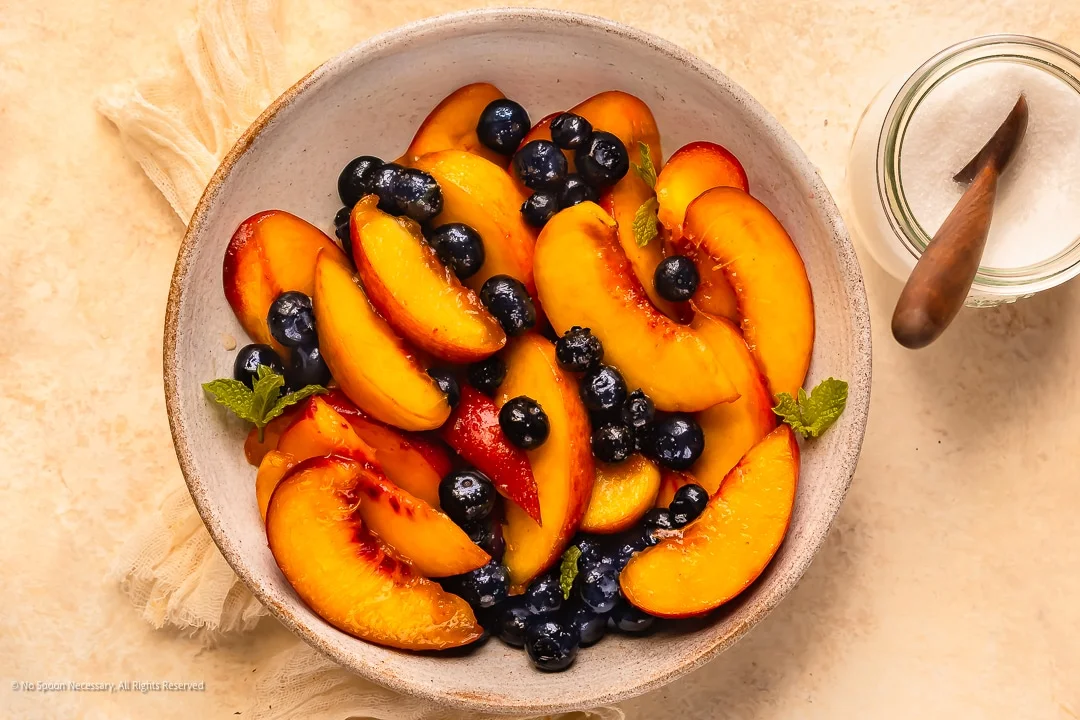
If you've ever wished fresh fruit tasted just a little juicer and a smidge sweeter, macerating fruit is about to become your new go-to kitchen technique. This simple method transforms everyday produce into glossy, jewel-bright, syrup‑kissed perfection. With just a little bit of sugar, 10 minutes, and this tutorial on how to macerate, you can turn of bowl of "meh" fruit into something intensely fruity, downright irresistible, and truly dessert-worthy.
Ingredients
- 1 pound Fresh Fruit ( – cleaned and thoroughly dried)
- 2-3 TBS Granulated Sugar ((substitute: honey, agave, brown sugar))
- To Taste Flavor Enhancers (– OPTIONAL (SEE NOTES))
Instructions
- 1
Clean Fresh Fruit: Hull, Peel, Chop, or Slice Fruit - As Needed: Hull strawberries, peel kiwis, and chop or slice any larger fruits, such as peaches.
- 2
Sprinkle Sugar Over Fruit: Sprinkle on Sugar: Transfer all the cleaned fruit to a large non-reactive bowl.Sprinkle the sugar, along with any flavor enhancers, evenly over the fruit in the bowl. Then use a wooden spoon or rubber spatula to gently stir, evenly coating the fruit in the sugar.
- 3
Let Fruit Macerate: Macerate Fruit: Cover the bowl with a lid or plastic wrap. Set aside and let the fruit soak in the sugar for 20-30 minutes, or until the sugar dissolves forming a syrup forms and the fruit softens. (Note: While not required, I like to stir the fruit halfway through the maceration time for even fruit-liquid-absorption.) (SEE NOTES)
- 4
Use Macerated Fruits or Store in Fridge: Enjoy the macerated berries or soaked fruit over whipped yogurt, ice cream, pancakes, waffles, and more; or enjoy plain, straight from the bowl. Alternatively, you can transfer the covered bowl of macerated fruit to the refrigerator and store it for up to 6 hours. (Note: The longer the fruit sits, the softer and more flavorful it will become. However, after a lengthy storage, it will turn mushy.)
Cook it from the original
This recipe comes from nospoonnecessary.com. Their page has the author’s own photos, notes and tips — the best place to cook it from.
Open the recipe on nospoonnecessary.com