
Peanut Date Roll
Nutrition per Serving
89
Calories
—
Protein
—
Carbs
—
Fat
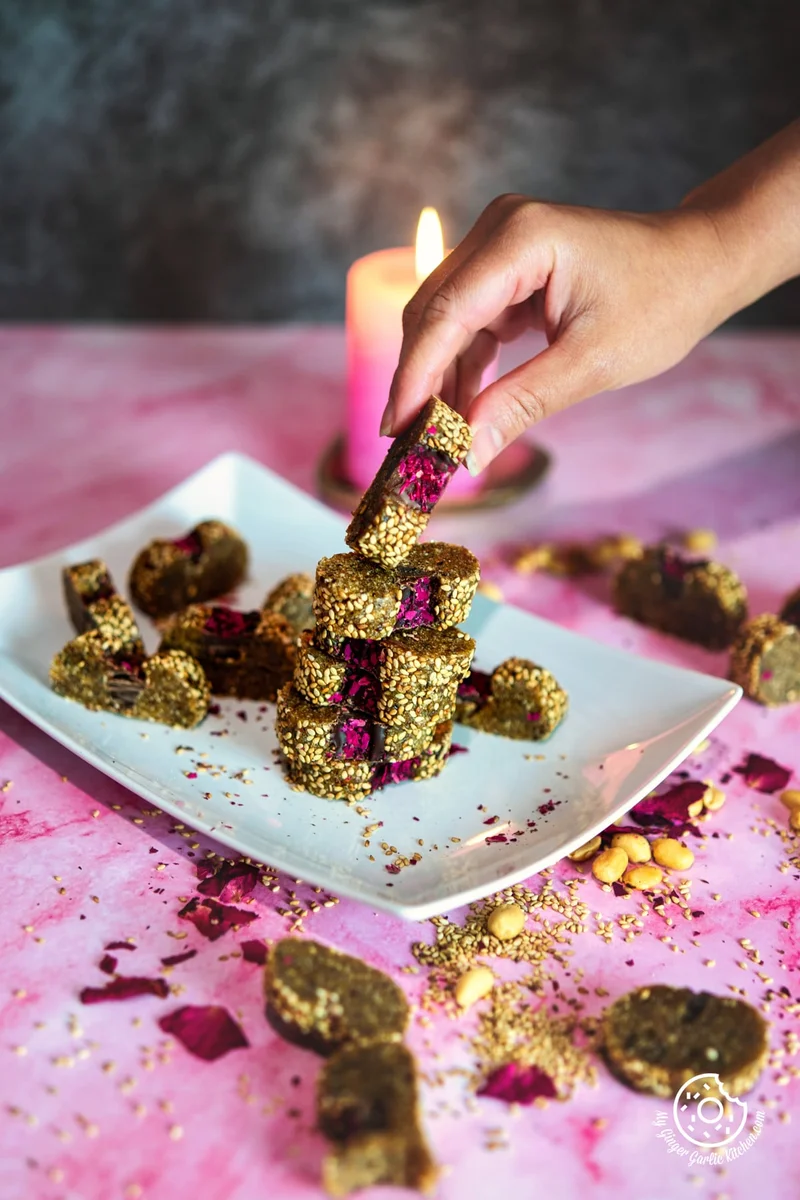
This healthy and delicious Peanut Date Roll recipe makes a show-stopper dessert for any festive celebration like Makar Sankranti, or Holi.
📝 Ingredients
- For Peanut Date Roll
- 1 cup roasted peanuts, I am using salted
- 17-18 soft dates
- 3-4 tablespoons toasted sesame seeds
- 200 grams melted dark chocolate
- 1-2 tablespoons edible dried rose petals, crushed
- NOTE: Some ingredients can be replaced with their vegan counterparts.
👨🍳 Instructions
- 1--- For making Peanut Date Roll ---
- 2Add peanuts to a blender, or food processor and pulse until finely crushed. Remove the pits, add about 10 dates and blend again.
- 3Now, check the consistency and add the 7-8 dates (or as needed) to get a smooth dough. I used about 18 dates altogether. Blend again until it comes together like a soft and smooth dough. The reason to add dates in two portions is that sometimes dates are too soft and sticky. Thus, the dough turns out sticky and hard to roll if we add more than the required amount. TIP: At this point, you can also add cardamom or cinnamon powder.
- 4Transfer the dough to a rolling surface and shape it into a log. Sprinkle toasted sesame seeds on the working surface and roll the log on it to coat evenly well with seeds.
- 5Now, leave about 1 cm from the edges and start pressing the center using a back of a wooden spoon/chopstick to get a canal shape. It should be about 1/2 cm deep. Check the video for clear instructions.Wrap it in parchment paper or a cling wrap, and chill for 1 hour or until firm.
- 6Once chilled, remove the log from the refrigerator. Fill the canal with melted dark or milk chocolate. Smoothen the top with a knife and sprinkle with crushed edible dried rose petals. Chill it again for about 30 minutes, or until the chocolate is firm.
- 7Using a sharp knife, cut the log into about 1 cm thick slices. The peanut date roll is ready, serve it chilled. Keep the log in the refrigerator.
- 8NOTE: Watch the recipe video to learn how to perform these cooking steps.
- 9--- ENJOY THIS RECIPE ---
- 10ENJOY THIS RECIPE.
About the Chef & Original Recipe
This recipe was published by Anupama on mygingergarlickitchen.com. Visit the original source for step-by-step photos, chef notes and additional details.
Source: mygingergarlickitchen.com